
How To Install Honda K-Series Shifter Cable Bushes
Posted by Matthew Marks on 27th Aug 2024

Today, we will cover how to install Honda K-Series shifter cable bushes, the necessary tools, and the benefits of upgrading them.
We've all been there with older Hondas and the awful slack in the gear shifts. This can be caused by a few things, such as the cables, gear selector springs, detent springs, etc., but one of the easiest parts to change is the shifter bushes.
These small but important bushes connect your shifter to the gearbox via the shifter cables, and once you have play in the bushes, the gear changes feel less and less crisp the more the rubber breaks down over time.
Aftermarket options often use spherical bushes for the most precise and efficient gear change possible. For this example, we will use the Hybrid Racing spherical shifter bushes, as they are readily available and, in our experience, a high-quality, long-lasting product.
The other advantage of using spherical bearings is that the bearing can rotate 360 degrees, which is helpful as the shifter cables don't just pull in one direction.
After installing your brand-new bushes, you will notice a huge improvement in the tightness of the gear changes, so let's move on to the tools you will need for this job.
If you would rather watch this on YouTube, then head to the video below, and whilst you're there, make sure to subscribe to our channel for more installation guides in the future!
- Upgrade worn rubber bushes to fix sloppy gear changes
- Spherical bushes give tighter, more precise shifting
- Simple install with basic tools and minimal time
- One of the easiest upgrades with immediate results
- Heat and age both contribute to bush failure over time
Why does shifter bush failure happen?
Rubber shifter bushes wear out over time due to constant movement, vibration, and heat inside the engine bay.
On older cars, especially performance or turbo builds, this process speeds up even more.
If you’re running a turbo setup, it’s also worth understanding how engine bay heat spreads. We cover this in our full guide on heat transfer and engine bay temperatures.
Heat from the exhaust and engine can cause the rubber to soften, crack, and lose its shape. This is why many older Hondas develop that loose, vague feeling when changing gears.
Also, wear from moving parts plays a huge role in accelerating the wear of the rubber. Over time, they will almost always break down, so the spherical bushes are a great upgrade to increase longevity and shifter feel.
Tools You Will Need For Installation
This is one of the easiest upgrades you can do on a K-Series setup.
For beginners:
• Minimal tools required
• Can be done in under an hour
• No specialist knowledge needed
For experienced builders:
• Quick win for improving driver feel
• Ideal upgrade while working in the engine bay

In some circumstances, the bush may become corroded to the cable, so in extreme cases, you may need a press to get the bush out, but in this case, we didn't need to do this.
Tools and Parts Needed:
- Honda K-Series Shifter Cable Bushes
- Long nose pliers
- Flathead screwdriver
- A socket or spanner to remove the air intake
Optional Tools:
- Gloves
Now that we have reviewed the tools and parts you need, let's move on to the fun part: the installation!
Honda K-Series Shifter Cable Bushes Installation Steps
Let's get to installing the Honda K-Series shifter cable bushes. I will run this through step-by-step to ensure we don't miss anything, and you can see the process from start to finish.
1. Remove anything covering the shifter cables
The first step is to ensure you can access the shifter cable ends without fighting around something in your engine bay.
An air intake pipe is a good example here. In most Honda Civic Type R EP3 engine bays, the intake pipe is directly over the shifter cables, which must be removed to access them.

Now is a good time to check to see if you have any damage to wiring or sensors. If you are experiencing excessive heat from the gearbox or engine, we would recommend shielding the wiring with something like our silicone heat sleeve.
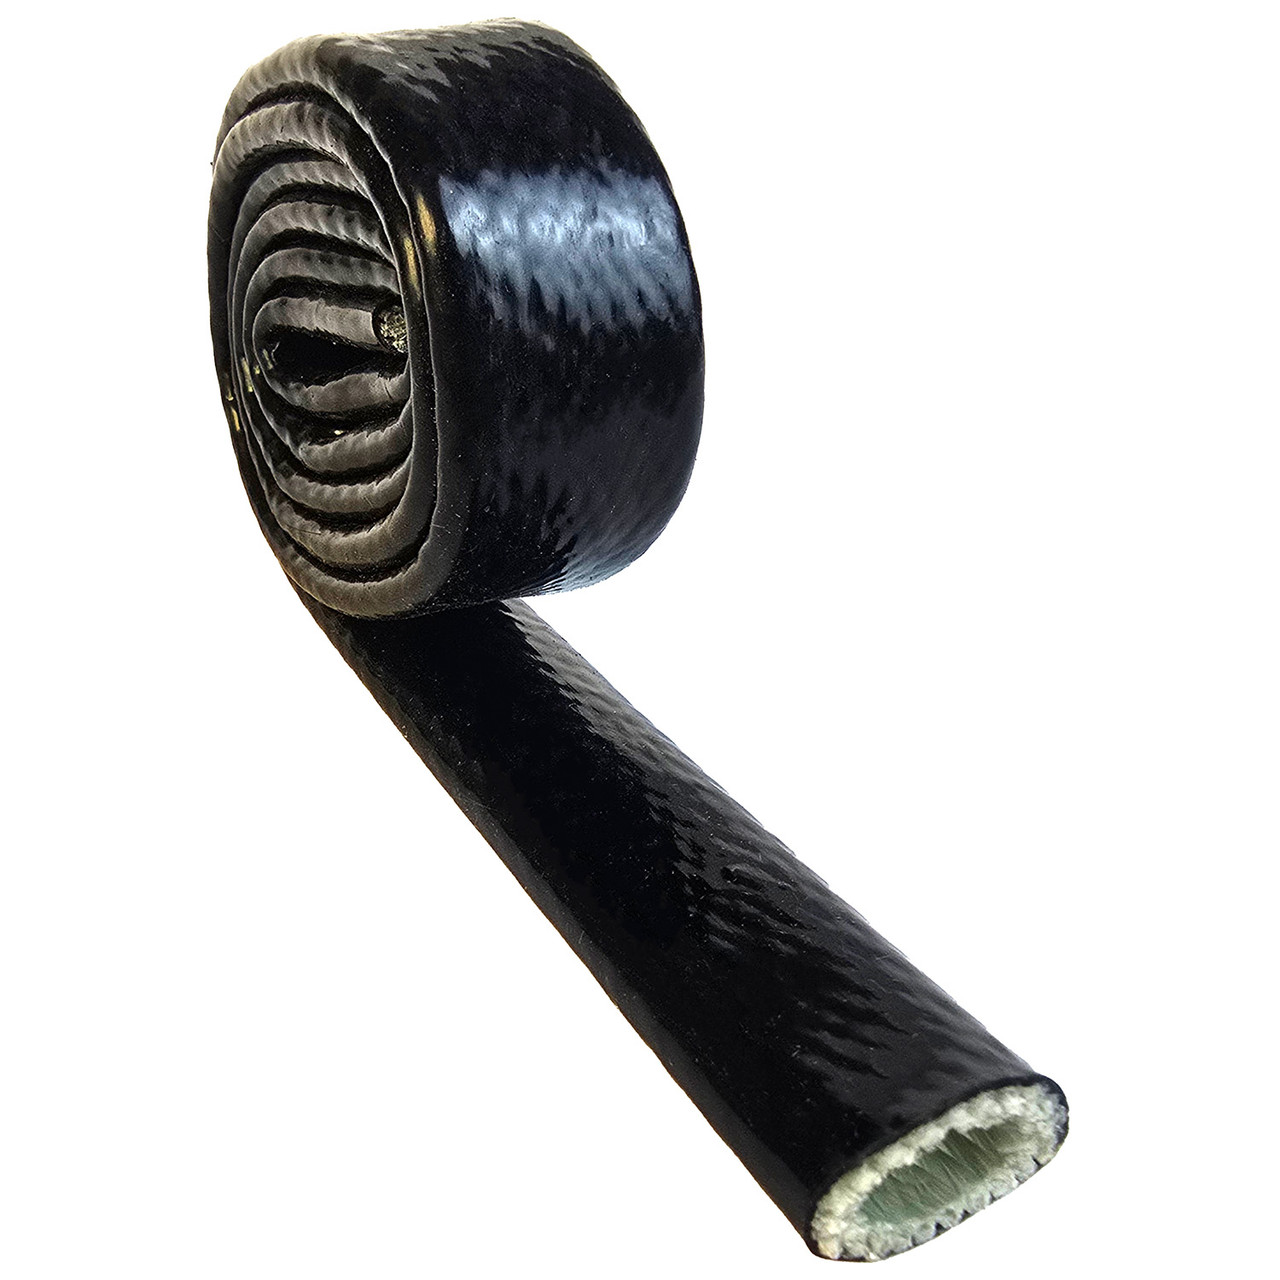 Heat Sleeve (Protect Nearby Components)
Protect cables, wiring, and hoses near the exhaust from heat damage.
From £14.99
Shop NowIn our case, the car we are using is a Honda Civic EK K-Swap, where most of the excess engine bay parts have been removed, making this process much easier.
Alternatively, if the car is turbocharged, you must remove anything, such as a cold air intake or filter on the turbocharger, to gain access.
2. Match the new bushes to the correct cable
You can remove the new Honda K-Series shifter cable bushes from the packaging and determine which bush goes in which cable. One of the bushes is smaller than the other, so you shouldn't be able to get them the incorrect way around.

Please make sure you have the correct bushes to start with, as simple cable variations such as the EP3 versus DC5 bushes are different.
Once you have opened them, you can proceed to the next step.
3. Remove the bushing split pins
Before you start removing the bushes from the shifter cables, it is probably worth noting that it is highly recommended that you remove the cables from the bracket holding them to the gearbox. If you do not remove them, you risk damaging or bending the cables, making this performance upgrade useless!
- Not removing cables properly and bending them
- Installing bushes at an angle
- Using incorrect bush sizes
- Forcing seized bushes without support
- Skipping lubrication on spherical bush designs

Depending on your setup, this is normally quick and simple: either remove the clip holding them in place or, with aftermarket options, unthread the locking nuts.

There should be a split pin on each shifter cable's bush ends, so you must remove these. I prefer to use needle-nose pliers here because if you are having trouble removing the split pin, sometimes you can use the end of the needle-nose to wedge in the centre and pull the split pin out.
Luckily, when we went to remove them for this guide, they came out very easily!

Once you have removed the split pin, repeat this for the second shifter cable end and move to the next step.
4. Remove the old, worn shifter bushes
Now, you should be able to push out the older shifter bushes. If you struggle with this, you have a few options if the bushes are seized. You may be able to pry them out using the flathead screwdriver or push them out with your fingers, but if they are incredibly seized, you may need a hydraulic press.

For this video, we ended up putting the flathead through the centre of the bush and just prying it out.
Most of the shifter bushes we have seen are not this seized, though. Most of the time, they are so old and loose that they just drop out when you give a small amount of pressure with your fingers.
5. Push in the new shifter bushes
Now, you should be able to find the correct shifter bushes for each cable and push them in. They are usually sided and have a lip on one edge, which normally goes on the split pin side.
Press the bushes by hand, ensuring they go in completely straight. You should be able to tell when they are fully seated, as the lip should bottom out, and you won't be able to push them further.

If they are not going in smoothly, then you either have the incorrect bushes or you may need to smooth the end of the cables gently with sandpaper.
The method may change here depending on your chosen aftermarket shift bush style. For example, the Hybrid Racing competition bushes, which are their brand new range, use a two-part bush that pushes in from either end. The centre will need lubricating using the supplied grease.

6. Reinstall brand new split pins
Now, reinstall the supplied split pins on the shifter cables to ensure the bushes do not come out when you change gears. This part is important because the bush can remove itself from the centre if you miss it.

Most aftermarket upgraded shifter bush kits come with split pins, so you shouldn't have to source these yourself.
7. Reinstall anything covering the shifter cables
Install the shifter cable ends to the bracket on the gearbox; the last step is to install anything you removed for access earlier. Install everything back in reverse order, such as the intake piping, and plug in any sensors, such as the air intake temperature sensor, or anything you removed previously.

If you are having any problems after installing the Honda K-Series shifter cable bushes and it is not going into gear correctly, then check that you have tightened everything and that the adjustment on the cable bracket is the correct length (if using aftermarket cables).
You have now successfully installed your brand new Honda K-Series shifter bushes, and you will be able to feel the difference in the shifts immediately.
As a side note, some specific bushes are slightly different depending on which gearbox you have; for example, if you have an EP3 or CL7, they will share the same shifter bushes, but the Integra DC5 bushes will be different. We did cover this earlier, but worth mentioning before you decide to purchase bushes.
- Check that the bushes are fully seated
- Ensure split pins are secure
- Cycle through gears before starting
- Confirm cables are mounted correctly
- Inspect nearby areas for heat exposure if turbocharged
Products Used In This Guide
We have used a few products in this guide that we also sell, such as the Hybrid Racing Honda K-Series Shifter Cable Bushes. If you haven't already bought your shifter bushes or want to upgrade from what you currently have, check out the product links below.
We also have a specific discount code for our readers, so make sure to use that at checkout for money off your order:
BLOG5
 Hybrid Racing K-Series Shifter Bushes
Spherical bushes for tighter, more precise gear shifts with zero slack.
From £79.99
Shop NowFrequently Asked Questions
You may want to know a few things about the shifter cable bushes, which we will add to over time. If you have any specific questions, please comment below, and we will add them to the list to help the next customer!
Q. Are aftermarket K-Series shifter cable bushes worth it?
A. In almost all situations, the answer would be yes. The stock bushes are rubber and wear out over time, so upgrading to a spherical, more precise bush will be worth it today and in the long run.
At the time of writing, the bushes are around the £80 mark and are honestly well worth the investment.
Q. Which brand of shifter cable bushes should I go with?
A. There are loads of shifter cable bushes on the market, and providing they use good-quality bushes, you should be fine with any of them. Personally, I always use Hybrid Racing, as I have used many of their products in my personal cars and have never had any problems.
We have also sold the Tegiwa shifter bushes and Acuity version for a long time and have never had a problem with either brand.
Conclusion
So there you have it—our full installation guide for installing Honda K-Series shifter cable bushes. Hopefully, you have found this guide helpful and have followed it step by step to install your own bushes!
If you are still struggling with anything in this guide, please get in touch with us. We will happily help you get closer to your perfect shifting goals!
We also have a few other related articles that may interest you, which I will link below. Thank you for reading, and if you have learned anything, please comment below.