Can We AWD Our Project Honda Civic In 24Hours?!
Posted by Matthew Marks on 4th Sep 2024
Can we AWD our new project car in 24 hours? By the end of this article, you will see whether we either achieved it or failed miserably!
So this project started around a year ago when we bought a new Honda Civic EJ9 hatchback after sadly scrapping our old coupe.
We took the B-Series engine, turbo kit, and AWD system off of it. The original plan was to make this car a road-legal front-wheel-drive version of the old coupe, which we could use for installation videos, etc.
It ended up massively escalating (as all projects do) as we decided to see if we could convert the new chassis to 4wd in 24 hours!
Before we go any further, if you prefer to watch the video, I'll embed it below. Make sure to subscribe to our YouTube channel for more progress on the car!
Making A Plan
We ended up with four of us working on the car and two more guys who came up to help transport the vehicle back and finish any needed jobs.
So, the first job was to get the car on the ramp and decide how we would attack the situation. We opted for an all-out approach and just started unbolting everything that needed removal.
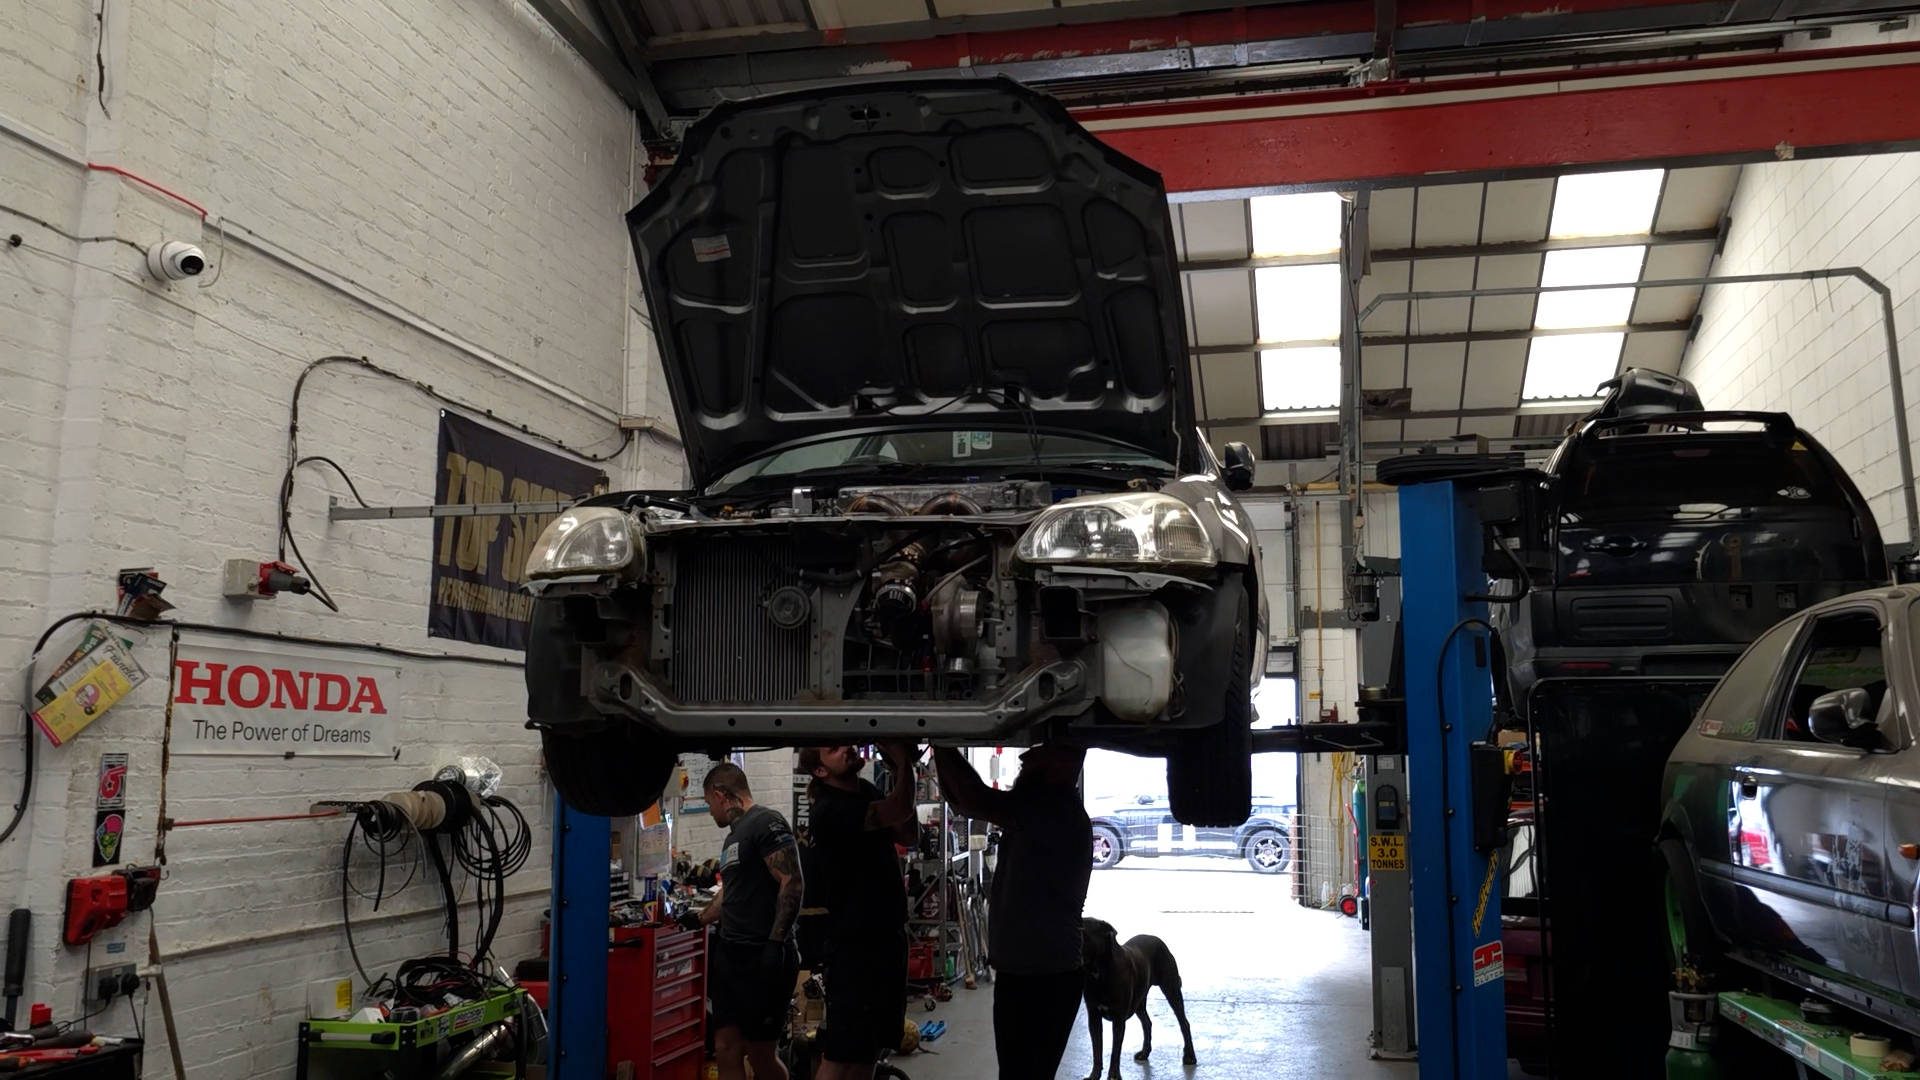
First, we removed the rear trailing arms, which we cut to pieces later on, and anything else connected to them, but we left the Yellow Speed Racing coilovers bolted in as we did not need to remove them.
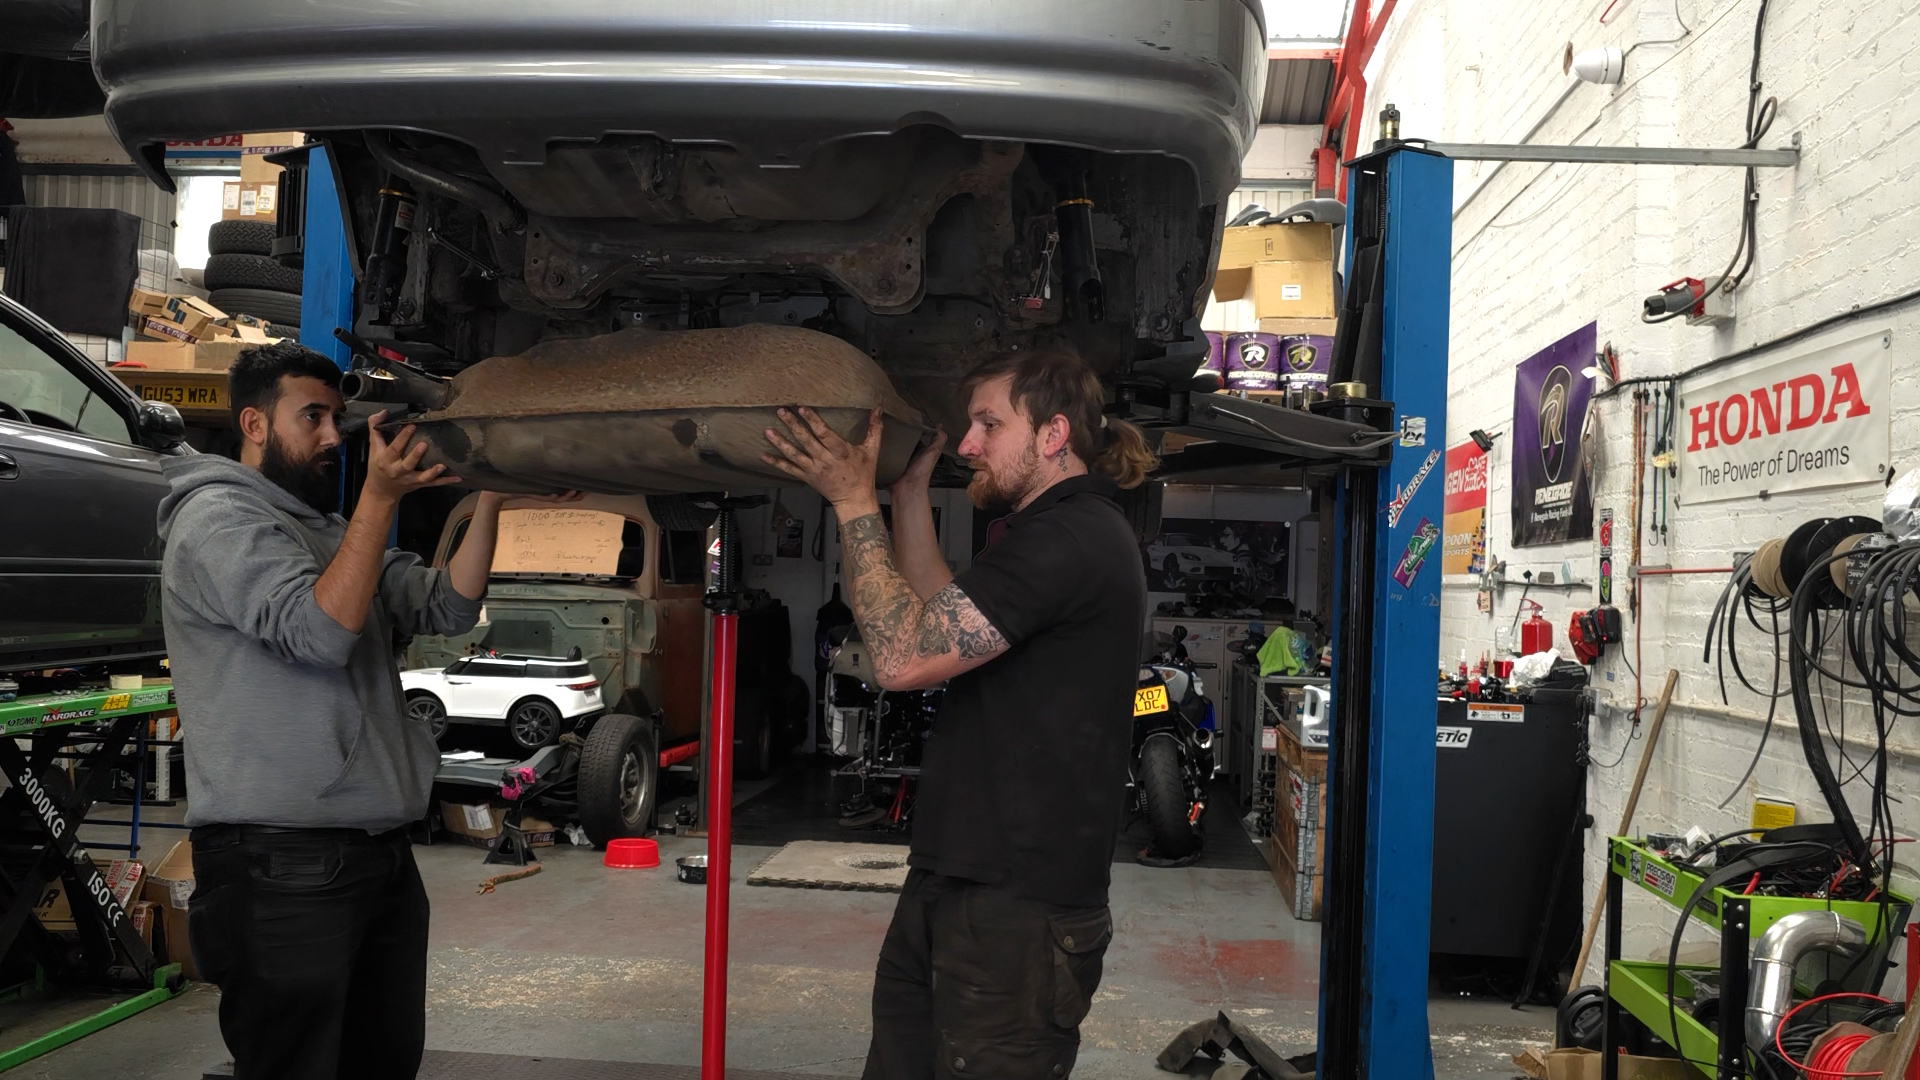
Then, we removed the fuel tank as we needed the space for the rear differential. At some point, we will add a Nuke Performance 40ltr fuel cell and CFC unit into the boot and run braided lines for the feed and return, but this will be for another video later.
Once the fuel tank was removed, we cut the handbrake cables to the rear as we converted from the original rear drums to a disc conversion where the hub also houses the rear driveshafts, so we didn't need the cables.
While underneath the car, we decided to remove all of the OEM fuel feed and return hard lines, as we will eventually have to make new lines for the new fuel cell.
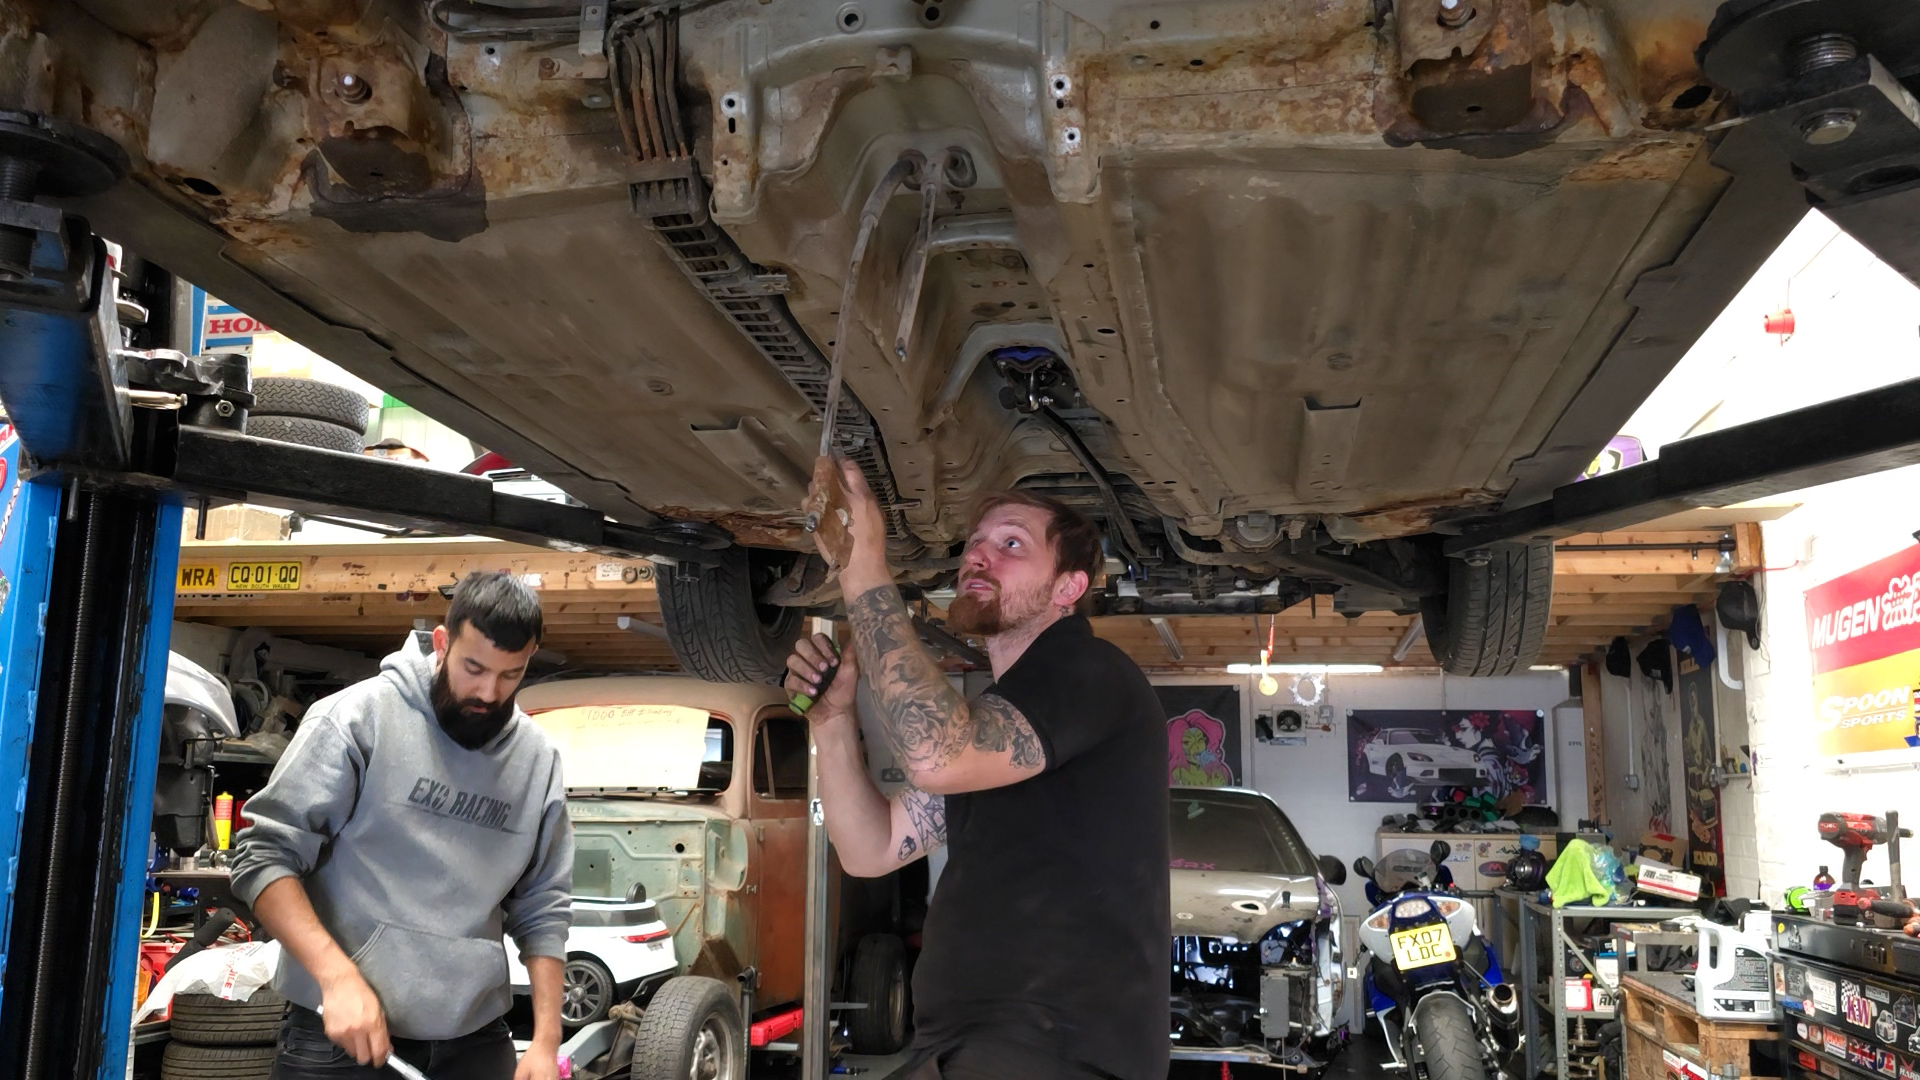
Scott unbolted all of the plastic retaining clips and removed as much as he could, but he ended up cutting the lines near the subframe because we couldn't get good access until the engine was out later in the day.
We also realised that to get a complete exhaust system in, we are more than likely going to have to move the brake hard lines going to the rear over to the other side of the car, as due to the limited room with the prop shaft, the exhaust will have to run down the passenger side of the car. That is a problem for another day!
Now, we were on to the front half of the car; we unbolted the lower control arms, took the suspension forks out, and removed the driveshafts in preparation for the engine to come out.
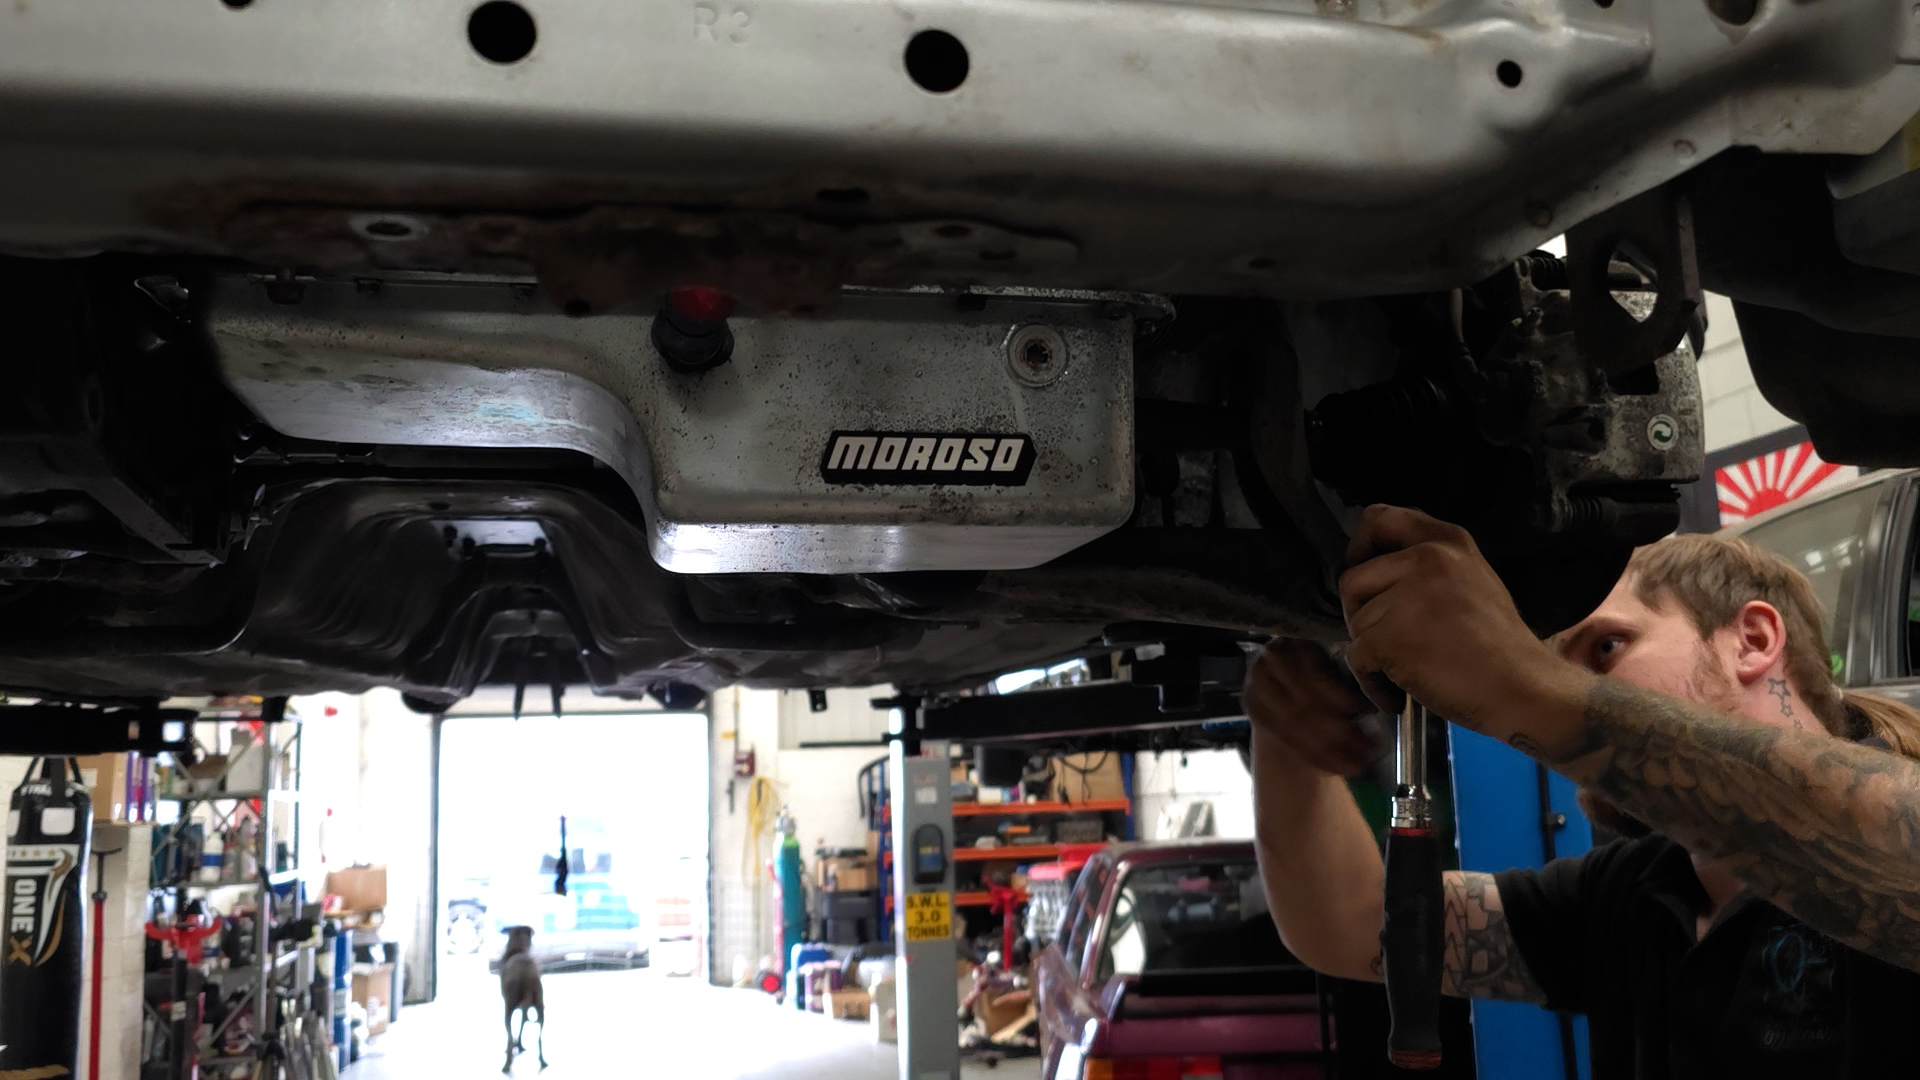
While we were here, Scott installed our new hardrace tie rods and Hardrace track rod ends, as we had a major amount of play in the old ones on both sides.
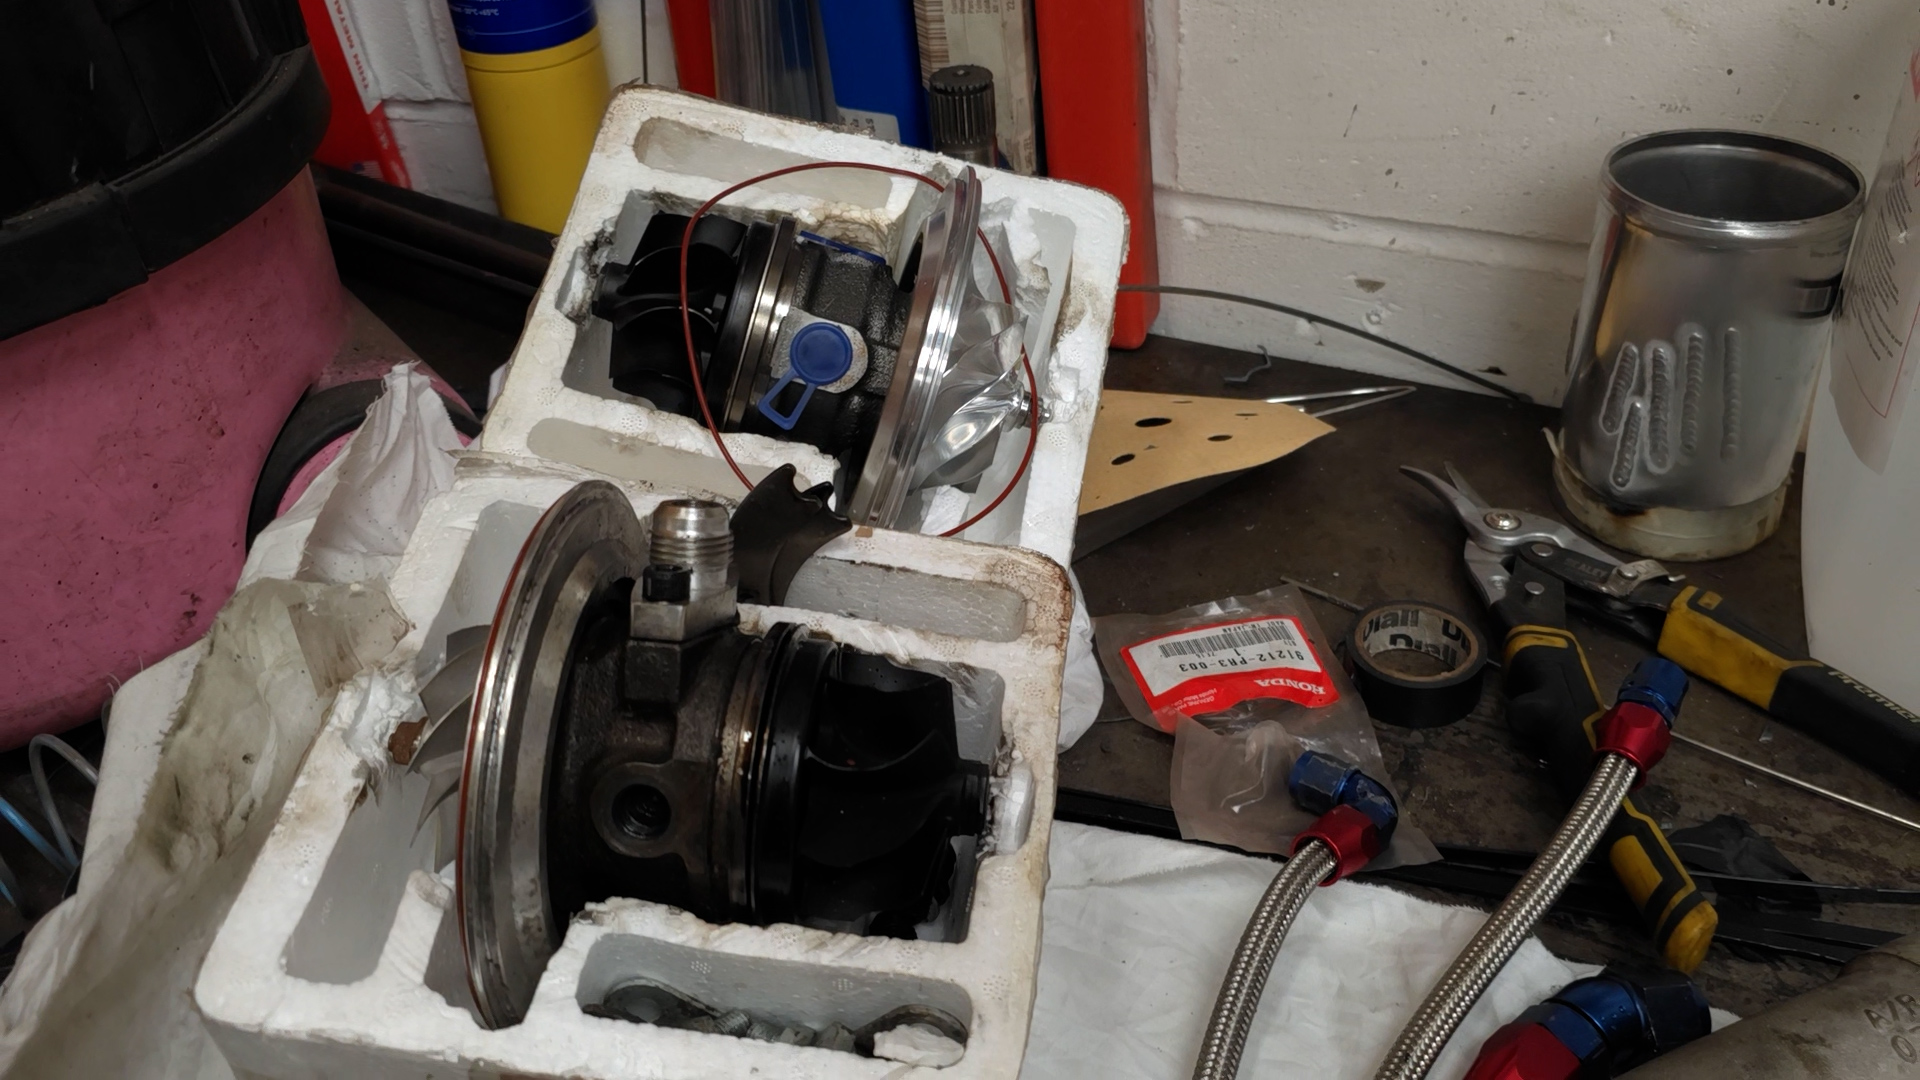
We also had play in the turbocharger, so we decided to rebuild this with a brand new core that Scott had lying around from his turbo Honda Concerto! The last time we ran this turbo, we had just that little bit too much in and out play of the shaft, so I thought it would be best to get it sorted out whilst everything was already apart.
Now the turbo is better than ever and ready to make all the power on the dyno!
Engine Removal
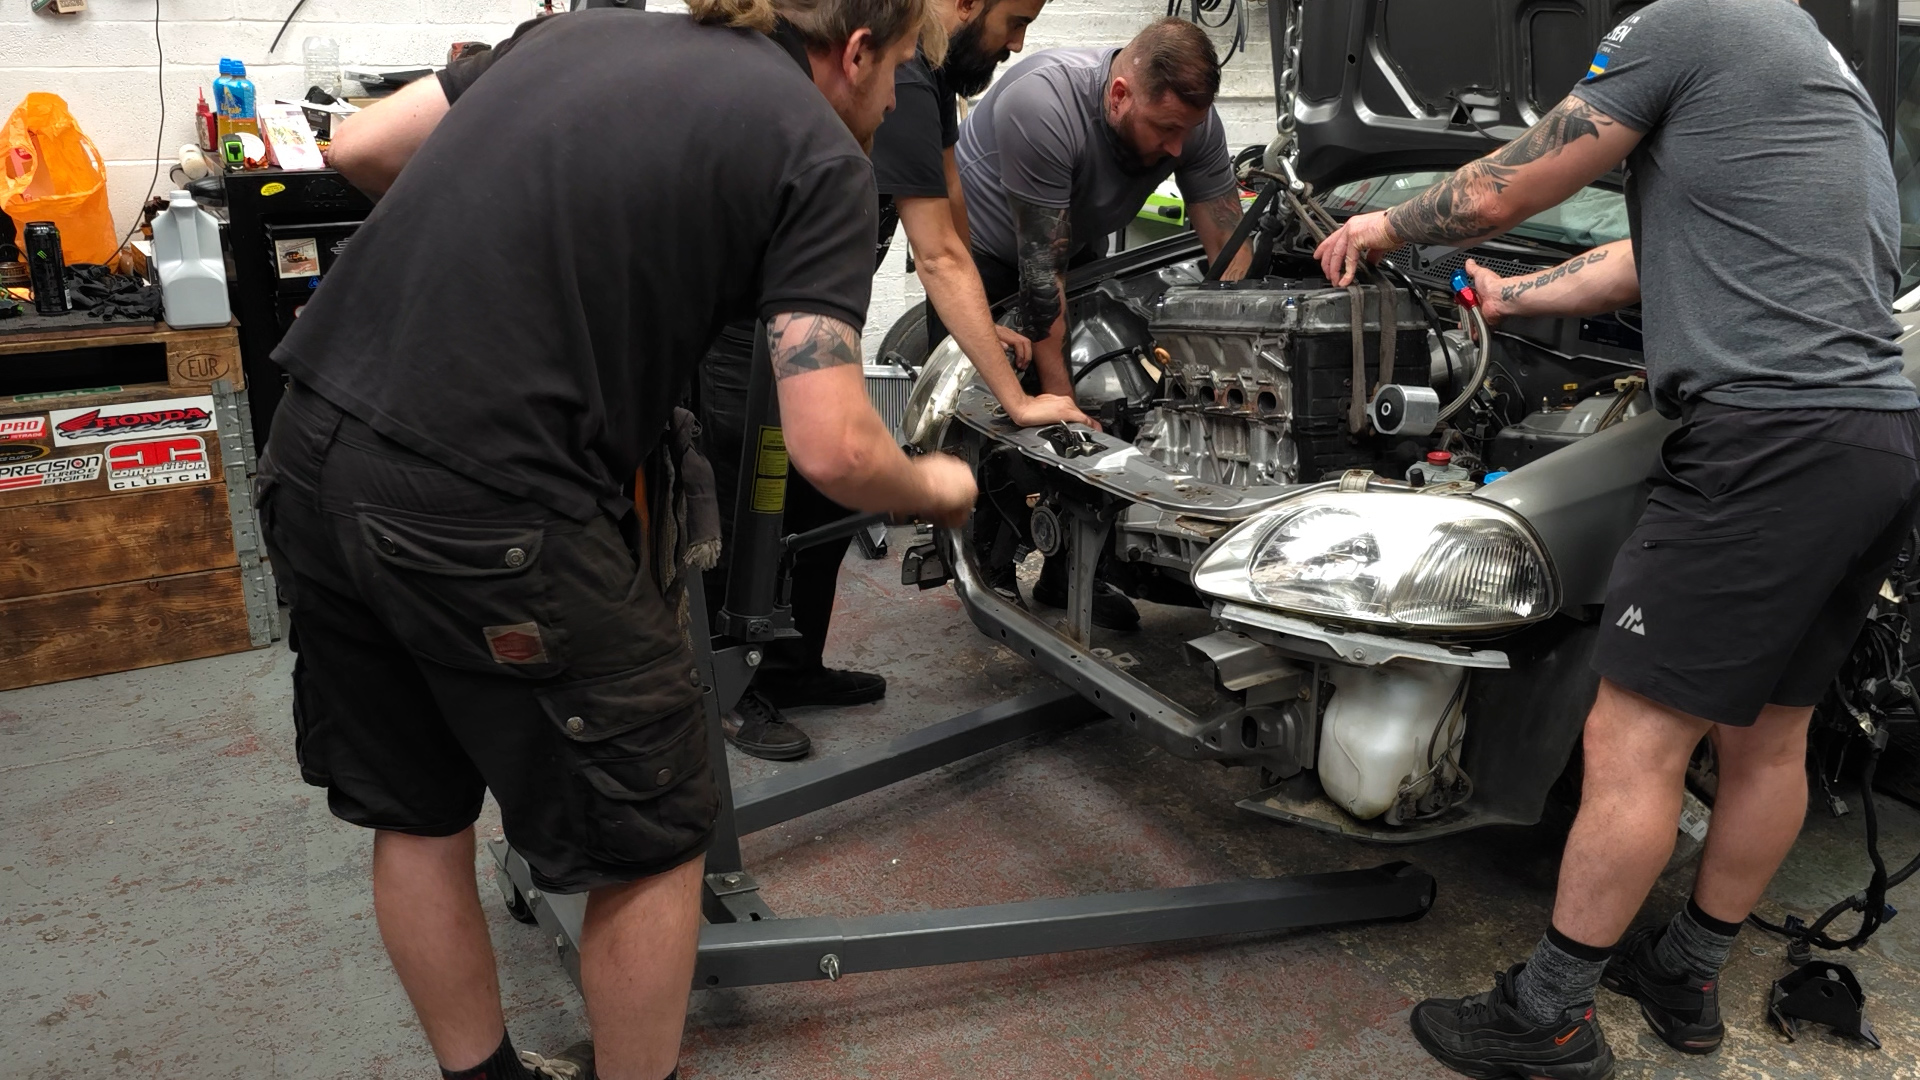
The next thing on the list was to remove the engine to access the firewall, drill the holes for the shifter cables, and swap over the engine mounts and brackets for the Hasport 70a B-Series AWD version. Whilst the engine was out, this was also the perfect time for us to remove the FWD gearbox and swap it for the 4WD one.
We didn't need to replace the clutch and flywheel as the flywheel was perfectly fine, and it had a brand new stage 4 competition clutch that was fitted the last time we came up, and the car still hasn't been driven!
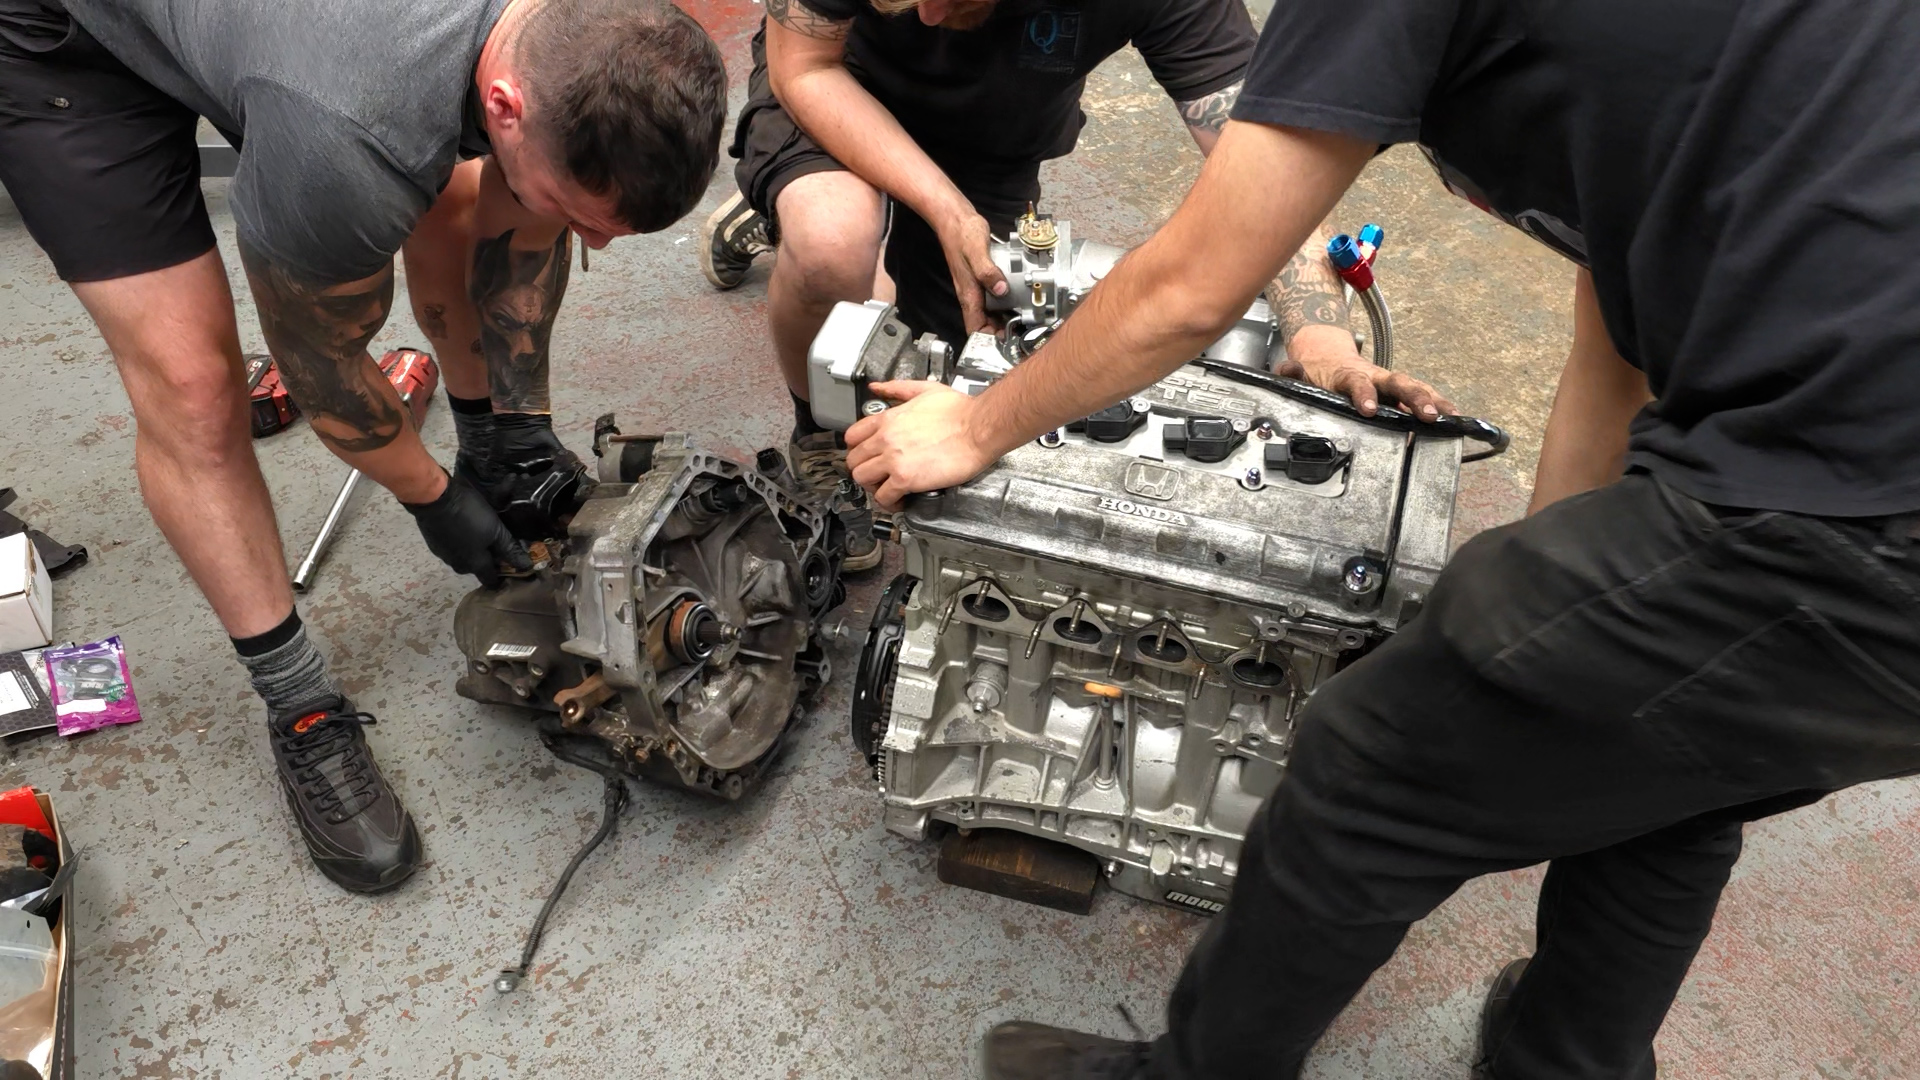
While Scott, Jordy and I were sorting out the gearbox, Darren was notching the rear subframe to allow the rear differential to fit along with the Innovative AWD rear diff mount. After cutting and welding plates on either side, that was done, and we were ready for the next bit.
Bolting The B-Series 4WD Parts On
We had previously bolted the rear differential to the innovative brace, and all of the bolts were tight and ready to go, so we just had to put everything in place, and try to find the correct length bolts to go through the subframe.
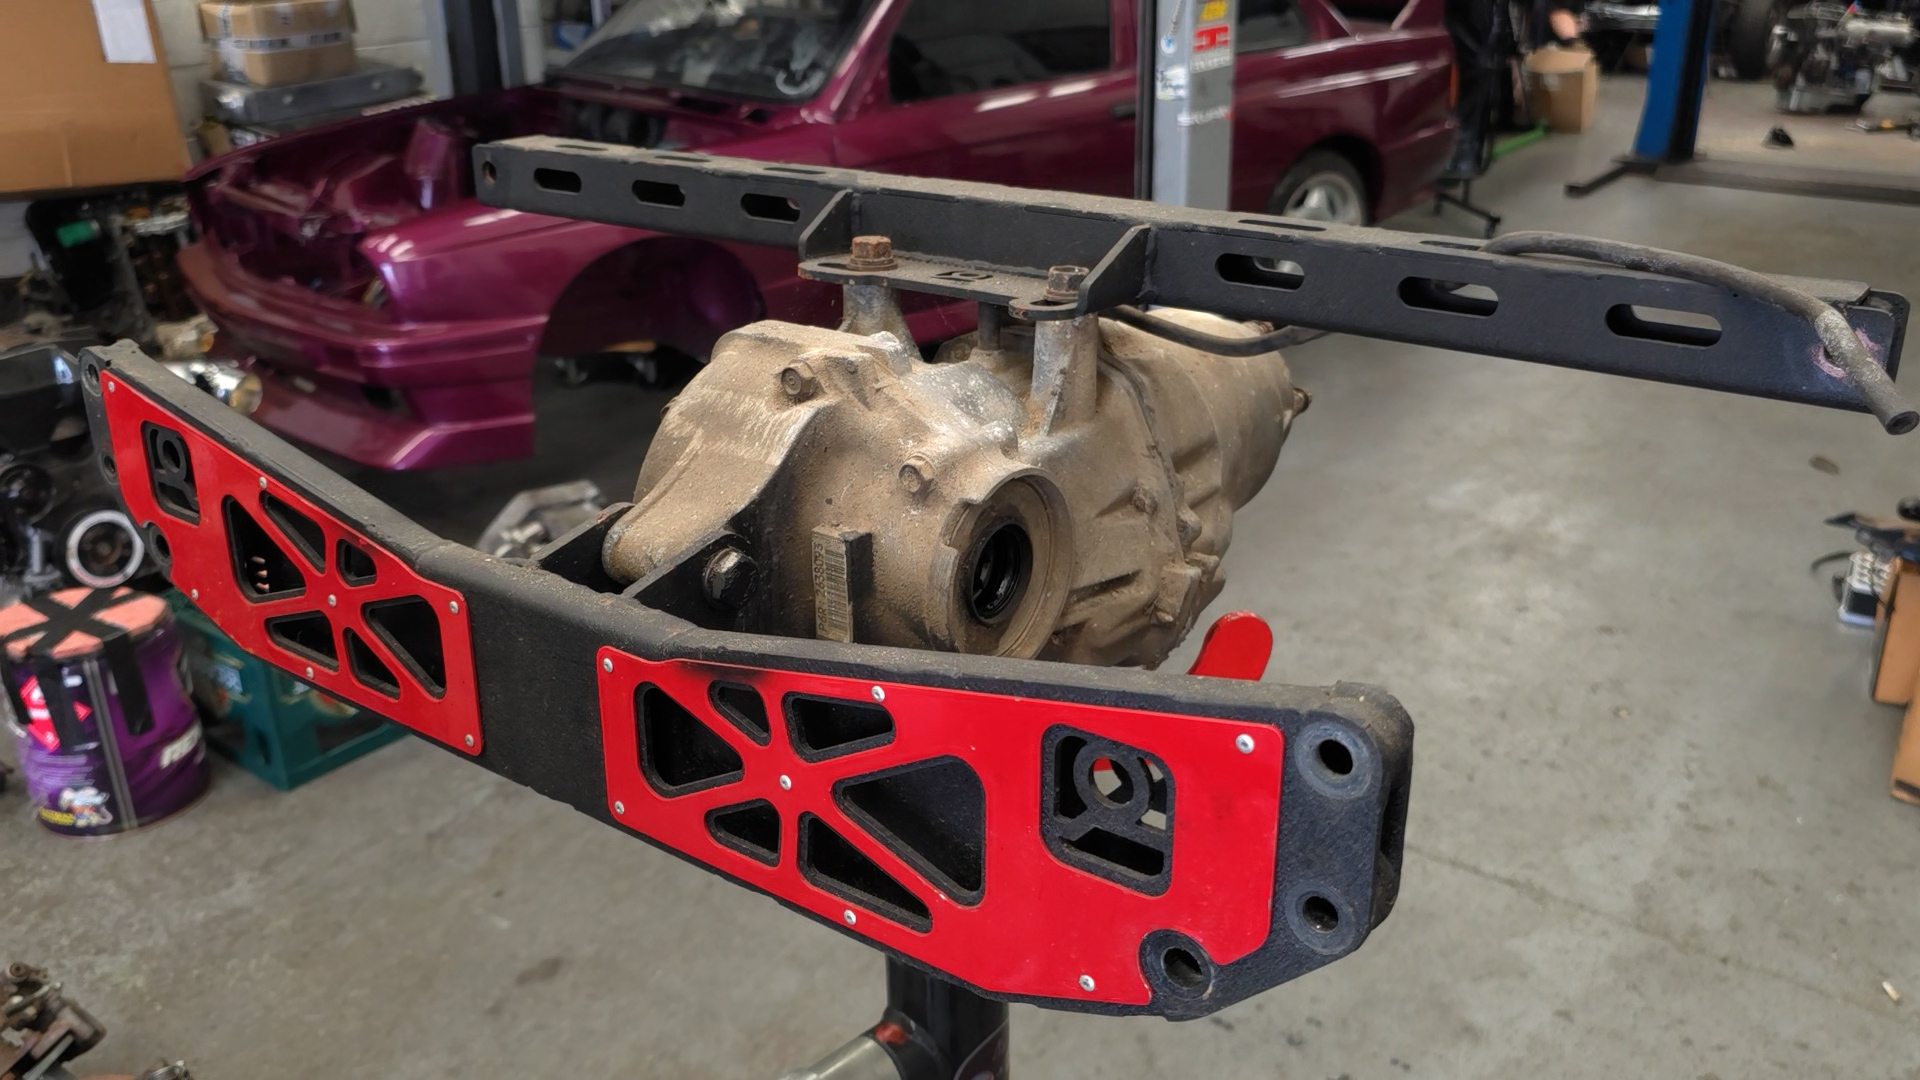
Once this was tight and good to go, we had to make plates to sit on either end of the cross brace, and we found the perfect solution!
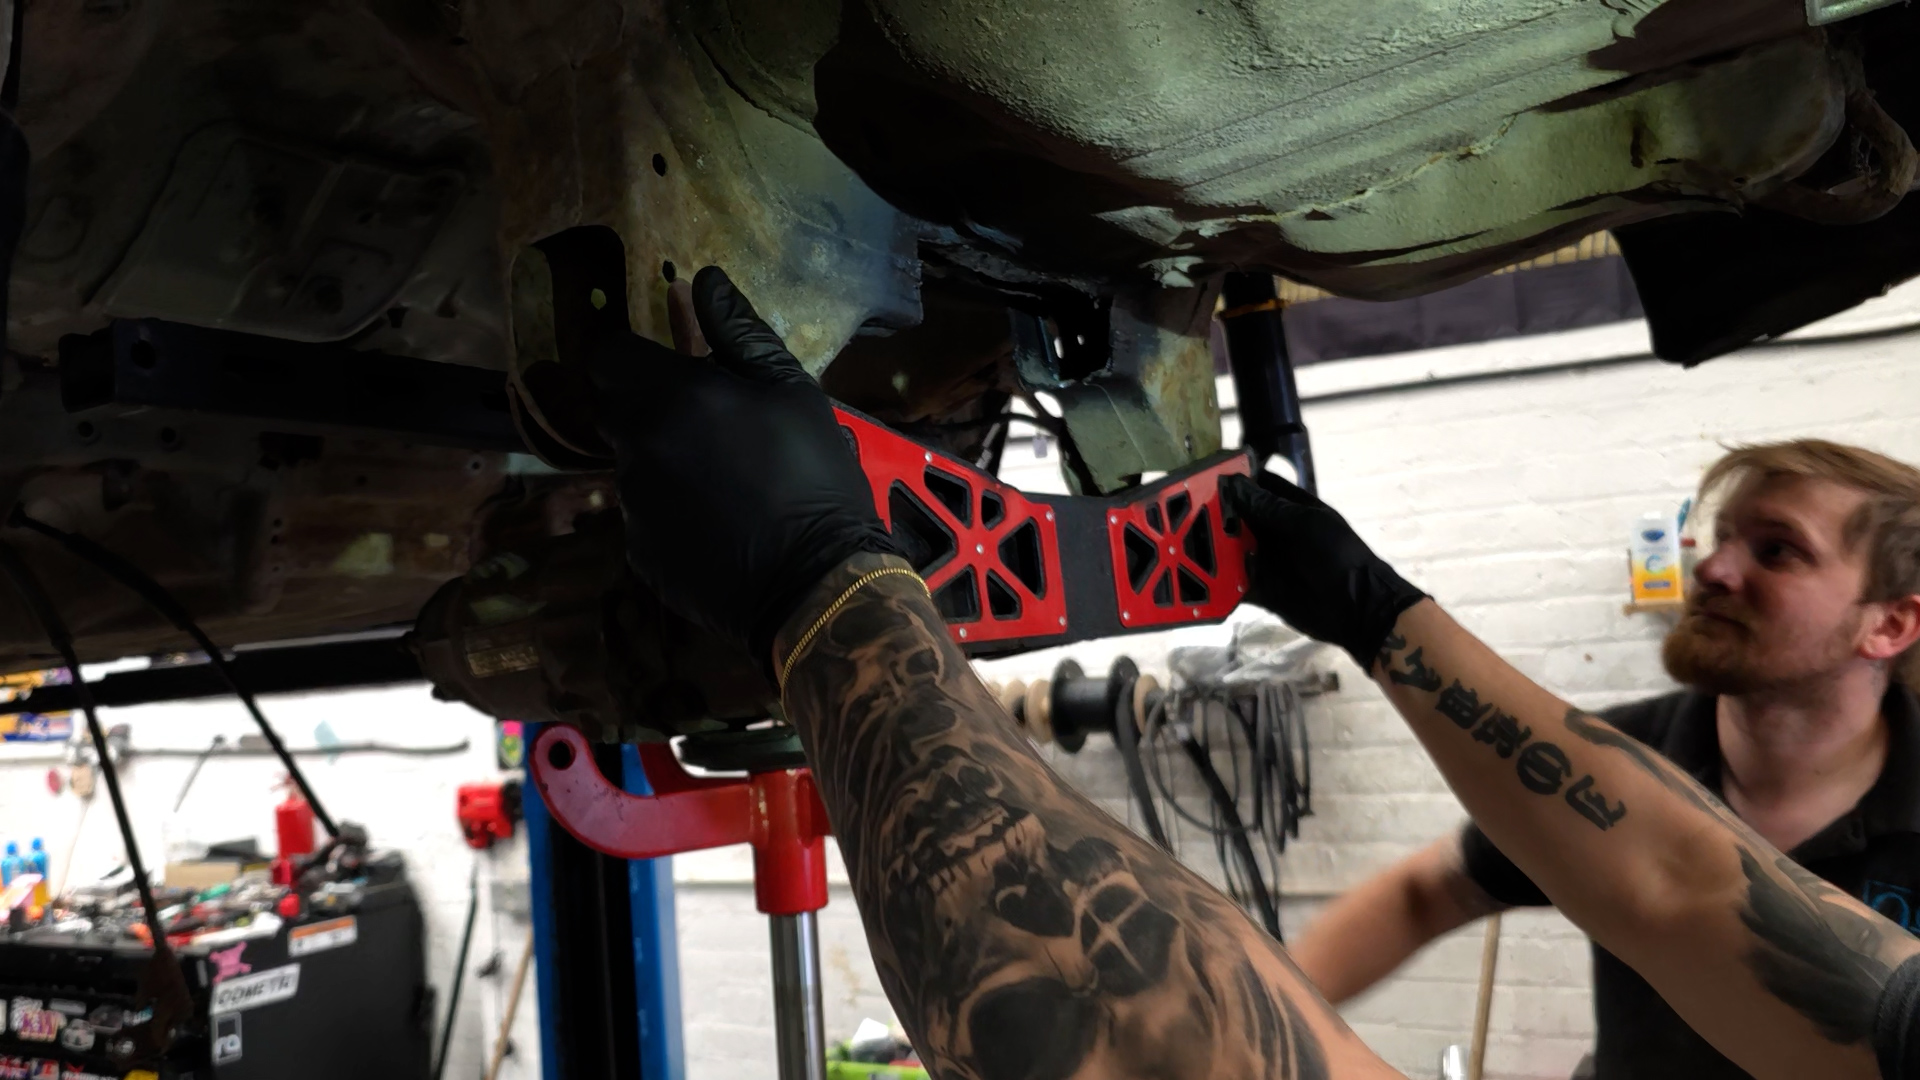
Cut up the old rear trailing arms as they had the ideal shape end with a captive nut, which we could weld into the chassis, and make the rear brace removable if we needed it in the future.
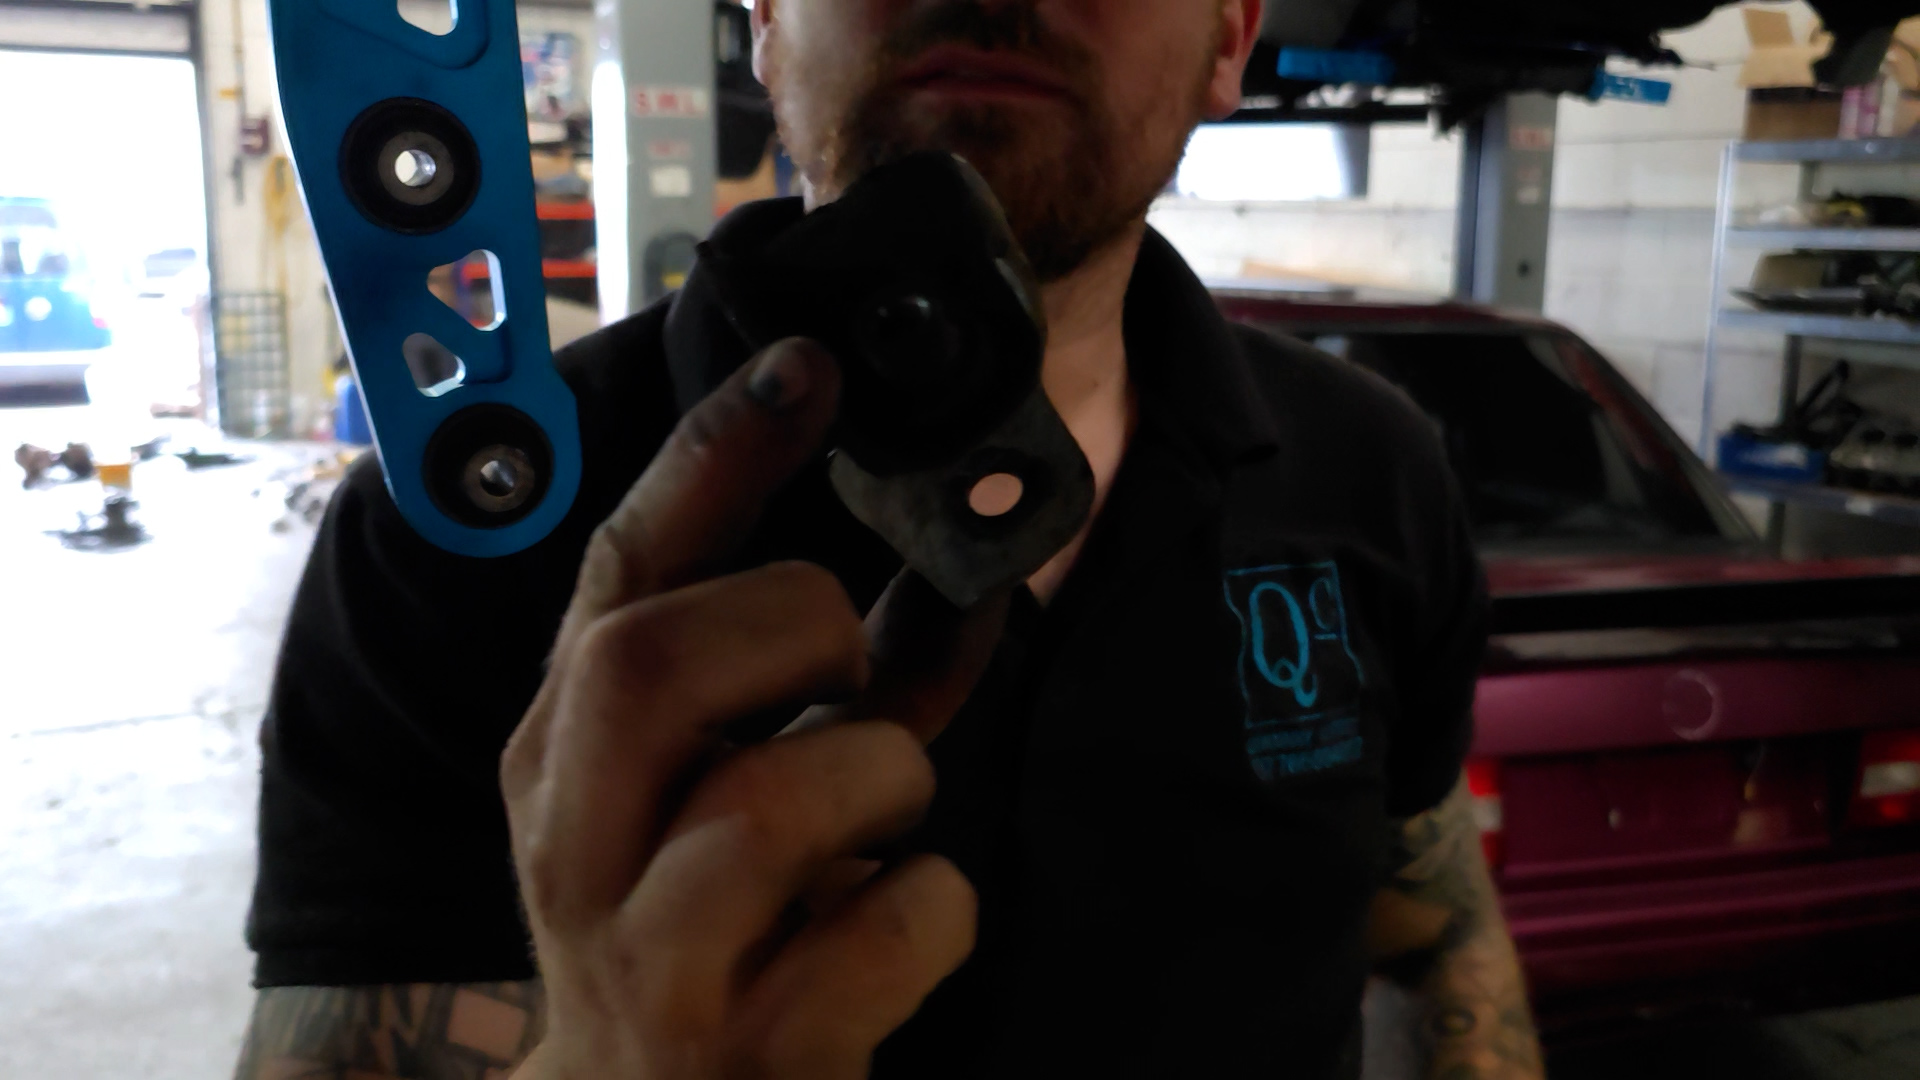
If we had more time, we would have fabricated something from scratch, but for what we are using it for and the rotational forces, this plate would never be a problem. Plus, the metal behind everything here was solid.
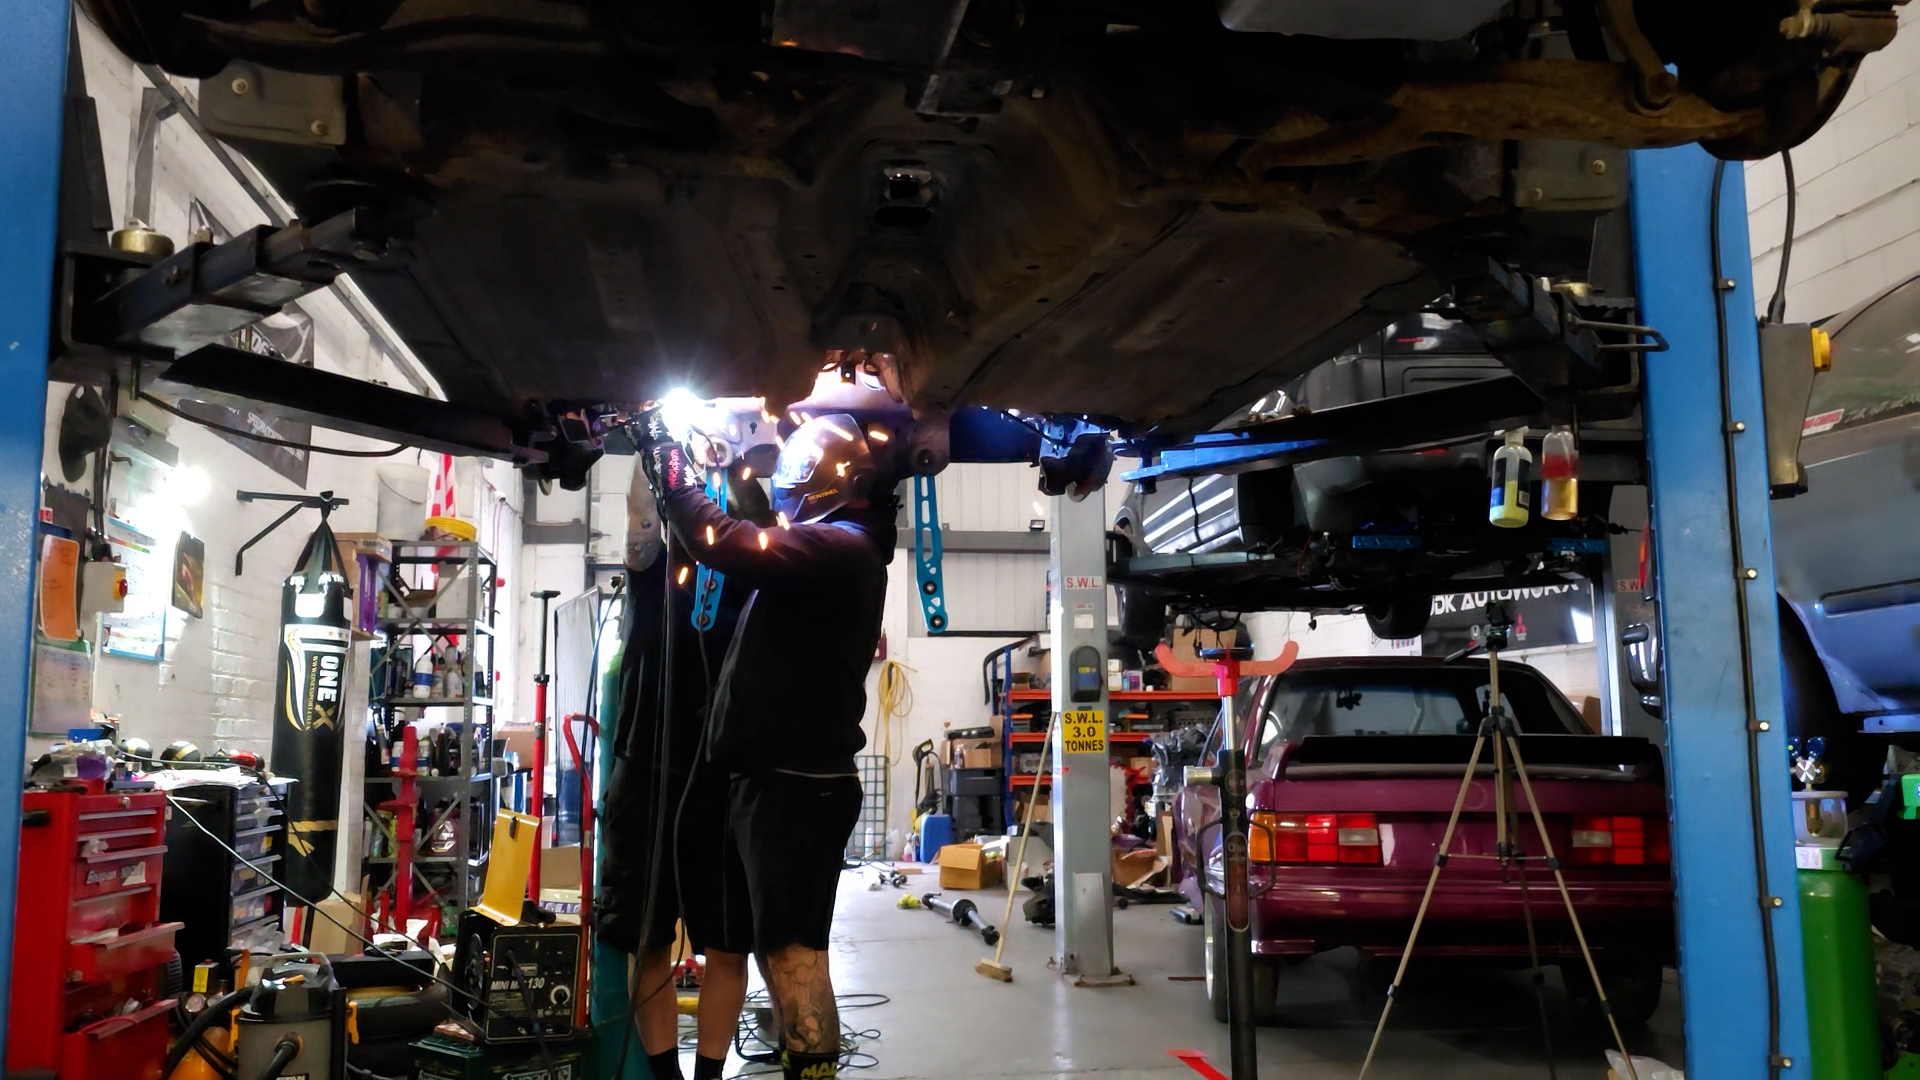
After this was in place and the rear end was bolted up tightly, with the rear driveshafts in and the lower control arms, it was time to modify the bulkhead for the shifter cables to go through. We decided to go over to the battery side and as high as possible on the bulkhead to minimise the carpet we had to cut.
Also, as we are using the K-Tuned BAWD shifter cables, the last time we had them fitted to the coupe, they were too long, so we routed them a slightly different way this time so as not to have to coil the cables up.
We bolted the Hybrid Racing CL7 shortshifter to the tunnel with the matching shifter plate and pushed the cables through the hole we had just drilled. We had an old K-Tuned firewall grommet lying around, so we used that to ensure the cables didn't rub through and connected everything.
The engine then went in, and we connected the engine loom and anything else that had previously been removed.
Now we were onto the home stretch, connecting the prop shaft and making a brace for the Freelander viscous and carrier bearings.
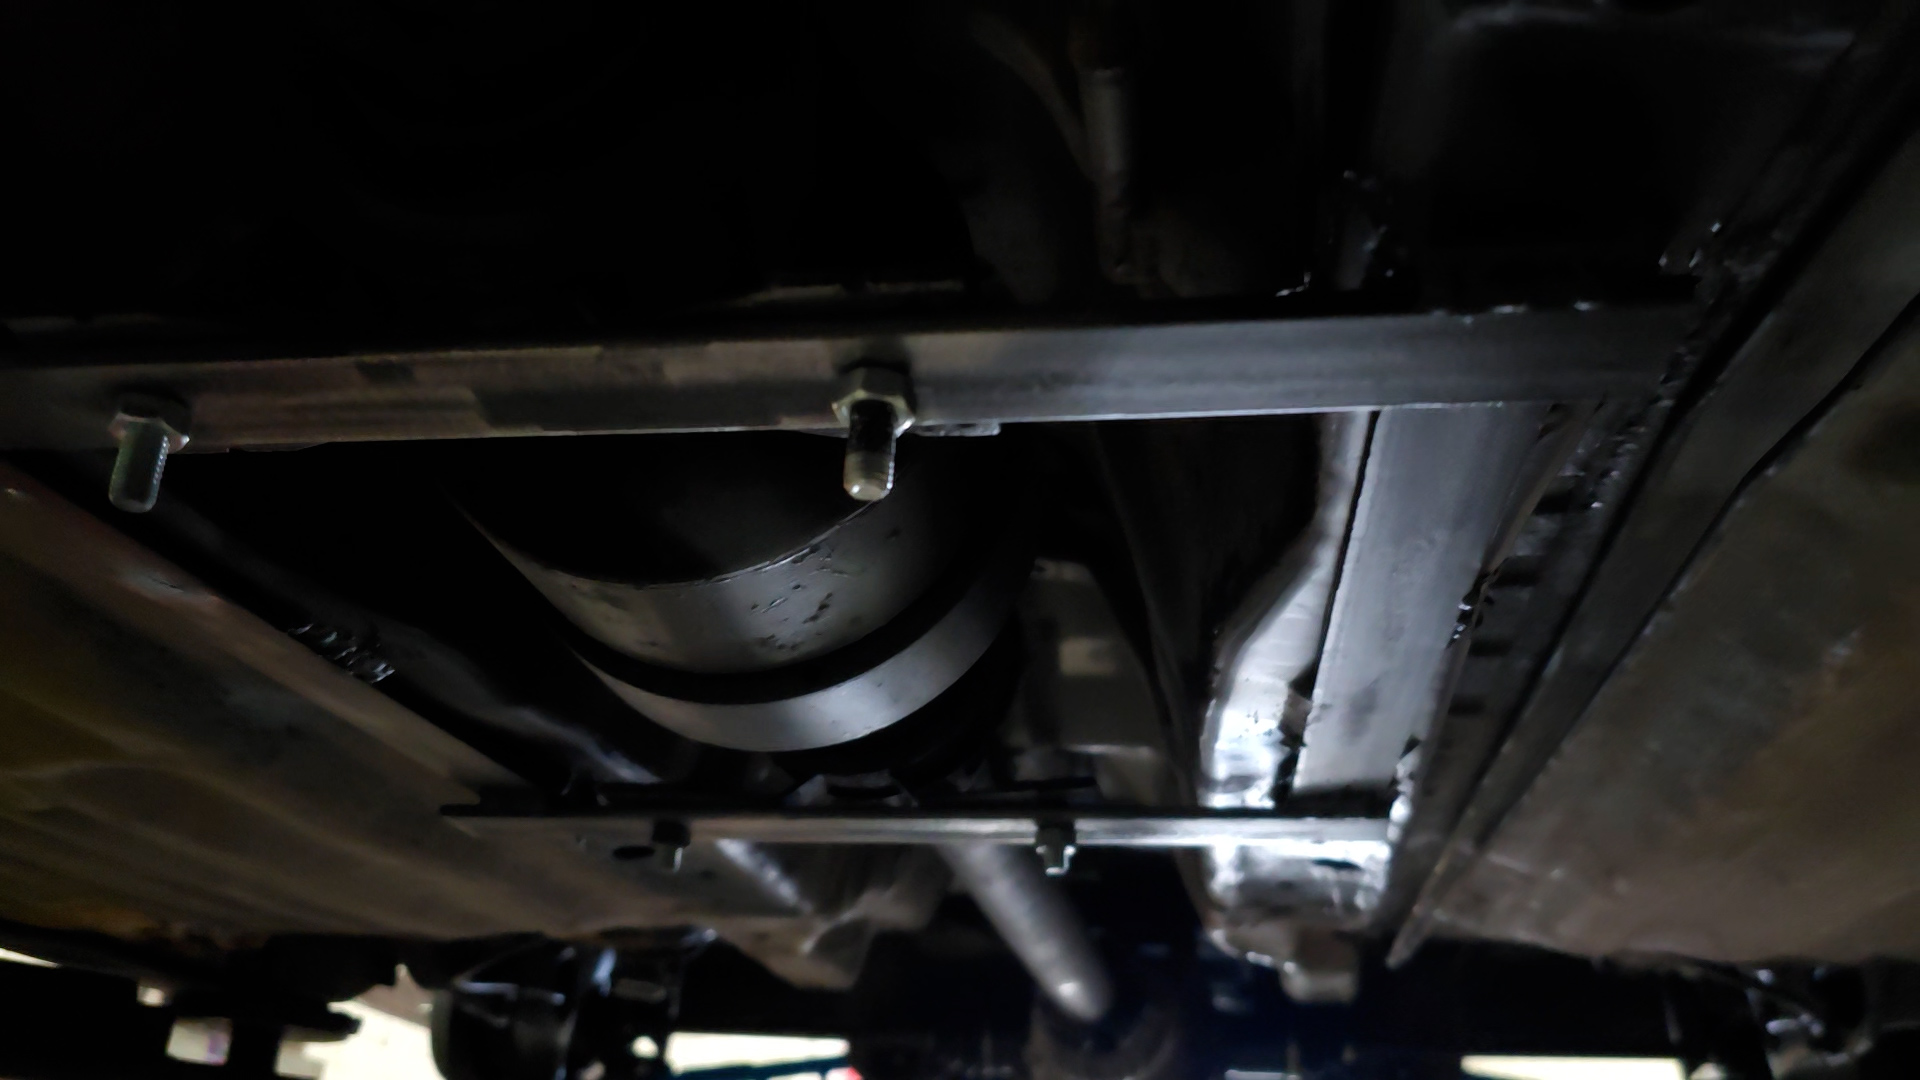
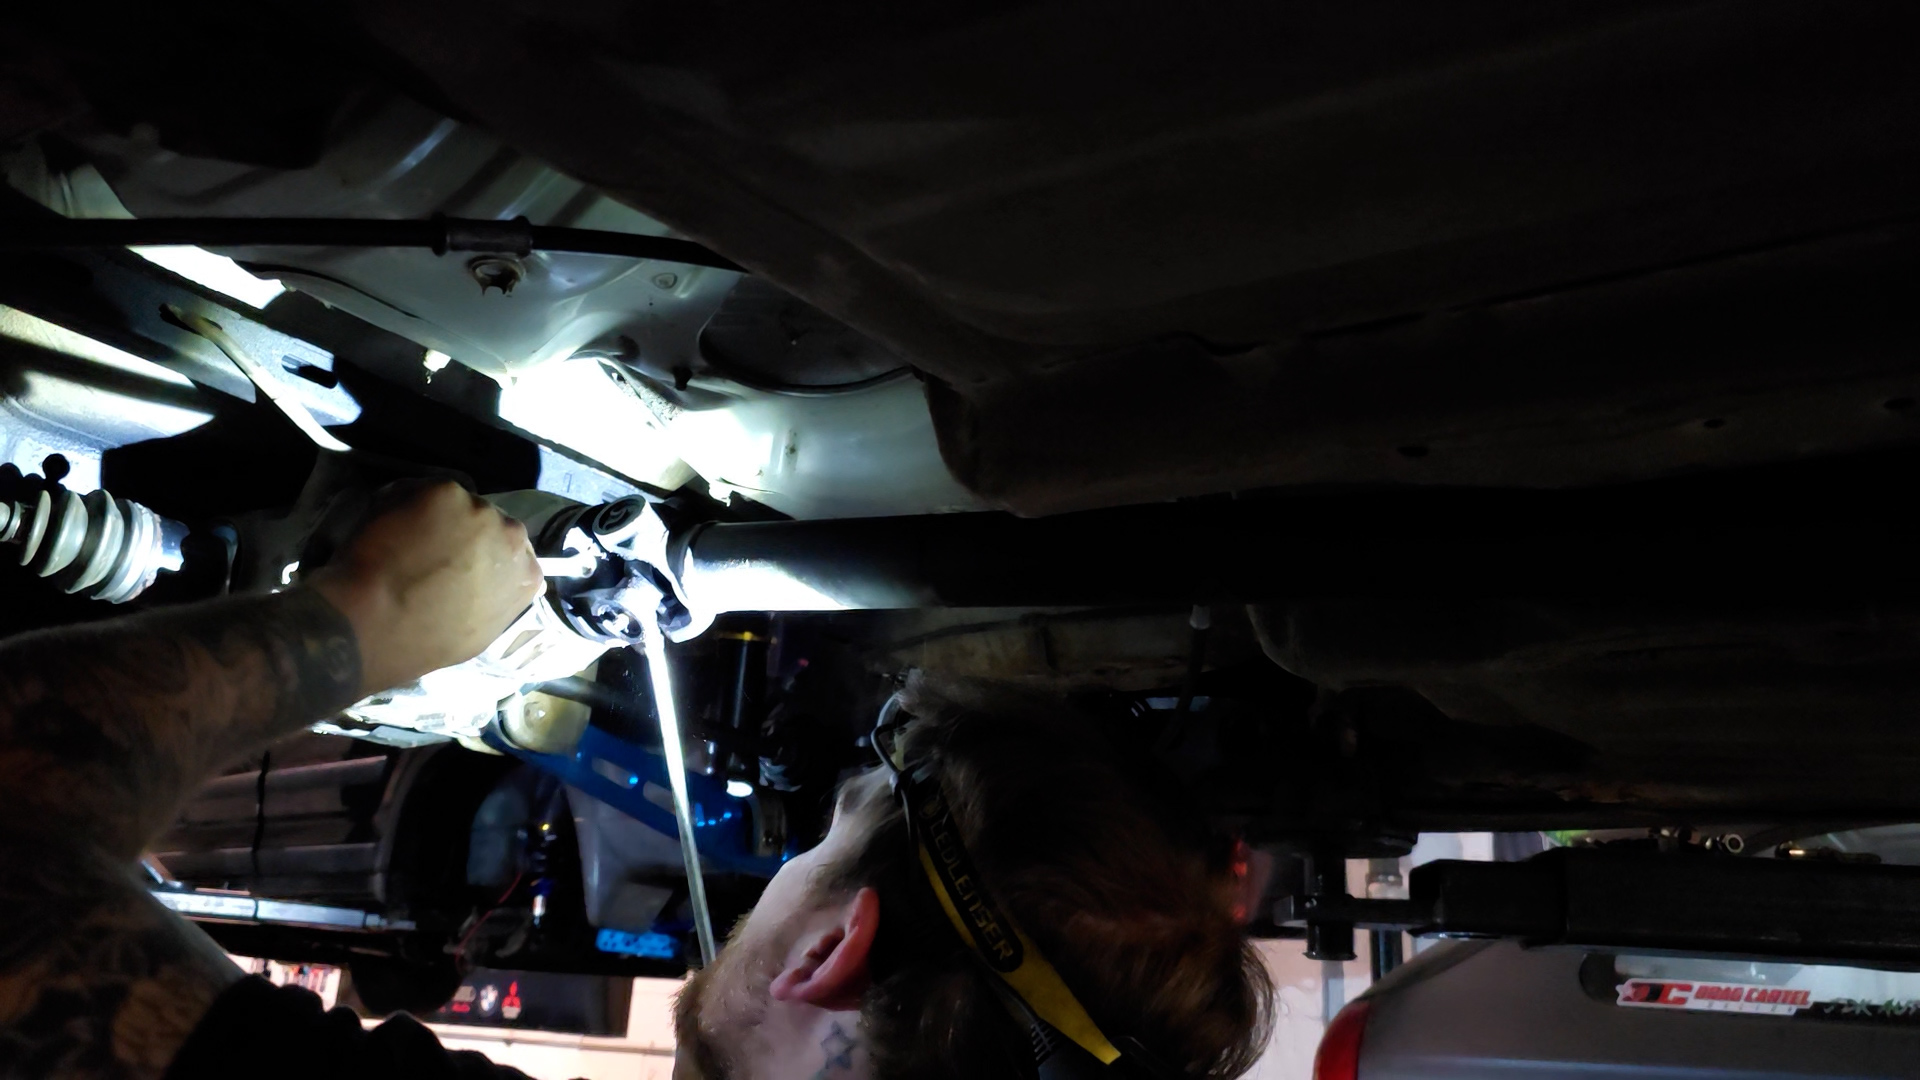
We moved the prop to one side and modified the tunnel because we weren't happy with how it was sitting.
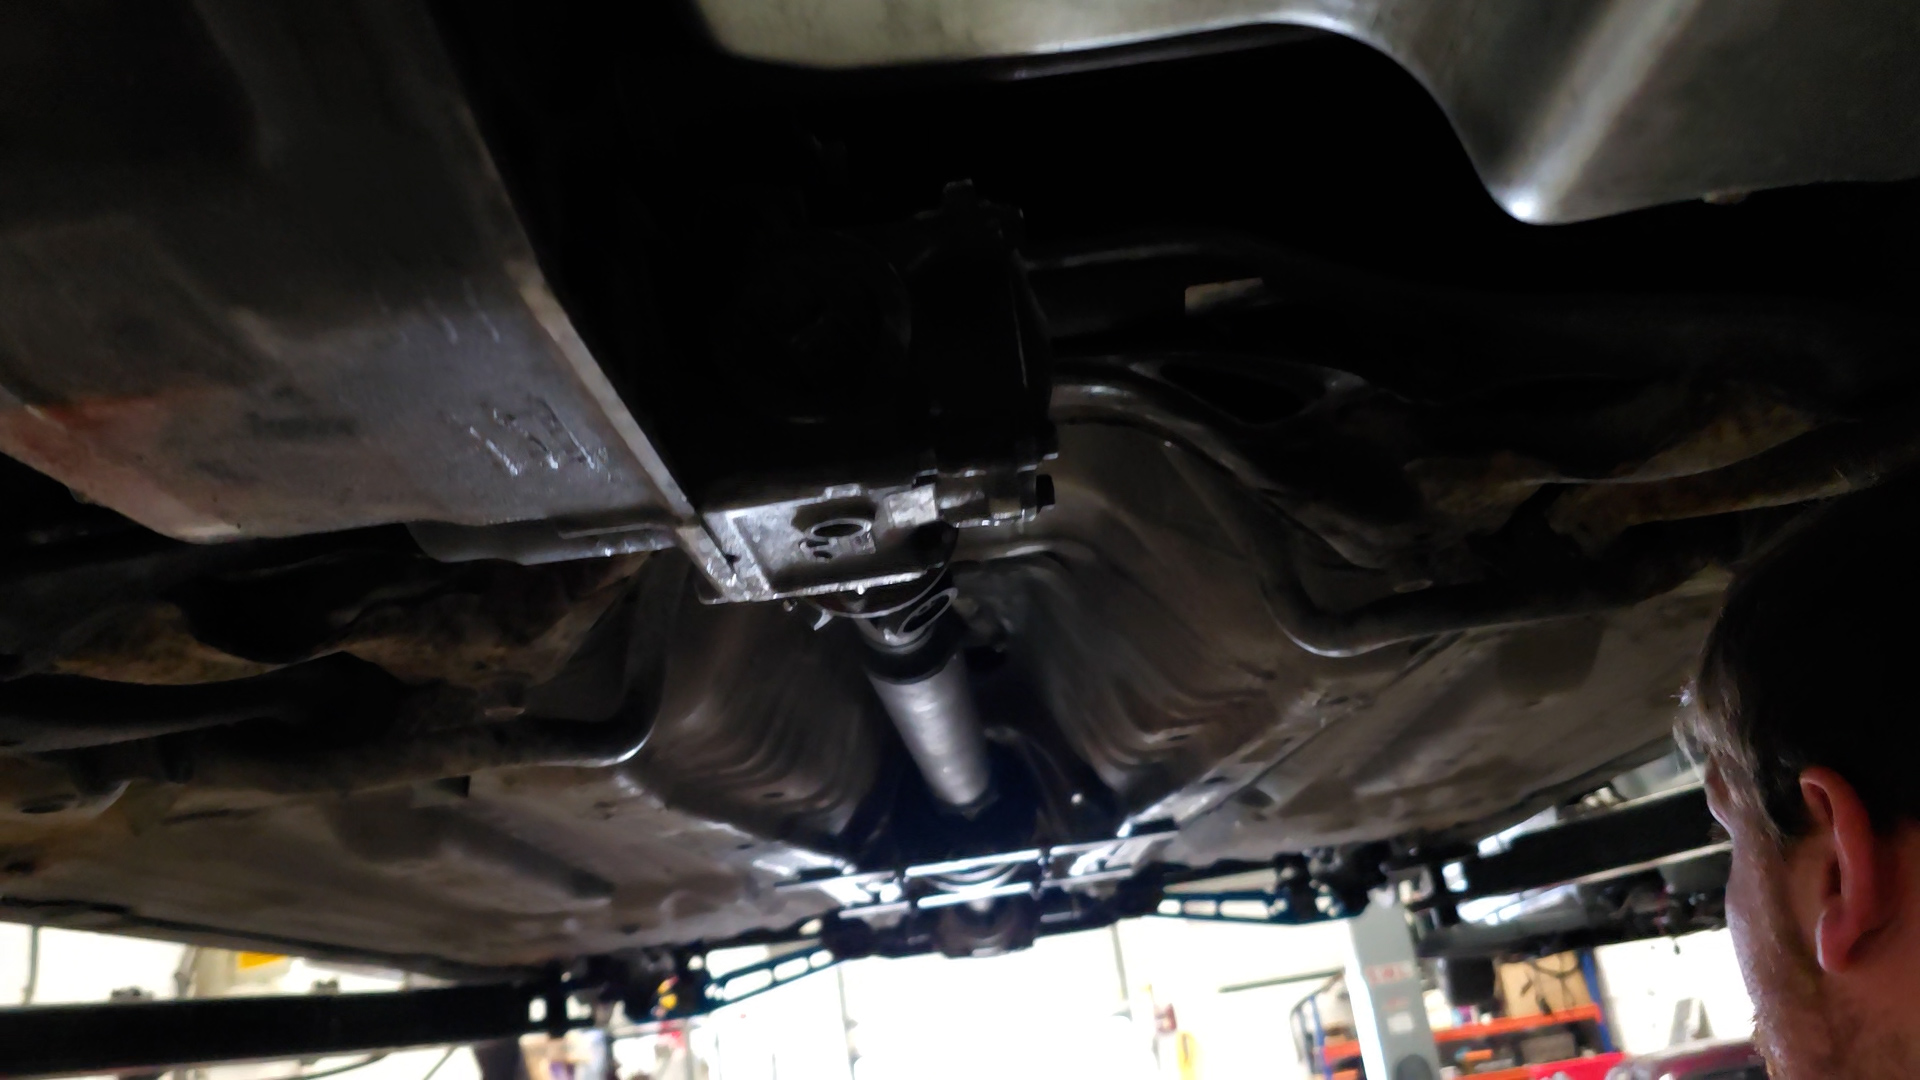
Once this was all sorted and the brace was welded in, we could tighten everything, and we finally had it back together as a 4WD Civic!
We were around 18 hours in at this point, so we headed back to the hotel and came back early in the morning to nut and bolt check all of our work and tie up any loose ends.
Conclusion
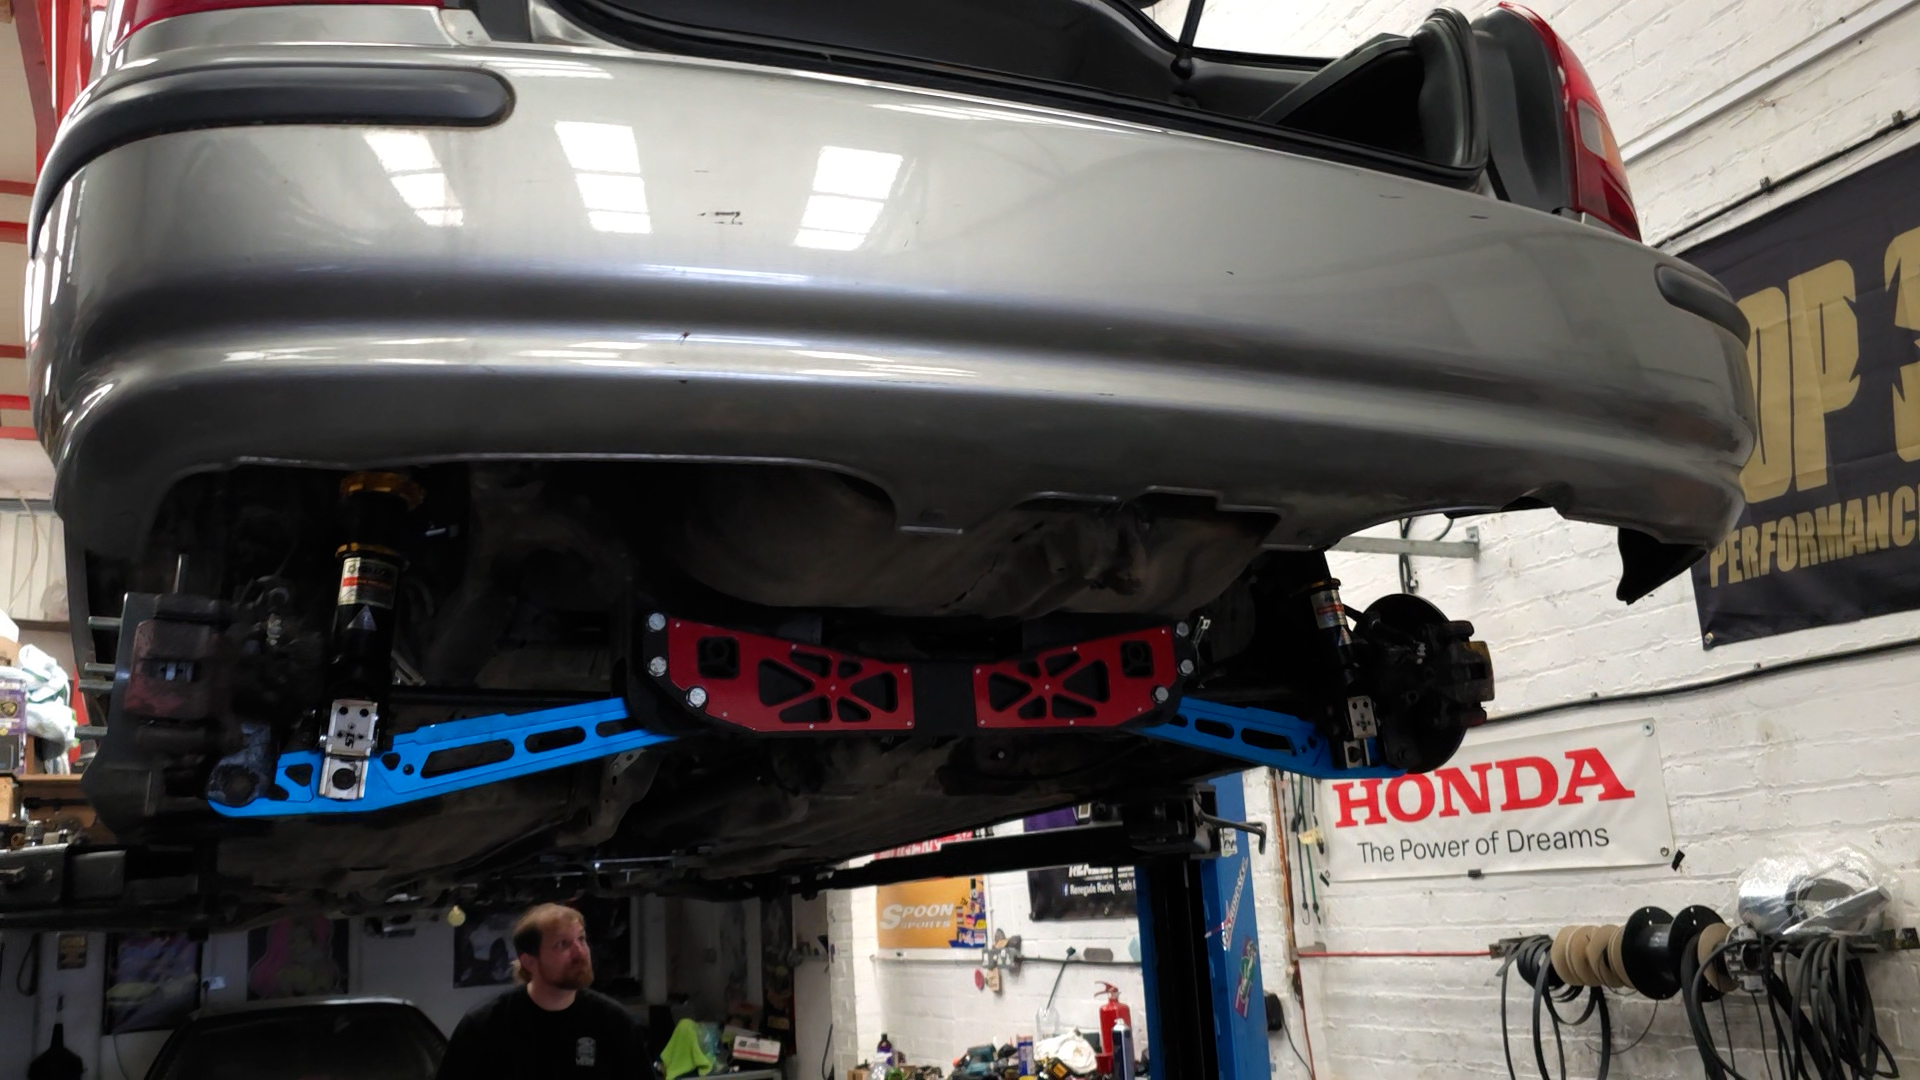
Did we get the AWD swap done in 24 hours? Yes! The car is now AWD; we need many more parts until it's driving, such as a fuel cell, ECU, fuel lines, brake lines, and smaller bits, such as a power steering pump.
I just want to thank everyone who helped this weekend, as everyone spent the entire weekend trying to help finish it. So, thanks to the JDK Autoworx guys, Darren and Jordy, Scott, Kym and Cortz!
If you haven't already, please make sure to subscribe to our YouTube channel if you would like to see updates. We will be filming every step of the way, from how it sits now until it is on the dyno, and we can finally send it on the road!
Thanks for reading, and we will catch up with you during the next instalment. Our next video will be us going over the full AWD specification and where we bought every single piece in case you are looking to build your own.
Let us know what you think of the build so far by dropping us a comment below!

