
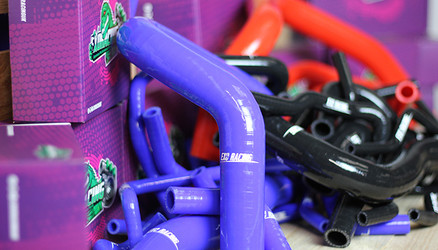
How To Install A Silicone Hose Kit
Posted by Matthew Marks on 1st Aug 2024
How To Install A Silicone Hose Kit
This guide shows how to remove old rubber coolant hoses, fit a silicone hose kit, refill the cooling system and bleed the coolant properly so the car is safe to drive.
Based on our Honda Civic D-Series install video, with step-by-step photos for each stage of the job.
Shop D-Series Silicone Hose KitThe simple answer
To install a silicone coolant hose kit, let the engine cool, lift the car safely, remove the radiator cap, drain the coolant, remove each old hose, match the new silicone hose to the same position, fit suitable clamps, refill with the correct coolant and bleed the system until no air bubbles remain.
The job is straightforward, but the details matter. A hose that is not fully seated, an over-tightened clamp, trapped air in the cooling system or a hose routed too close to a heat source can all cause problems later.
If the temperature rises after the install, stop and recheck the coolant level, bleed procedure, hose clamps and leak points before driving the car hard.
- Never remove the radiator cap or drain coolant from a hot engine.
- Match every silicone hose to the old hose before removing the whole kit at once.
- Do not over-tighten worm drive clamps, as this can damage silicone hose material.
- Bleed the system carefully with the heater on hot, so air does not stay trapped in the cooling system.
Watch The Install First
In our video below, we install a silicone hose kit on an older Honda Civic D-Series engine. The exact hose shapes will vary by car, but the process of draining, matching, fitting, clamping and bleeding applies to most Honda and Japanese coolant hose kits.
Tools And Parts Needed
Have everything ready before opening the cooling system. Coolant makes a mess quickly, and stopping halfway through because you are missing a clamp or drain tray is exactly the sort of avoidable pain this guide is here to prevent.
Tools
- Jack, ramp and axle stands.
- Socket and ratchet or flathead screwdriver.
- Pliers or a hose clamp tool.
- Funnel.
- Bucket or drain pan.
- Rags or workshop towels.
Parts and fluids
- Silicone hose kit for your exact car and engine.
- Correct coolant for your vehicle.
- Jubilee clips or worm drive clamps in the correct sizes.
- Replacement coolant drain plug washer if required.
- Heat sleeve if hoses or nearby wiring run close to a manifold, downpipe or turbo area.
Step 1: Lift The Car Safely
Start by lifting the car with a ramp or jack. If you use a jack, support the car with axle stands before working underneath it. Never rely on a jack alone while draining coolant or reaching under the radiator.
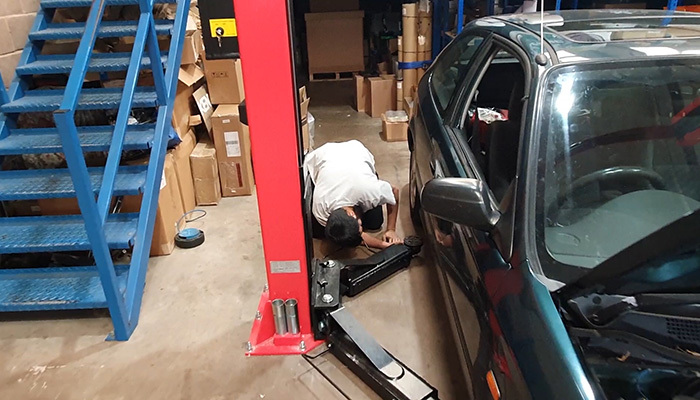
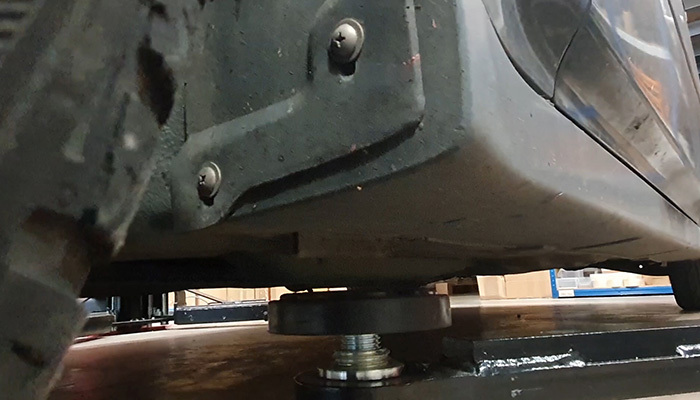
If you are using a ramp, make sure the lifting pads are correctly positioned on the jacking points, raise the car, then lower the ramp onto its locks before you start working.
Step 2: Remove The Radiator Cap And Drain The Coolant
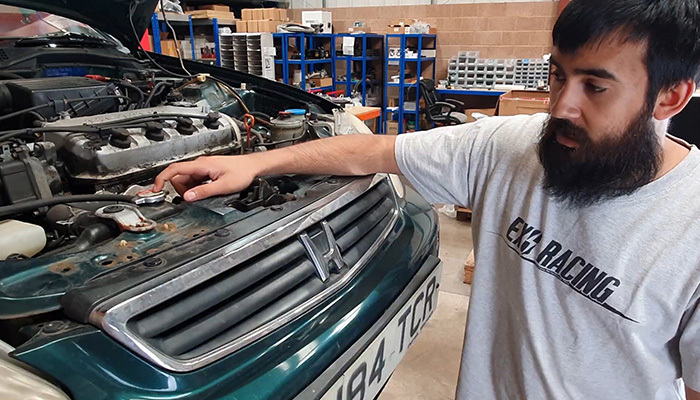
Make sure the engine is completely cool before touching the radiator cap. Removing the cap from a hot cooling system can release pressure and hot coolant, which can cause serious burns.
Once the engine is cool, remove the radiator cap. This helps the coolant drain more freely once the drain plug is opened.
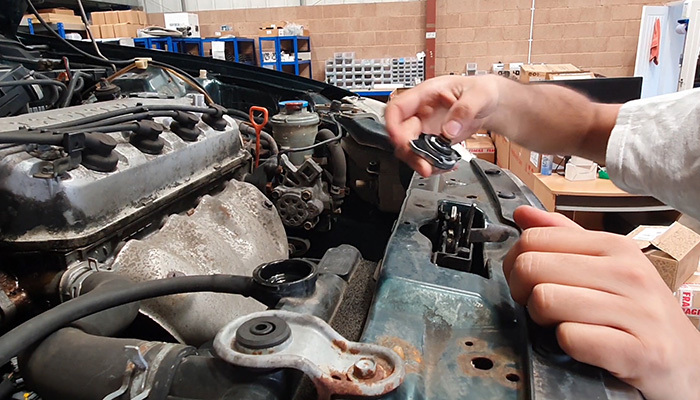
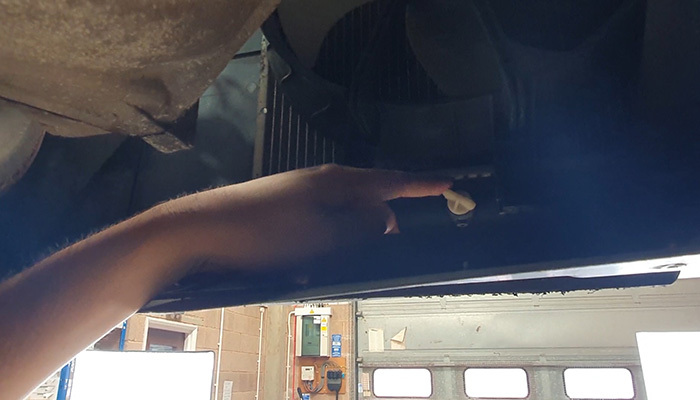
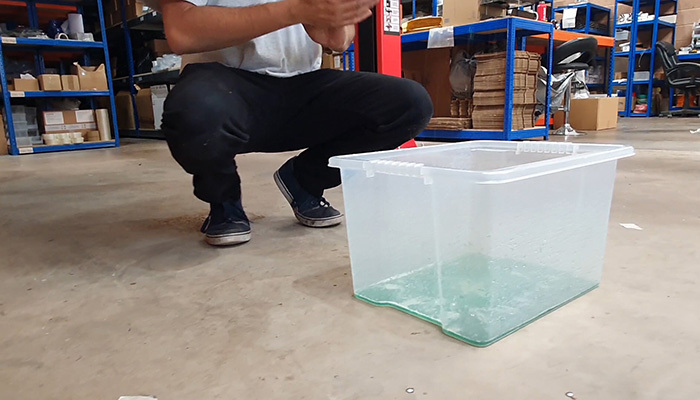
Place your drain pan under the radiator drain point, then loosen or remove the drain plug until coolant flows into the pan. Let the system drain fully before removing hoses; the job becomes far messier than it needs to be.
Step 3: Remove The Old Rubber Hoses
Before pulling everything apart, match the new silicone hoses to the existing rubber hoses in the engine bay. This helps you confirm the kit is correct and prevents confusion once the old hoses are off the car.
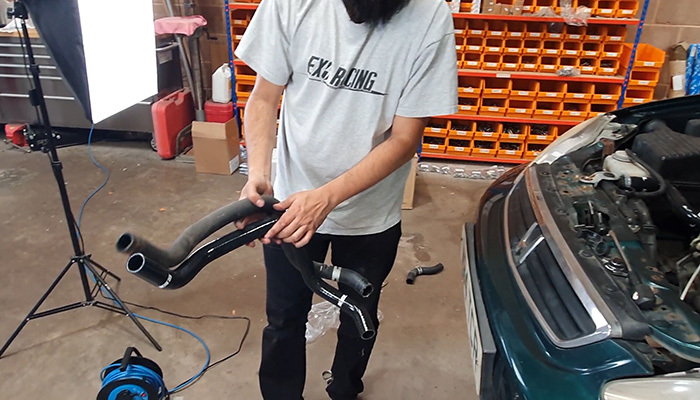
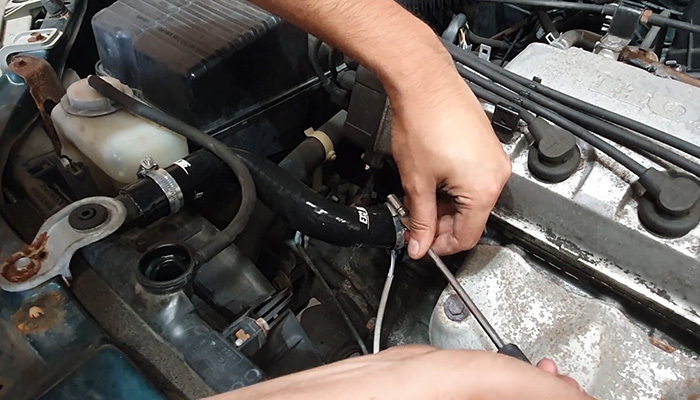
Remove the clamps from each end of the hose you are changing. Older clamps can be seized or awkward to move, so work them loose carefully instead of forcing them into the hose.
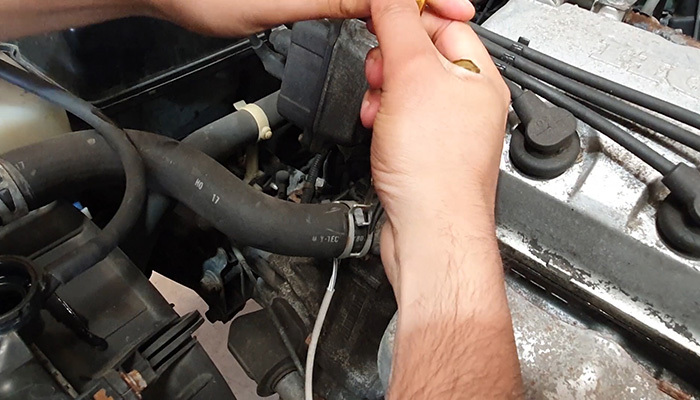
If a hose is stuck to the water neck, twist it gently to break the seal before pulling it off. Avoid using sharp tools against the sealing surface, because scratches can create leaks when the new hose is fitted.
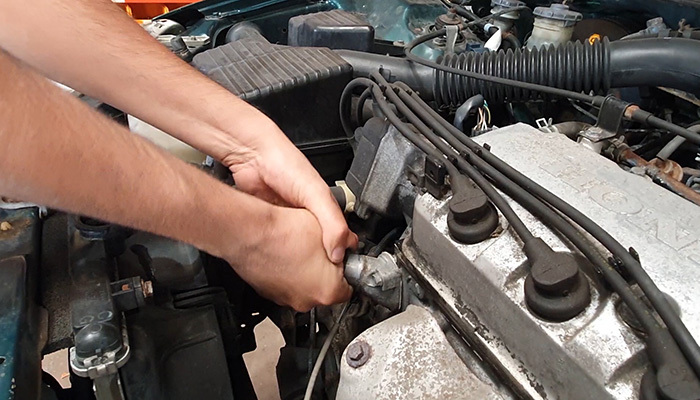
Step 4: Install The New Silicone Hoses
Fit the correct clamp loosely over each end of the new silicone hose, then push the hose fully onto the radiator, water neck or coolant pipe. The hose should sit in the same position as the original rubber hose.
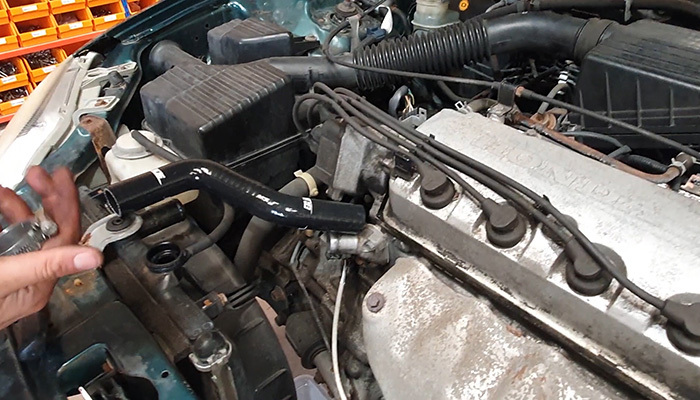
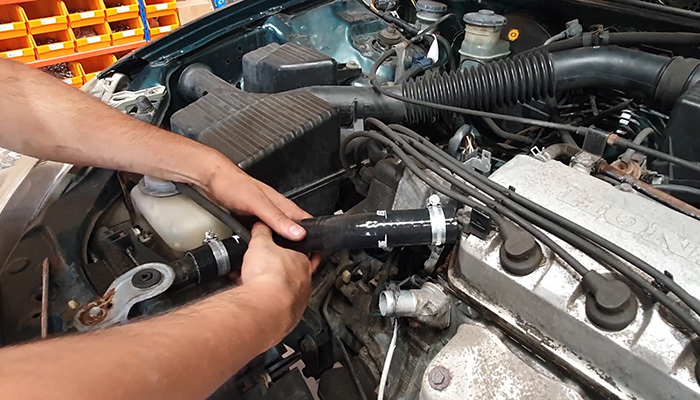
Tighten the clamp enough to seal the hose, but do not crush the silicone. Over-tightening can cut into the hose, distort the clamp area and create the same leak you were trying to avoid.
Choosing The Right Hose Kit
The most important buying point is fitment. Silicone hose kits are shaped for specific cars and engines, so do not buy by colour or rough appearance alone. Check the model, engine, year range and number of hoses before ordering.
For the D-Series Honda Civic used in this guide, the matching product is our Exoracing 10-piece silicone hose kit for 1992-2000 Honda Civic D-Series applications.
 Exoracing Silicone Hose Kit For Honda Civic D-Series 92-00 10pc
Direct replacement silicone coolant hose kit for refreshing aged rubber hoses on 1992-2000 Honda Civic D-Series builds.
From £149.99
Protect Hoses And Wiring Near Heat Sources
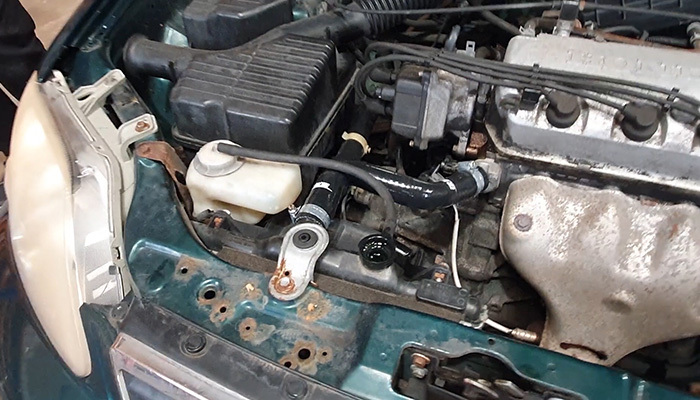
Before refilling the cooling system, check where every hose sits. Silicone hose can handle heat better than old rubber, but it should still be routed away from manifolds, downpipes, turbo pipework, sharp brackets and moving parts wherever possible.
The same applies to wiring near the cooling system. If fan wiring, sensor wiring or nearby loom sections run close to a hot part, protect the vulnerable area with a suitable heat sleeve after confirming the wiring is already in good condition. A heat sleeve is for protecting good wiring, not hiding damaged insulation.
If you need help choosing the right sleeve size, use our heat sleeve size chart. If heat is a wider issue on your car, our guide to engine bay heat problems and simple solutions explains the bigger checks to make.
Step 5: Add Coolant And Bleed The System
Once every hose is fitted and clamped, reinstall the radiator drain plug. Refill the system with the correct coolant for your car using a funnel, then check around every hose end for signs of dripping before starting the engine.
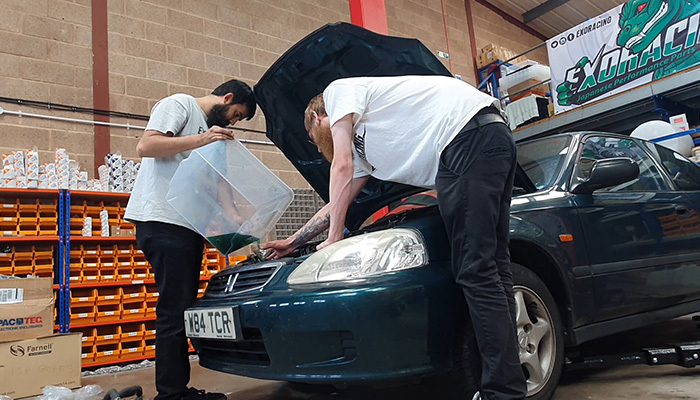
Lower the car if needed, set the heater to maximum hot, then start the engine and let it idle. The heater setting matters because it helps coolant circulate through the heater circuit while you bleed air from the system.
Keep topping up the radiator or header tank as air bubbles come out. Once the engine is at operating temperature, the coolant level is stable, no more bubbles appear, and the heater blows hot, you can refit the radiator cap carefully.
Final Checks Before Driving
- Check every hose is fully seated on its water neck or radiator outlet.
- Check every clamp is tight but not cutting into the silicone.
- Check that the radiator drain plug is secure.
- Check for leaks while the engine is cold, warming up and fully hot.
- Confirm the heater blows hot, which helps show coolant is circulating properly.
- Let the cooling fan cycle if possible, then recheck the coolant level once the car has cooled.
Common Silicone Hose Installation Mistakes
Removing too many hoses at once
If the kit has several similar shapes, remove and replace one hose at a time. This avoids mixing up routes or fitting a hose in a position where it looks close enough but does not sit correctly.
Over-tightening the clamps
Silicone hoses need a secure clamp, not a crushed one. If the clamp bites deeply into the hose, back it off and check that the hose is correctly seated.
Skipping the bleed process
A poorly bled cooling system can make the car overheat even when every hose is fitted correctly. If the temperature gauge behaves strangely after the install, bleed the system again before assuming the hose kit is the problem.
Ignoring heat and rubbing points
Do not let hoses rest on sharp brackets, moving pulleys, fan blades or hot exhaust parts. If a hose needs protection because of nearby heat, fix the routing first, then add suitable protection where needed.
Frequently Asked Questions
Are silicone hoses better than rubber coolant hoses?
Silicone hoses are a useful upgrade when old rubber hoses have gone brittle, swollen or cracked. They are also popular on modified cars because they handle heat and ageing well. For a fuller breakdown, read our guide to why silicone hoses are a strong choice for automotive cooling systems.
Can I reuse my old coolant?
If the coolant is very fresh, clean and captured in a clean container, it may be reusable. In most cases, fitting new hoses is a good time to refill with fresh coolant that matches your vehicle's requirements.
Do I need special clamps for silicone hoses?
Use clamps that fit the hose properly and apply even pressure. Worm drive or jubilee clips are commonly used, but the size and condition matter. A rusty, oversized or over-tightened clamp can damage the hose or fail to seal properly.
Why is my car overheating after fitting silicone hoses?
The most common causes are trapped air, low coolant level, a loose clamp, a leaking drain plug, a thermostat issue or a hose that is not fully seated. Start by letting the car cool, checking for leaks and bleeding the system again.
How do I clean silicone hoses?
Use a mild cleaner, engine bay degreaser or glass cleaner with a soft cloth. Avoid harsh tools that could scuff the surface, and wipe away any oil or coolant residue so it is easier to spot leaks later.
Conclusion
Installing a silicone hose kit is a manageable job if you work methodically: cool the car, drain the coolant, match each hose, fit the new hoses cleanly, avoid over-tightening the clamps and bleed the cooling system properly.
The most important part is not speed. It is checking every hose, clamp, route and leak point before driving. A tidy installation now saves you from coolant leaks, overheating and roadside frustration later.
You can shop the Honda Civic D-Series silicone hose kit, browse our wider silicone hose kit range, or contact us if you need help checking fitment.