How Much Does It Cost To Build An AWD Civic?
Posted by Matthew Marks on 17th Feb 2025
I'm Matt, the owner of Exoracing, and today we are going to show you how much it would cost to build an AWD Honda Civic.
I've built 2 for myself, including my EK, which we will use as a pricing base today. We have also sorted out multiple AWD kits for customers at different budgets, so by the end of this, you will know exactly how much it costs to AWD your Civic and the parts you can afford to make a start.
I will cut this down into sections, starting with the OEM parts you need and then moving on to the aftermarket parts.
If you want to know why we used all the parts we did, we have a blog and video going over how to AWD your Civic, which explains everything in more depth.
A Note: Before we start with the AWD pricing
As the pricing constantly changes on the parts we are using and the dollar-to-pound rate, we will use the pricing as of this month, February 2025, and use a 1.0 dollar-to-pound multiplier because we are not including shipping, as you could be viewing this from any country in the world so that we will stick to just retail pricing.
Another point I need to stress before we go any further is that you can use multiple brands or parts options, which will change the price.
This guide will only include the parts we have used in our specific build, so the total can either go up or down depending on the brand you choose.
We'll keep a running total as we go, so by the time we get to the end of this, you can see exactly how much every part costs, step by step.
There will be some optional parts included here, but most of them were worth including, such as the Speedfactory Racing FWD2AWD adapter kit, as to make the most out of the AWD, you also want the correct gearset.
One last note to make is that I assume you already have a Civic as a base, so I'm not going to add pricing for parts such as rear trailing arms that we modified to fit.
Oem AWD parts
As our base is a B-Series EK Civic, we will use all MK1 CRV parts, but if you are K-Series, you will use the equivalent MK2 parts.
So, starting from the front, we found an MK1 Honda CRV gearbox, transfer case, prop shaft, rear differential and rear driveshafts, all for £300 on Facebook marketplace, which was a bargain!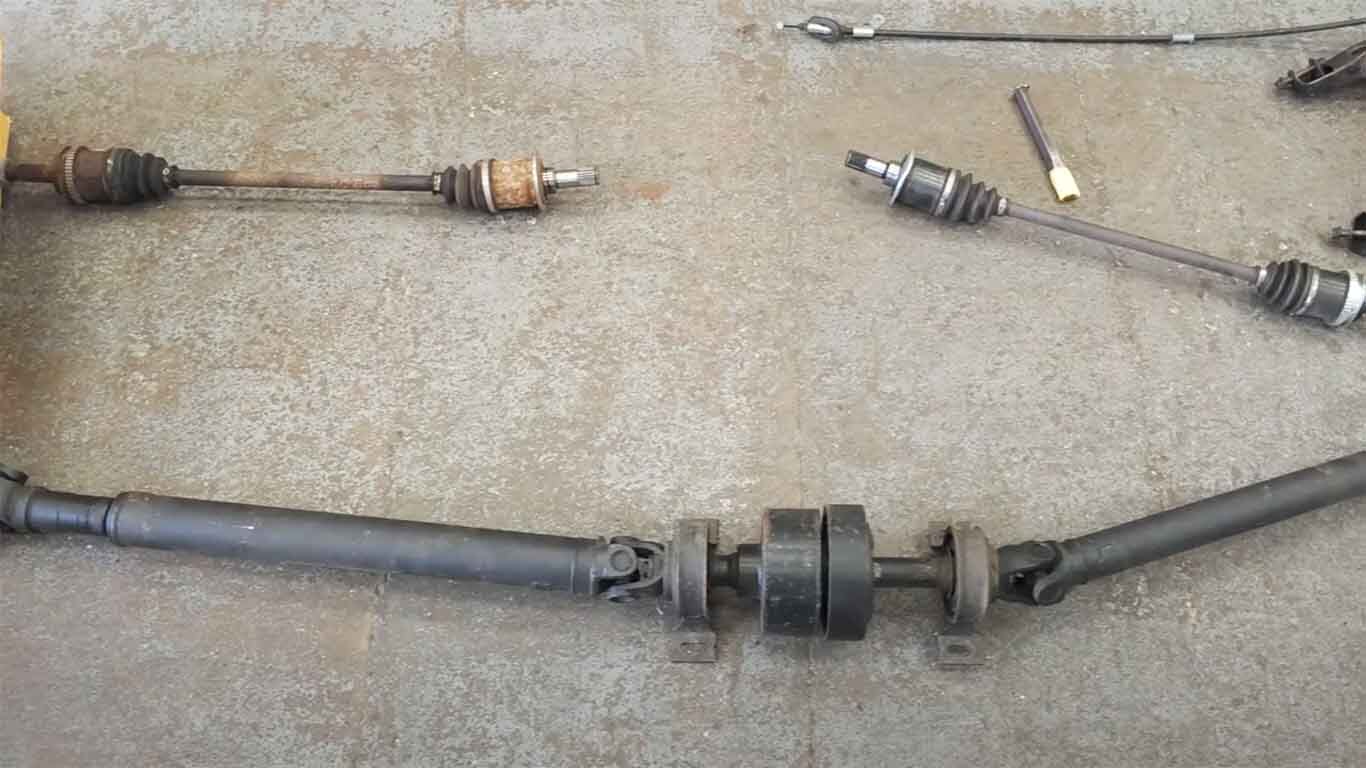
We already had an S9B gearbox on the car beforehand, but as we only needed the gears and shafts from it, I would estimate this to be around the £300 mark, which I'll add just in case you don't already have this gear set.
We then went out to get a Freelander prop shaft and viscous coupler as well, as they are stronger than the CRV, and we wanted to use the viscous coupler in the centre of the prop to control the power delivery to the rear.
OEM Parts Cost
Parts |
Cost |
Running Total |
| S9B Honda gearbox | £300.00 | £300.00 |
| CRV SBXM gearbox, CRV transfer case, CRV prop shaft, CRV rear differential | £300.00 | £600.00 |
| Freelander propshaft and viscous coupler | £200.00 | £800.00 |
Aftermarket Parts
This section is where most of the money will be spent, as quite a few aftermarket parts make up the AWD kit.
I will break this down into a few sections: firstly, the gearbox and shifter setup, then the rear AWD parts, fuel system, exhaust, fabrication and miscellaneous parts, and finally, the total.
Gearbox, internals and shifter setup
So, starting with the gearbox, we decided to use the S9B gearset as the gears are much longer, and to make this work, we fitted the Speedfactory Racing FWD2AWD Conversion kit.
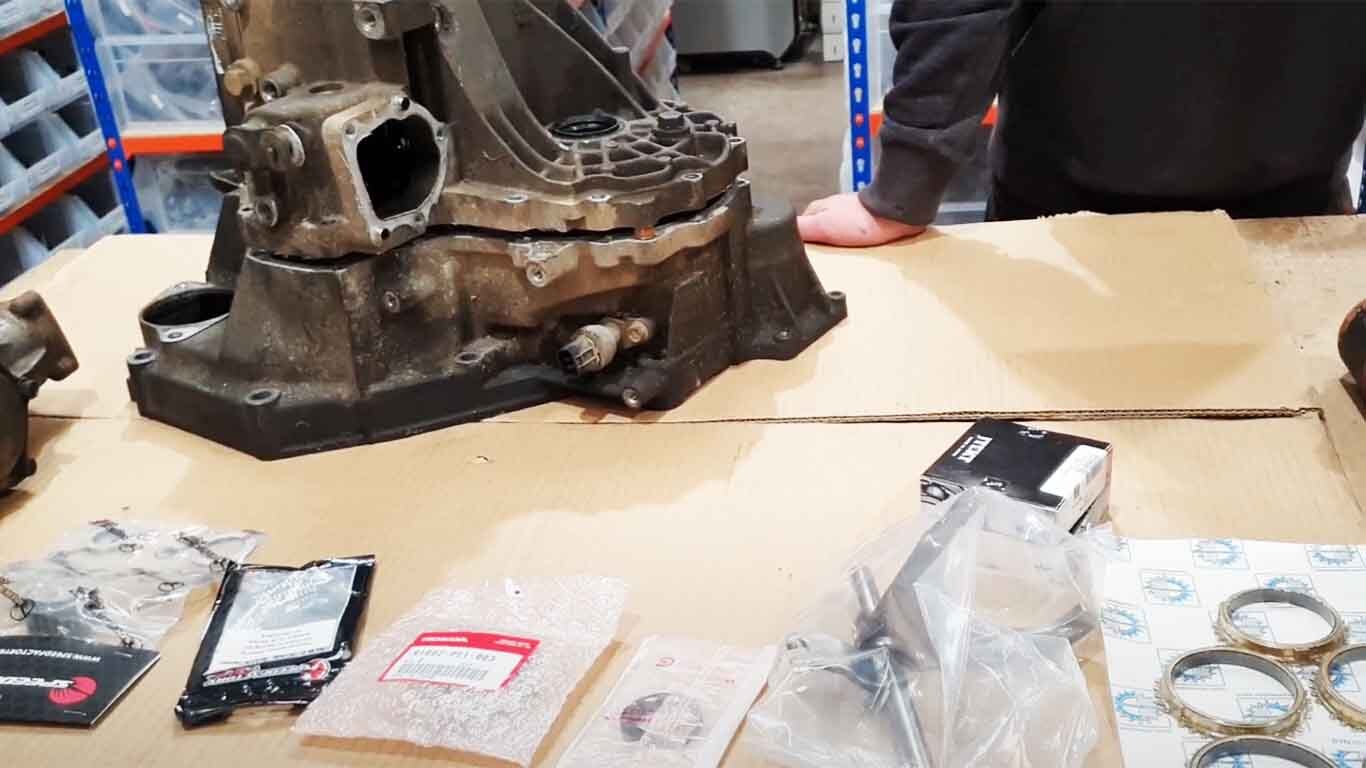
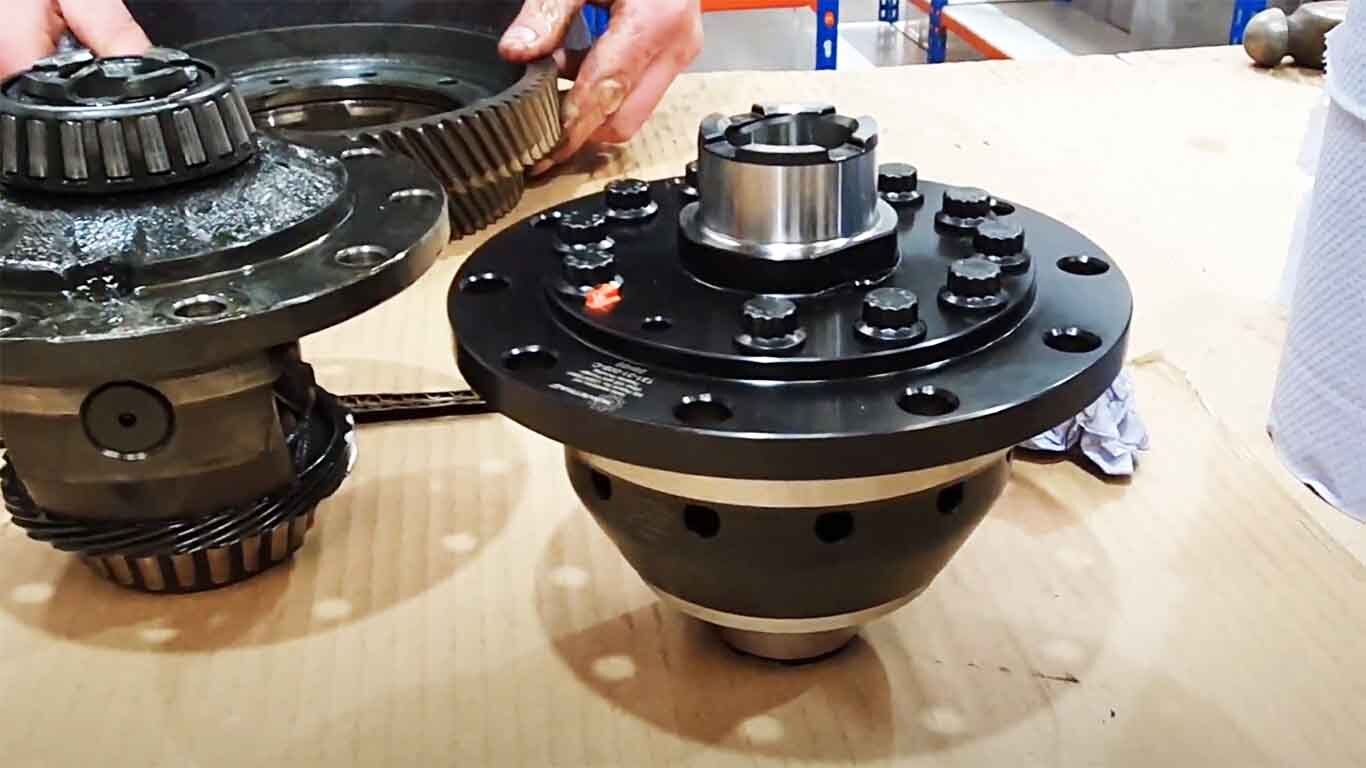
This meant we could use the S9B gearset (the longest OEM B-Series set) in the BAWD gearbox. We then upgraded the synchros to carbon Synchrotech and added a Wavetrac B-Series AWD differential.
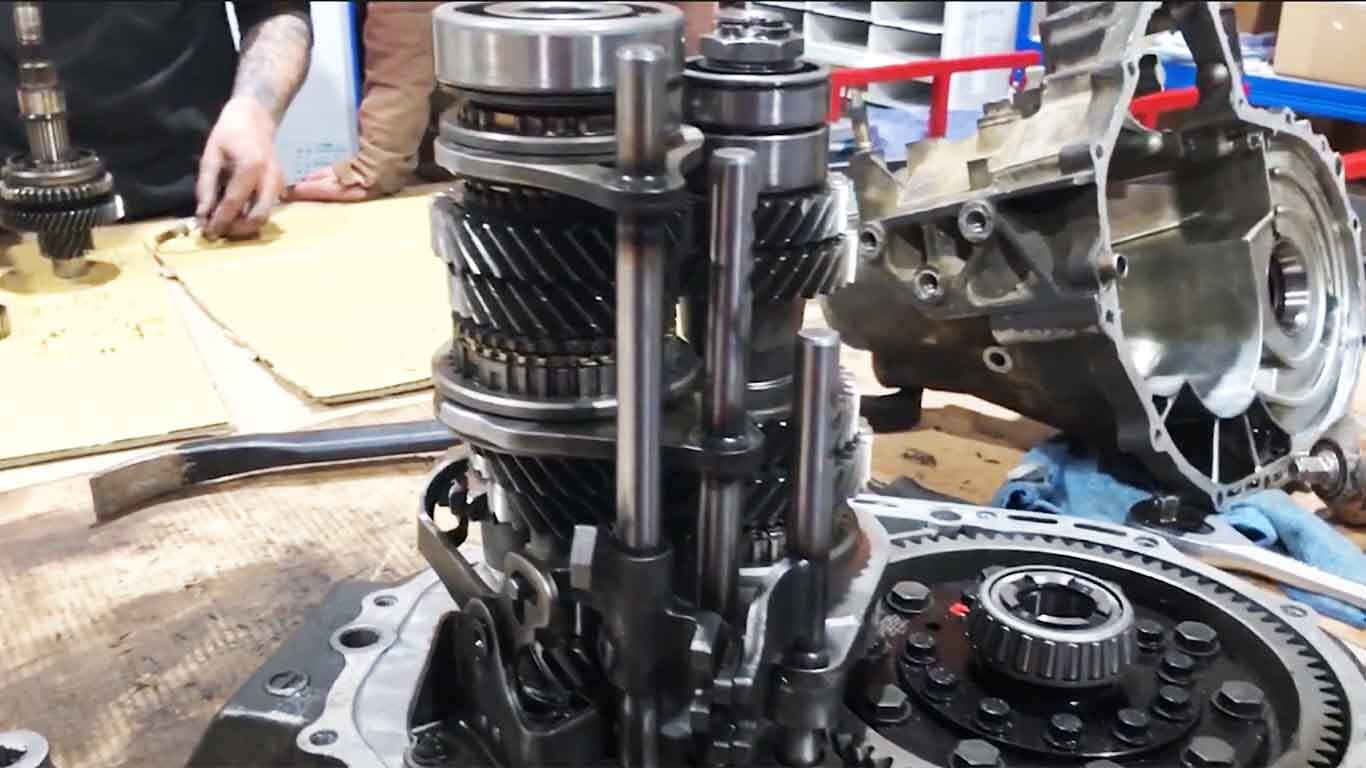
We had to use the specific Hasport AWD engine mounts to actually mount the gearbox and engine as the gearbox mount is slightly different than FWD, and the rear bracket is designed around the transfer case.
For the shifter and cable side, we opted for K-Tuned BAWD shifter cables, as, at the time, they were the only company making BAWD cables and paired this with a Hybrid Racing CL7 shifter and base plate.
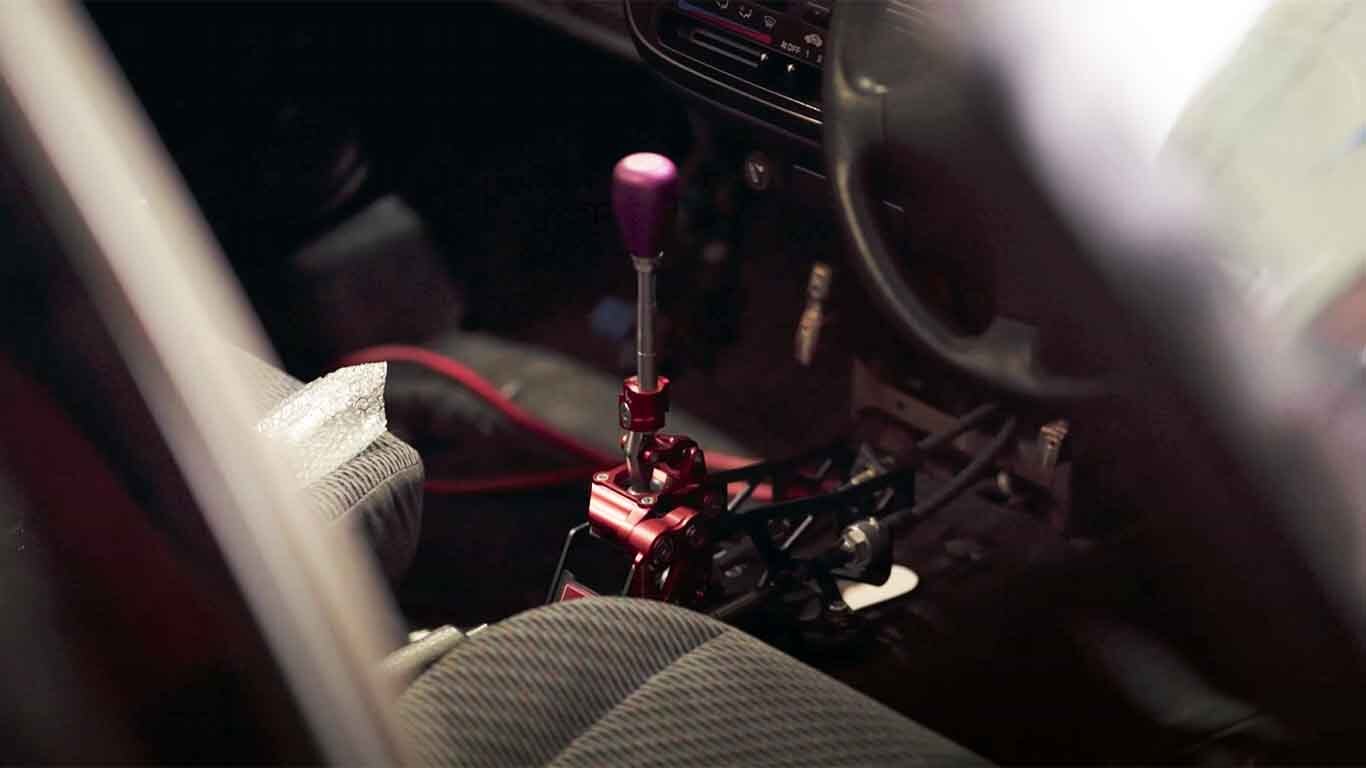
We used the Hybrid Racing CL7 short shifter because the CRV shifter shares the exact pickup locations as the Honda Accord CL7, making it a perfect plug-and-play pairing.
Lastly, to neaten everything up, we used the K-Tuned firewall grommet, which stops the shifter cables from rubbing against the firewall and causing any issues in the future.
Gearbox Parts Cost
Parts |
Cost |
Running Total |
| Speedfactory Racing FWD2AWD conversion kit | £524.99 | £1,324.99 |
| Synchrotech carbon rebuild synchro kit | £419.95 | £1,744.94 |
| Wavetrac B-Series AWD differential | £1095.00 | £2,839.94 |
| Hasport BAWD 75A engine mount kit | £633.33 | £3,473.27 |
| K-Tuned BAWD shifter cables | £419.99 | £3,893.26 |
| Hybrid Racing Honda Accord CL7 Shifter | £473.00 | £4,366.26 |
| Hybrid Racing Honda Accord CL7 base plate | £193.00 | £4,559.26 |
| K-tuned firewall grommet | £64.02 | £4,623.28 |
Rear AWD parts
Now we get into the juicy parts, the rear of the car. This is where the magic comes in, and we start fitting everything to make the rear wheels turn! So, starting with the arms, we used the S1Built DIY rear trailing arm conversion kit, which includes the hub, bearings, and weld-in gusset plates.
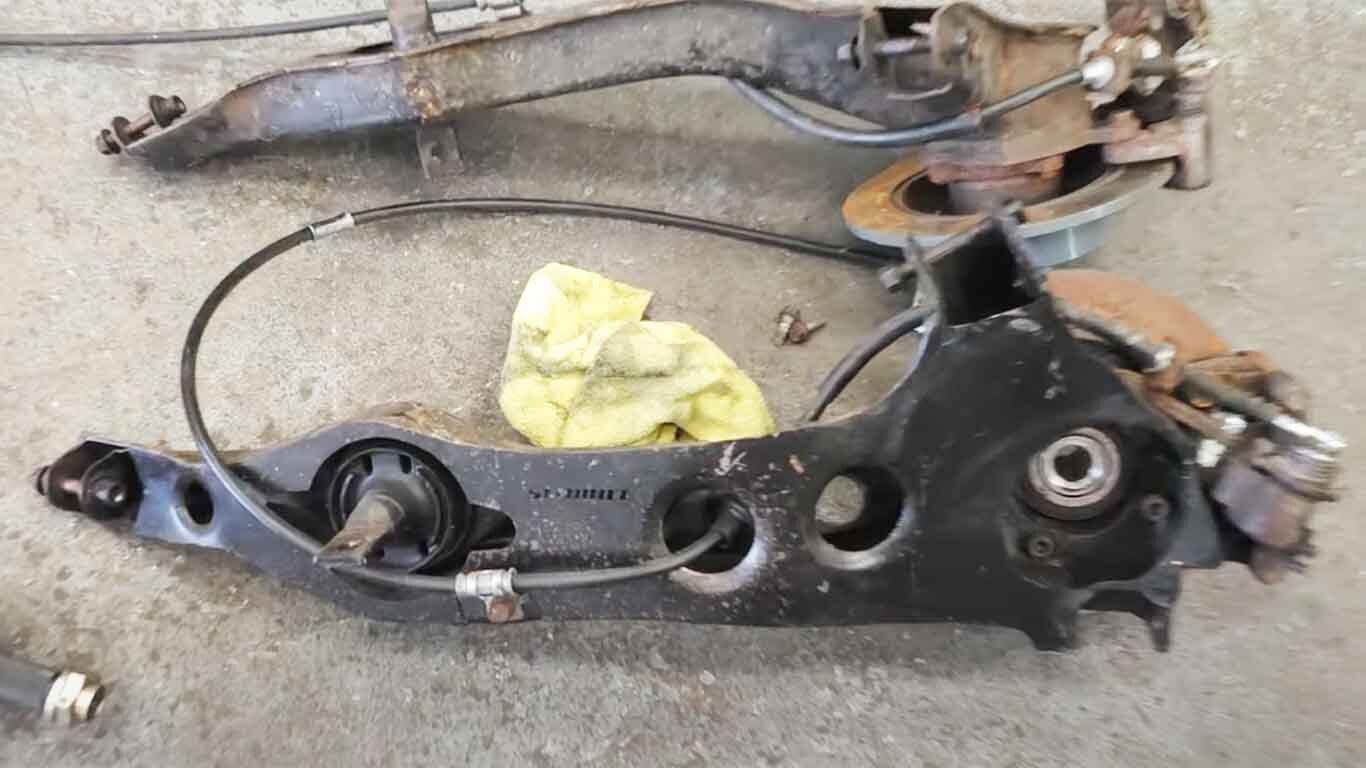
This converts the rear arm to take driveshafts. Then, we must find a way to move the suspension out of the way, as the driveshafts sit perfectly in line with our coilovers.
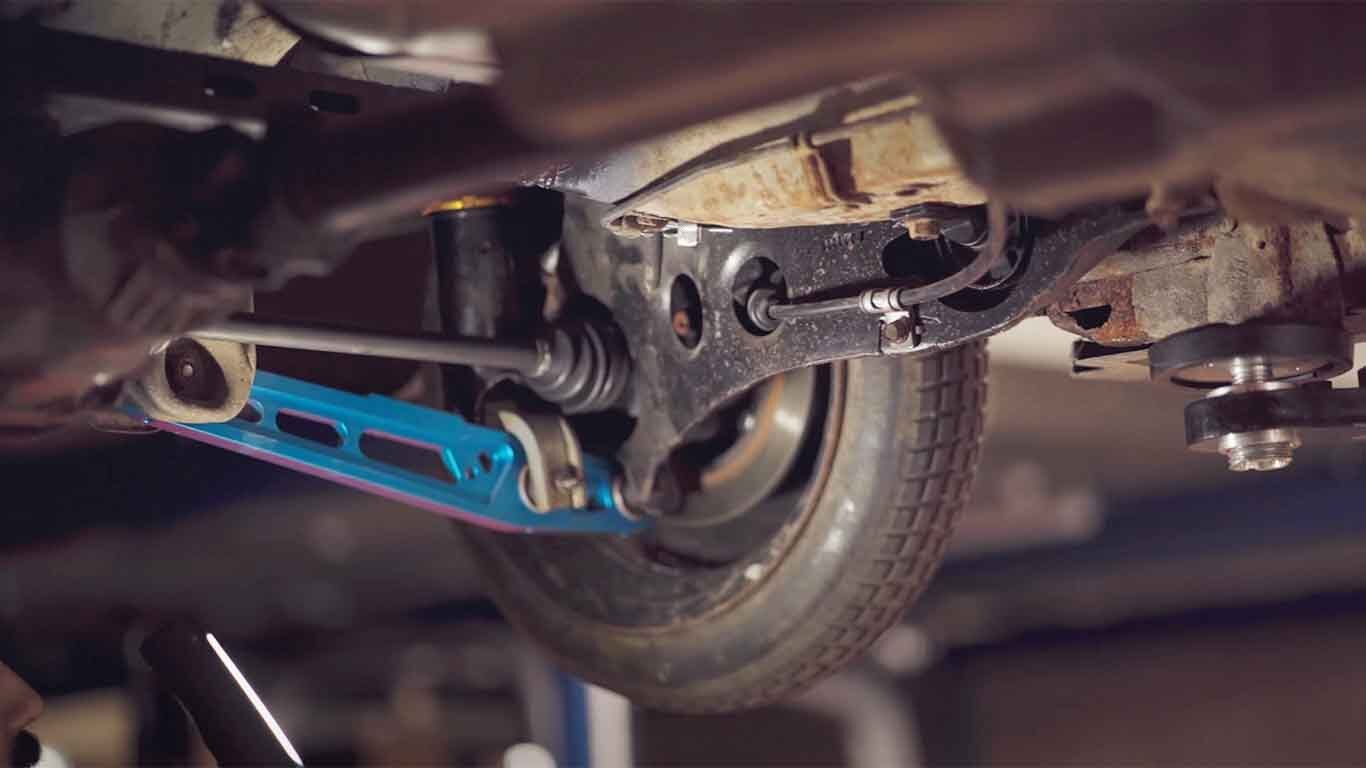
We went again with S1Built and used their rear shock brackets, which moved the coilover over far enough to not cause an issue.
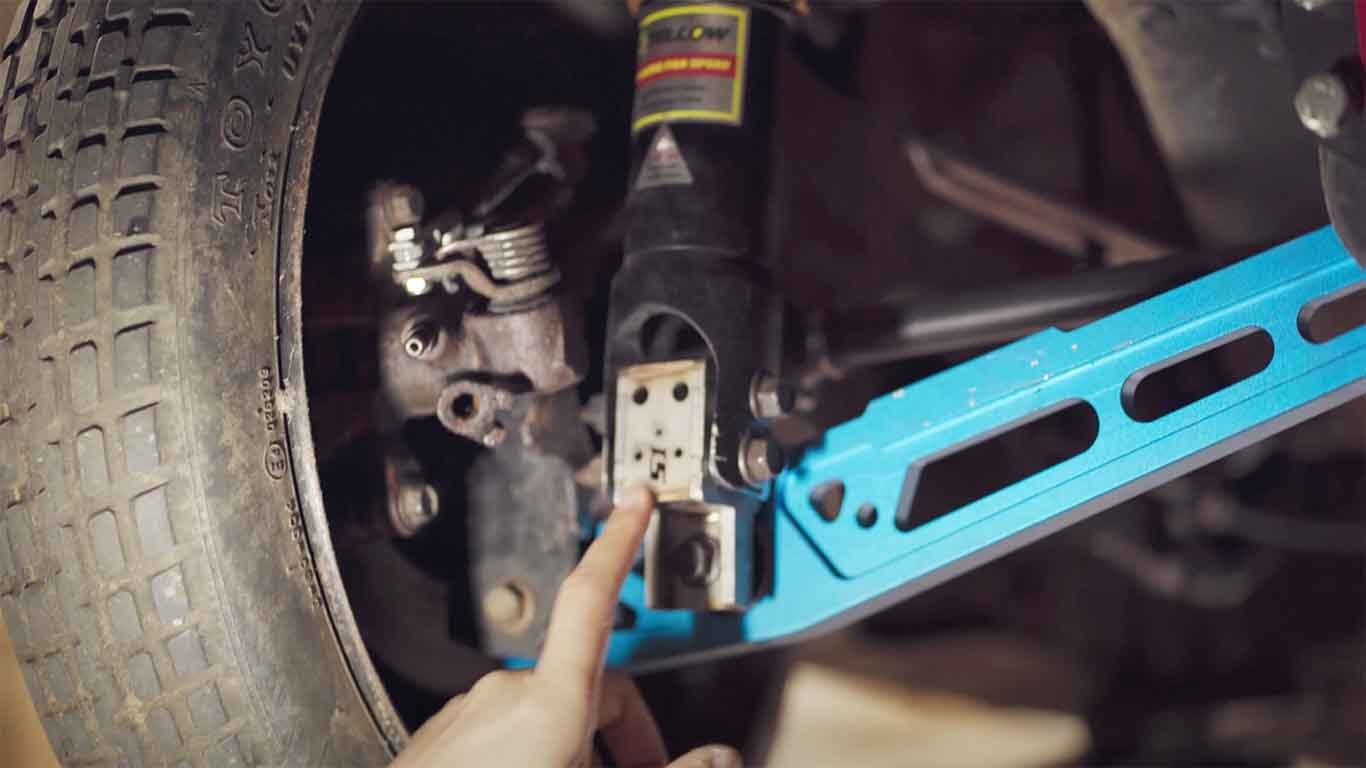
For driveshafts, we went with a pair of insane 500bhp shafts, although we ended up using 2 x passenger shafts as the differential is now centralised and the driver's side shaft was too long to fit.
For mounting the rear differential, we went for the innovative rear diff brace kit, which allowed us to get the differential to sit directly in the centre, and we only had to weld the brackets on either side.
The next part was to send off both prop shafts to get the machine shop to cut the Freelander to length, match the joints on either end and upgrade them to 1310 joints, so fingers crossed we don't break them.
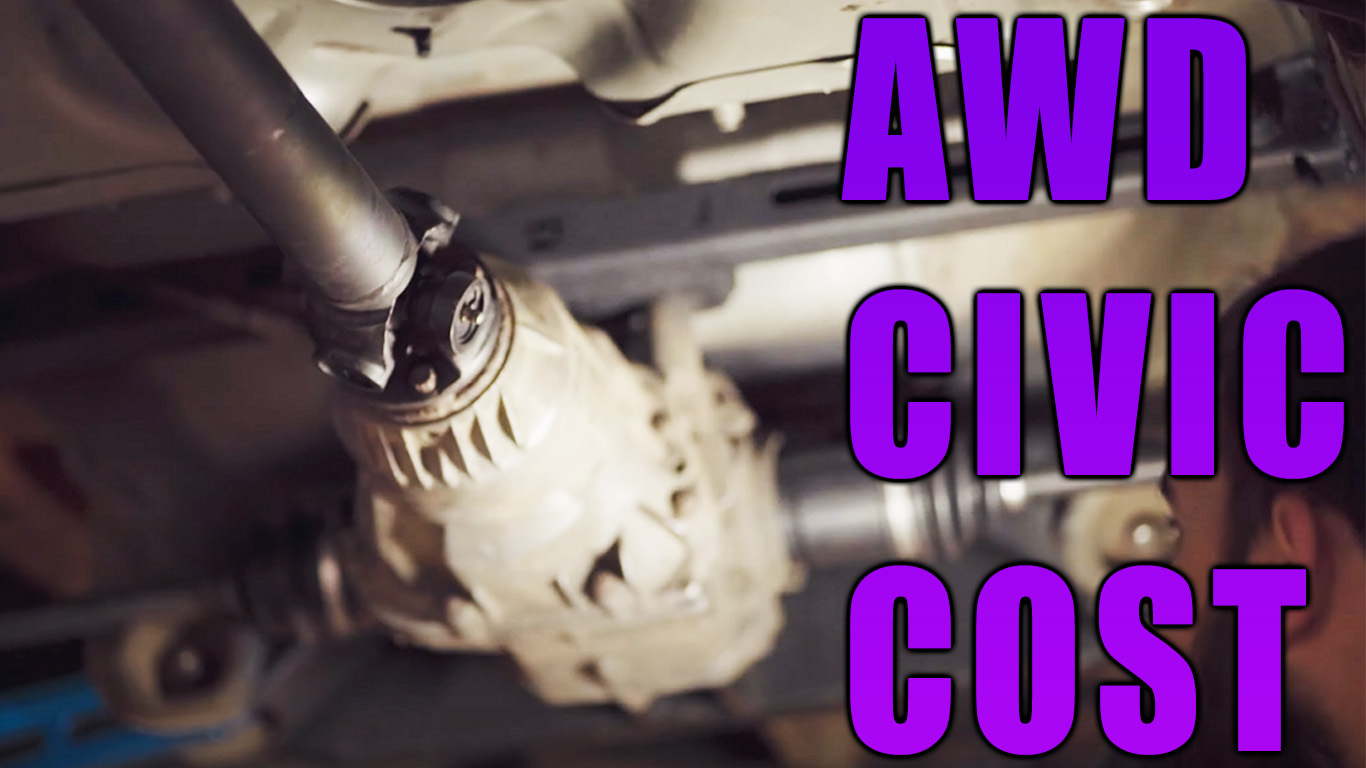
The prop was gone for around a week, and they cut, welded, powder coated and balanced the prop, which then fit perfectly. Lastly, as we were now using a viscous coupler, we decided to use S1Built once more for locking plates inside the rear differential.
Before moving onto pricing, we had to remove the fuel tank to make this work as it sat directly in the way of the rear diff. We go into the fuel cell later, but bear this in mind. This was now the complete parts list for the rear of the car, completing this section. Now, on to the pricing!
Rear AWD Parts Cost
Parts |
Cost |
Running Total |
| S1Built DIY rear trailing arm conversion kit | £557.00 | £5,180.28 |
| S1Built rear differential locking plates | £157.00 | £5,337.28 |
| Innovative AWD rear differential brace | £623.22 | £5,960.50 |
| Insane Shafts 500bhp rear driveshafts | £500.00 | £6,460.50 |
| S1Built rear shock brackets | £153.00 | £6,613.50 |
| Freelander Propshaft modification | £250.00 | £6,863.50 |
Fuel System
Now that we have sorted and priced all the AWD parts, we can move on to the fuel system. So, there are a few ways of doing this, but we opted for the fuel cell in the boot option.
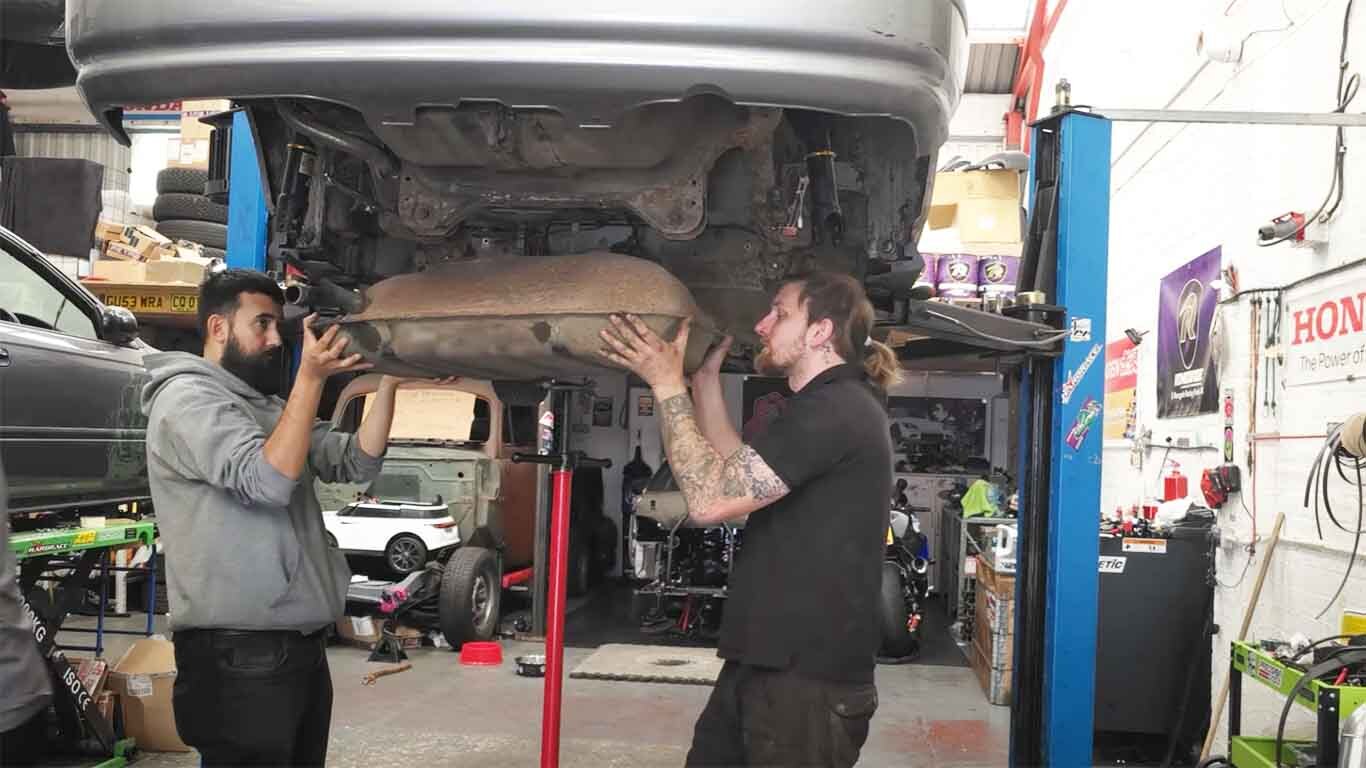
So we went for the Nuke Performance 40ltr fuel cell, which includes an integrated swirl pot, 2 x AEM 340lph fuel pumps, 1 x DW200 lift pump, dual fuel pump fitting kit, level sender, and wiring.
If you would like to build your own swirl pot system, watch our video below as we run through how to put one together from scratch.
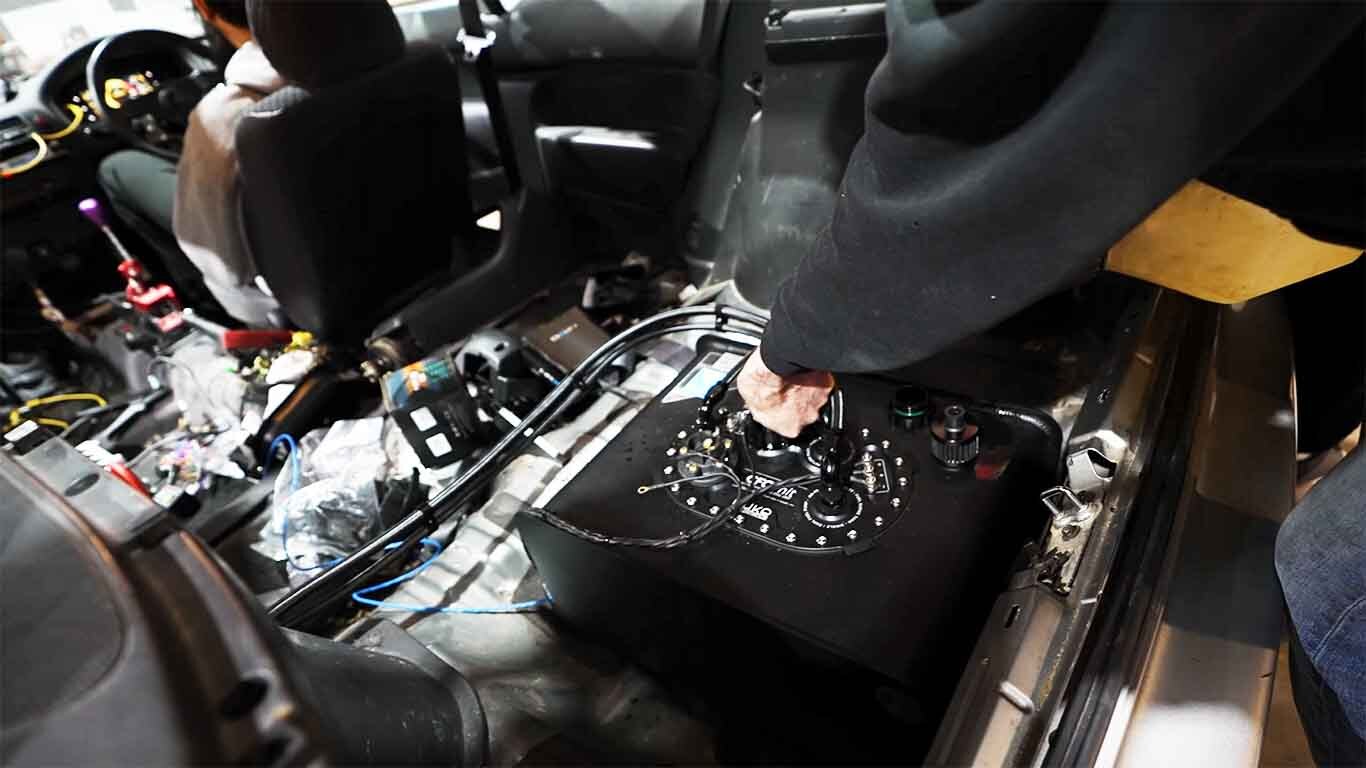
We must then make the fuel lines from the front to the car's rear. You can do this in multiple ways, including various line sizing, so we will average this out at £250 for fuel lines and fittings.
Fuel System Parts Cost
Parts |
Cost |
Running Total |
| Nuke Performance 40ltr competition fuel cell | £1,084.80 | £7,948.30 |
| Nuke Performance dual fuel pump fitting kit | £49.20 | £7,997.50 |
| Nuke Performance fuel tank level sender | £87.00 | £8,084.50 |
| 2 x AEM Electronics 340lph E85 fuel pumps | £319.28 | £8,403.78 |
| 1 x Deatschwerks DW200 fuel lift pump | £107.86 | £8,511.64 |
| Fuel lines and fittings | £250.00 | £8,761.64 |
Exhaust System
Now we have sorted everything for the AWD system and have every part we need. The last thing on the list would be the exhaust system.
So, for some people, this would be optional as you may be using it as a drag car, for example, where you can have a bonnet exit, but for this guide, we have gone with a full road specification, so we are going to need a full exhaust.
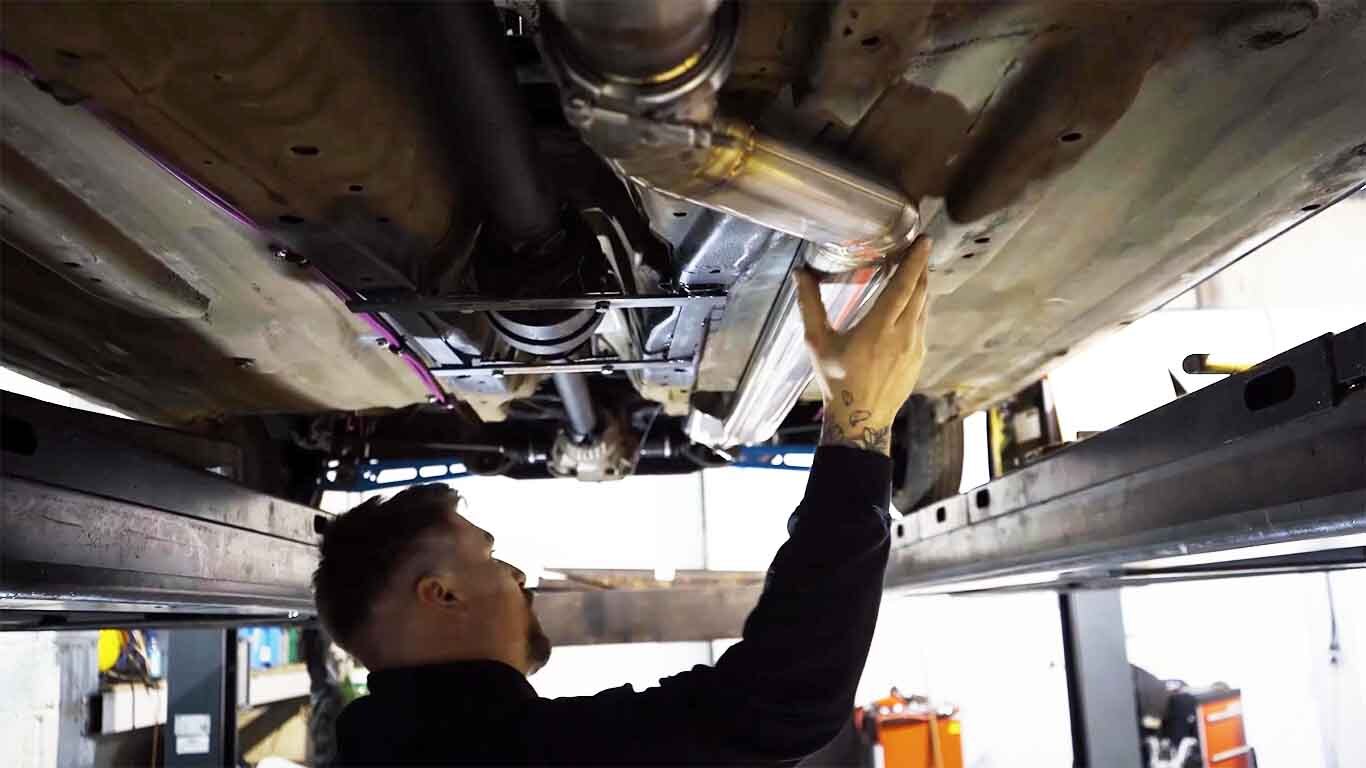
As this is a very custom thing, we will estimate using past experience. The parts you will need to make it work, such as the silencers, backbox, sports cat, V-Band clamps etc.
I'll put our AWD exhaust video below in case you need some inspiration on routing (spoiler alert, we managed to get the full exhaust in).
Lastly, we ended up having to move the brake lines to the other side of the car as the ehaust was running down the passenger side, and we couldn't make it work down the driver's side.
Exhaust System Parts Cost
Parts |
Cost |
Running Total |
| Full custom AWD exhaust | ~£1200 | £9,961.64 |
| Custom front to rear brake line relocation | ~£100 | £10,061.64 |
Fabrication/ Wiring/ Miscellaneous
The final thing is anything extra we may have missed, such as random bolts, wiring, etc. The one thing on our list that we forgot about was the wiring and relays to the fuel pumps and level sender for the fuel cell.
After this, you have every part you need to build yours!
Parts |
Cost |
Running Total |
| Fuel tank level sender wiring, pump wiring, relays | £150 | £10,211.64 |
| Full BAWD Conversion Total Cost | £10,211.64 |
Conclusion
So there we have it; at just over £10,000, you can have all the parts to build your own AWD Civic weapon and start terrorising other cars who won't expect it.
You don't have to use every part we used here, and you can save money using cheaper options, for example, an OEM CRV shifter rather than the Hybrid Racing version, but as a base guide, this should at least give you a rough budget.
If you would like to learn how to piece everything together, we have a YouTube video, which I've linked above, that goes into more in-depth detail about the parts involved in the build and why we chose the parts we did.
Thank you for reading, and if you need any of the parts in this guide or if it has been helpful for you, get in touch with us, as we can supply most of them or at least point you in the right direction.

