
How To Install Heat Reflective Tape Without Peeling
Posted by Matthew Marks on 2nd Aug 2024
Heat reflective tape is one of the easiest ways to reduce engine bay heat, but most people install it incorrectly.
Wrinkles, lifting edges, poor adhesion, and uneven coverage are all common problems, especially on bends and welded sections.
In this guide, we will show you exactly how to install heat reflective tape properly, step by step, so it sticks cleanly, looks professional, and actually works.
This guide is based on real installs we have done on our own cars, including high-heat turbo setups.
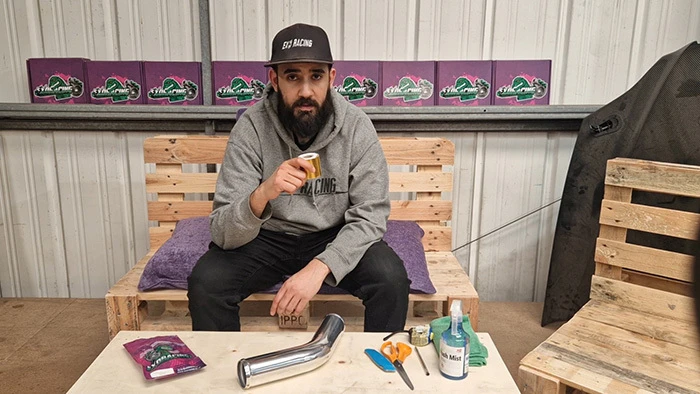
If you would rather watch the video of us installing the heat reflective tape, then please head to the video below, but please also make sure to subscribe to our YouTube channel for more installation guides!
Installing reflective heat tape can be done quickly, but preparation is key to ensuring the best finish. Follow us through our guide as we review this in depth.
- Clean the surface properly, or the tape will not stick
- Cut strips before installing for better control
- Use smaller strips for bends and tight areas
- Apply pressure to activate the adhesive fully
- Best results come when combined with full heat management
Why Use Heat Reflective Tape?
Heat reflective tape is designed to reflect radiant heat away from surfaces such as intake pipes, airboxes, wiring, and bulkheads.
This helps reduce heat soak, protect components, and keep intake temperatures more stable.
On turbocharged cars, this is especially important because radiant heat from the turbo, manifold, and downpipe can quickly raise temperatures in the engine bay.
Where Should You Use Heat Reflective Tape?
Heat reflective tape works best on parts that are exposed to radiant heat but do not directly touch the heat source.
- Intake pipes close to a turbo, manifold or downpipe
- Airboxes near the exhaust heat
- Bulkheads and firewall areas
- Plastic trims or covers near hot side components
- Wiring covers or smooth protective panels
Do not use reflective tape directly on the exhaust manifold, turbine housing or downpipe. For those parts, use an exhaust wrap or a turbo blanket instead.
Heat reflective tape works best when there is an air gap between the tape and the heat source. It is designed to reflect radiant heat, not absorb direct exhaust heat.
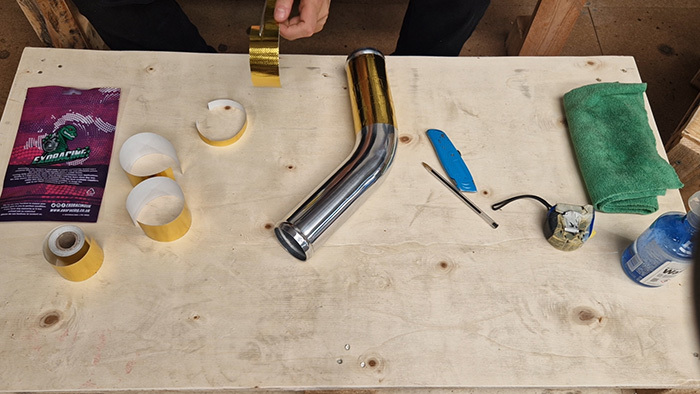
Tools Needed To Install Heat Reflective Tape:
You will need a few things to make installing gold heat tape as easy and painless as possible. I've split this into two lists, the necessary and the optional, so you don't have to spend any extra money if you don't have these items.
As a side note, I've added a few optional extras, such as a tape measure, which is nice but unnecessary for installing heat-reflective tape.
Tool list:
- A roll or sheet of heat reflective tape
- Cleaning spray or isopropyl alcohol
- A clean, lint-free cloth such as a microfibre
- A pair of sharp scissors
- A sharp Stanley knife or scalpel
Optional, But Nice To Have Tools:
- Tape Measure
- Pen or Pencil
 Exoracing Heat Reflective Tape
Reflects radiant heat away from intake pipes, airboxes and engine bay components.
From £29.99
Shop Now1. Clean Down The Surface
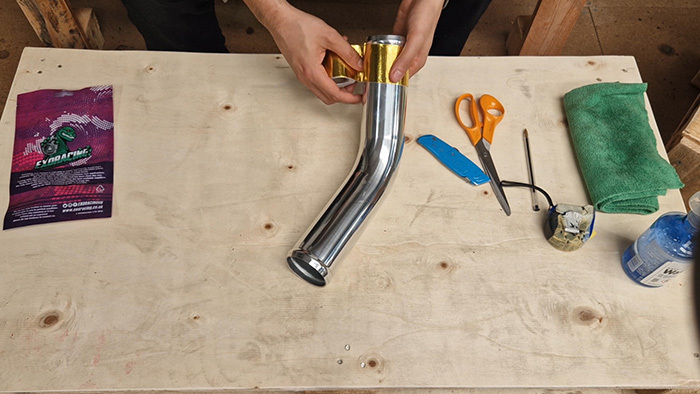
Now that we have gone over the tools, we are going to move on to the preparation stage.
Firstly, you will want to clean the surface you are trying to apply the tape to with isopropyl alcohol or a similar cleaning fluid using a clean cloth so that when it dries, it doesn't leave smear marks.
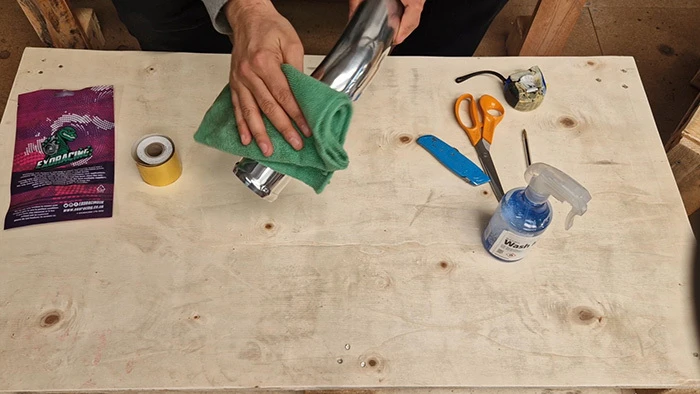
This will ensure no residue is left on an old pipe or surface, allowing the gold heat-reflective tape to stick properly.
Even if your pipe is brand new, it is worth cleaning anyway to ensure no deposits or residue from the factory or wherever you bought it.
As a side note, the pipe or surface to which you are trying to add the reflective tape must be non-porous. Surfaces such as power-coated intakes will not be suitable as the adhesive is pressure-activated and cannot fully stick to a porous surface.
2. Measure The Heat Reflective Tape
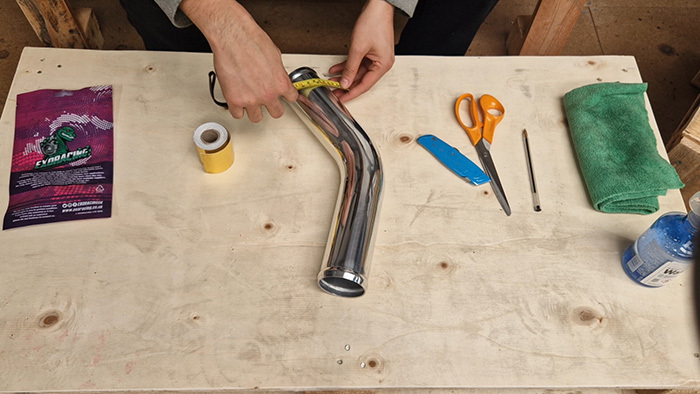
Measure the circumference of the pipe, then multiply it by the length of the area you want to cover. Always allow a little extra for overlap, mistakes, bends and trimmed sections.
Before you start installing the gold heat tape, you will want to measure the circumference of the piping to ensure full coverage.
There are two easy methods here: either use the tape measure to measure the circumference or, if you don't have one handy, wrap the heat tape around the pipe and cut it with a small amount of overlap.
You can now use this one as a template to cut multiple strips, knowing they will all be the same perfect length.
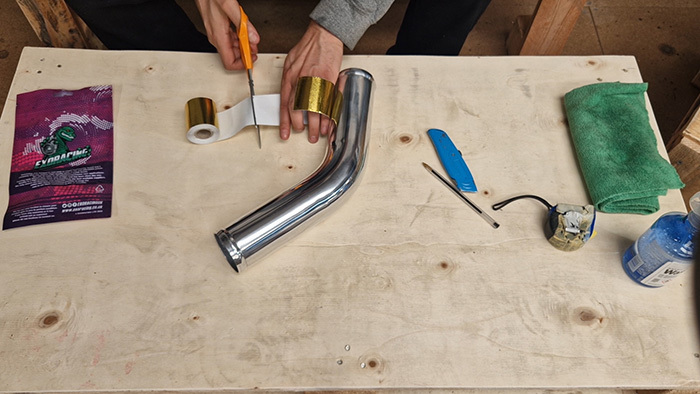
From here, you can also cut the reflective into smaller-diameter strips for tighter bends or uneven surfaces such as welds, and you can be sure the strips will be the perfect length.
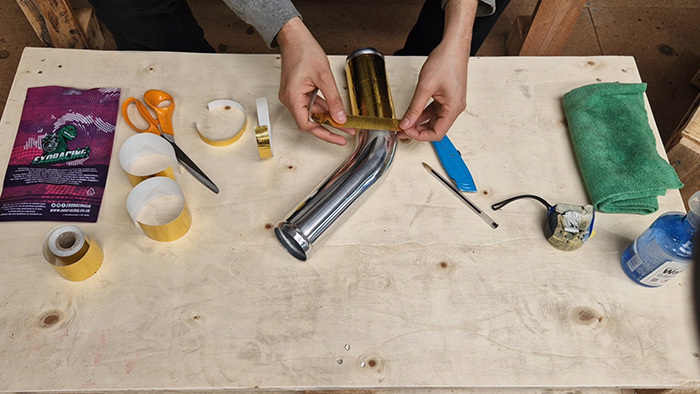
3. Start Installing The Heat Reflective Tape
Now that you have cut the gold heat reflective in strips, you can start installing it by peeling off the backing and wrapping it around the piping, making sure to apply pressure as you activate the glue.
Once installed, avoid peeling the tape back up and reapplying it repeatedly. The cleaner and firmer the first application is, the better the adhesive bond will be.
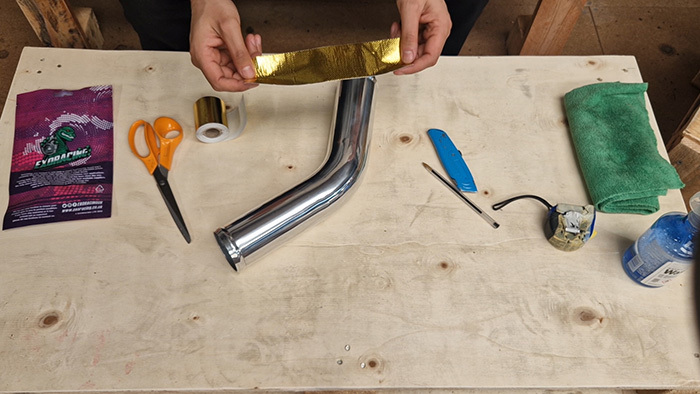
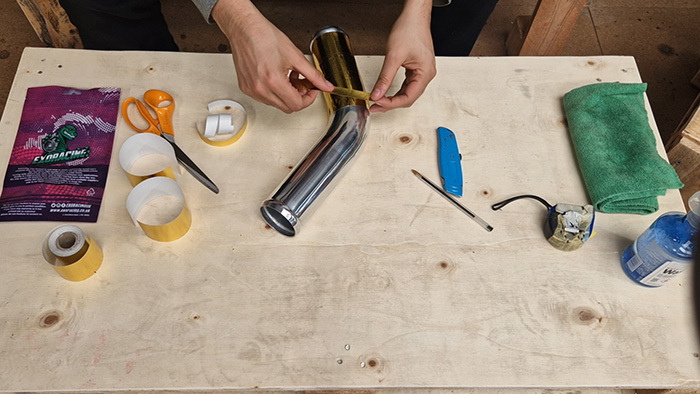
The best method here is to hold the edge against the length of the pipe to get a perfectly flat line and start from underneath the piping. This way, you can ensure that any lines are on the pipe underneath and that there are no join lines when looking at it from the top.
If the pipe is perfectly straight, you can easily go to the end with a small overlap and shouldn't have any issues, provided you are laying the gold heat reflective tape straight. If you have any bends or raised parts on your pipe, then please carry on reading!
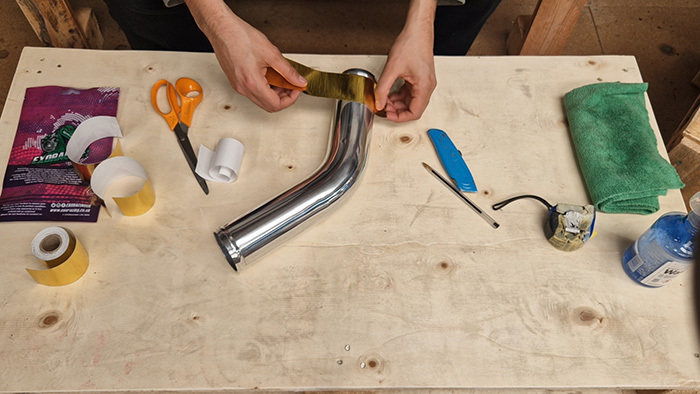
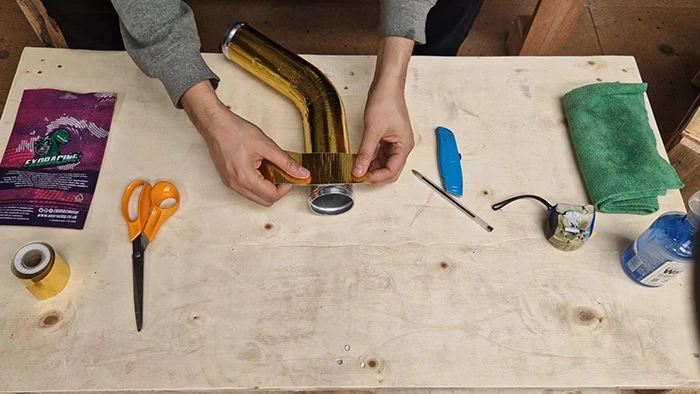
4. Cut Into Smaller Strips If Necessary
People usually encounter problems with bends or ports in the piping, such as welded-on intake air temperature bosses or mass air flow sensors.
For the bends, you should cut the strips into smaller, thinner strips, as these are less likely to crinkle and crease when going around a bend.
Usually, the tighter the bend is, the smaller the strips you will need to cut, as this will help you first not to crease the heat reflective tape and second to help you follow the contour of the bend a bit easier.
For welded-on parts in the piping, it is better to fit up until the welded boss, then cut the base, allowing you to wrap the reflective neatly around the boss.
Another way of doing this is to skip the welded section and just piece bits in, but it generally doesn't look as neat as if you were to cut perfectly around it.
Follow this until you have finished the entire pipe, and you are all done!

Common Heat Reflective Tape Mistakes
Not cleaning the surface properly
If there is any grease, dust or residue, the adhesive will not bond correctly, and the tape will lift over time.
Using large strips on tight bends
This causes wrinkles and creases. Always use smaller strips for curved areas.
Not applying enough pressure
The adhesive is pressure-activated. If you do not press it firmly, it will not stick properly.
Applying to porous surfaces
Reflective tape works best on smooth, non-porous surfaces. Powder-coated or rough finishes may reduce adhesion.
Leaving sharp corners
Sharp corners are more likely to lift over time. If possible, round the corners slightly when cutting pieces for flat panels, airboxes or bulkheads.
Overlapping too much
A small overlap is useful, but too much overlap can create raised edges and make the finish look messy. Aim for enough overlap to seal the edge without creating big ridges.
Where Should You Not Use Heat-Reflective Tape?
Heat reflective tape is designed to reflect radiant heat, not to be wrapped directly onto parts that get extremely hot.
- Do not apply it directly to exhaust manifolds
- Do not apply it directly to turbo exhaust housings
- Do not apply it directly to downpipes
- Do not apply it to oily, dirty or porous surfaces
- Do not use it as a replacement for an exhaust wrap, a heat sleeve or a turbo blanket
If the part is the heat source, use an exhaust wrap or a turbo blanket. If the part is near the heat source, heat reflective tape is usually the better choice.
Frequently Asked Questions:
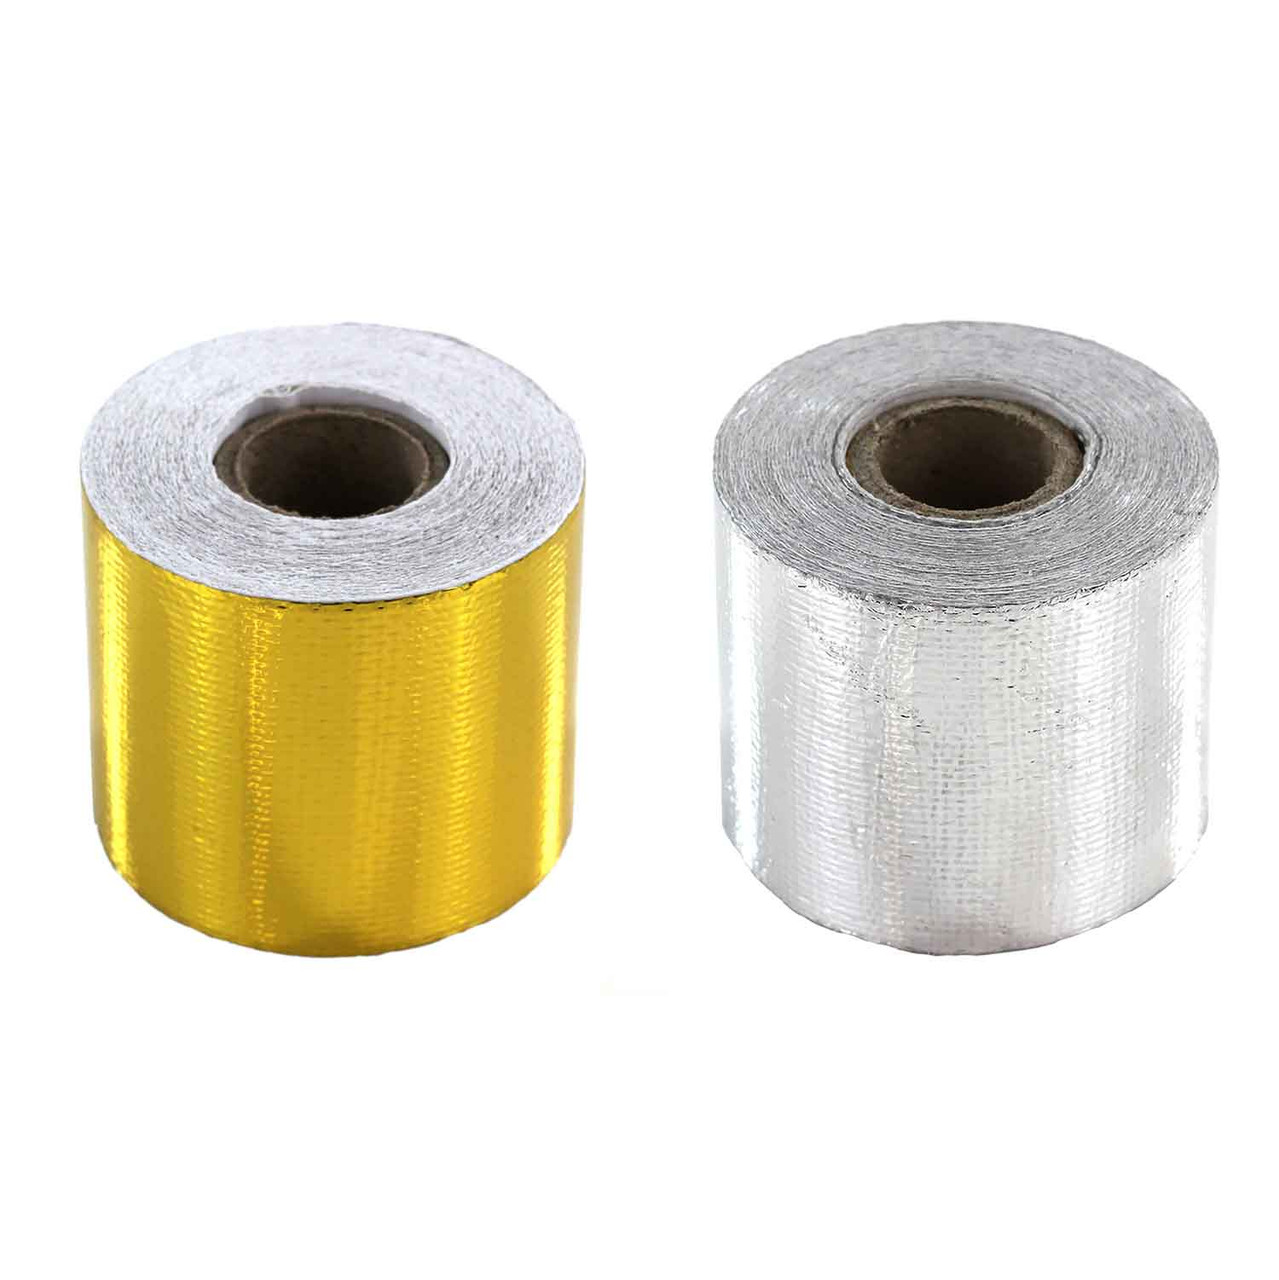
What is the difference between gold and silver heat reflective tape?
| Finish | Best for | Look |
|---|---|---|
| Gold | Motorsport-style engine bays and visible intake pipes | Bright, bold, race-inspired |
| Silver | OEM plus, discreet installs and subtle heat protection | Clean, subtle, factory style |
Both options are designed to reflect radiant heat, so most customers choose based on the look they want in the engine bay.
Will I get an intake air temperature decrease?
In many setups, yes. Heat reflective tape can help reduce radiant heat transfer into intake pipework, which may help lower intake air temperatures.
The result will depend on the car, the heat source, airflow and how much of the part is protected.
Can heat reflective tape be applied to plastic?
Yes, as long as the surface is smooth and clean. It works well on airboxes and plastic intake pipes.
How long does heat reflective tape last?
When installed correctly on a clean surface, it can last for years without lifting or peeling.
Does heat-reflective tape really reduce heat?
Yes, it reflects radiant heat away from surfaces and can reduce heat exposure significantly when installed correctly.
Can I remove heat reflective tape once it has been installed?
Yes, but it may leave adhesive residue depending on how long it has been fitted and how much heat it has seen. Clean the surface carefully before applying fresh tape.
Should heat reflective tape overlap?
Yes, a small overlap is useful to stop gaps appearing between strips. Keep the overlap neat and consistent so the tape sits flat and does not create raised edges.
Can I use heat reflective tape under the bonnet?
Yes, it can be used on smooth, clean bonnet areas or panels exposed to radiant heat, but it should not be placed directly onto parts that get extremely hot, such as manifolds or downpipes.
Conclusion
Installing heat reflective tape properly makes a huge difference to both performance and durability.
Done correctly, it helps reduce radiant heat, protect components, and improve consistency, especially on turbocharged cars where heat is a constant problem.
The key is preparation, correct sizing, and taking your time around bends and complex areas.
If you combine heat reflective tape with other heat management products such as exhaust wrap and heat sleeve, you can significantly reduce overall engine bay temperatures.
If you want to buy any gold or silver reflective tape, use the discount code:
BLOG5
Whilst you are still here, you might find these other articles useful:
If you still need help with anything in this guide, please use our contact form; we will gladly assist you.