
How To Install Silicone Heat Sleeve For Hoses
Posted by Matthew Marks on 17th Aug 2025
How To Install Silicone Fibreglass Heat Sleeve
A practical guide to measuring, cutting, fitting and securing silicone heat sleeve on hoses, fuel lines, oil lines and wiring near exhaust or turbo heat.
We fitted this heat sleeve and filmed the process so you can see the real installation method before starting your own car.
Shop Silicone Heat SleeveThe heat sleeve is a simple part, but it is easy to fit badly. If the sleeve is too tight, it snags and frays. If it is too loose, it can move around and leave the hose or wiring exposed. If the ends are not secured, the installation can look untidy and may not stay put after repeated heat cycles.
This guide shows how to install silicone fibreglass heat sleeve properly, including how to choose the right size, how to get it over braided hose, how to finish the ends and when a different style of heat sleeve is the better choice.
The simple answer
To install a silicone heat sleeve, measure the outside diameter of the hose, line or wiring. Choose a sleeve slightly larger than that measurement, cut the sleeve to length, slide it over the part, then secure the ends with heat shrink or stainless steel cable ties.
Use a silicone fibreglass sleeve for hoses, wires and lines that can be sleeved from one end. Use a Velcro heat sleeve if the hose already has bulky fittings fitted and you cannot slide a normal sleeve over them.
Do not use a heat sleeve to hide damaged wiring, leaking hose or poor routing. Repair and reroute the part first, then add heat protection.
- Measure the outside diameter of the hose, pipe, line or wiring at its thickest point.
- Choose a heat sleeve around 2 to 5mm larger than the measured outside diameter, where possible.
- Use masking tape on braided hose ends to stop the sleeve catching during installation.
- Secure the ends so the sleeve cannot fray, slip or bunch up after heat cycles.
- Check routing, leaks and damaged insulation before fitting any heat protection.
Watch: In our install video, we show how we measured, cut and fitted a silicone fibreglass heat sleeve on one of the hoses used in our turbo AWD Civic setup.
What Heat Sleeve Is For
Heat sleeve protects vulnerable parts from radiant heat. Radiant heat is the heat that travels in line of sight from hot parts such as manifolds, downpipes, exhaust housings and turbocharger turbine housings.
A silicone-coated fibreglass sleeve creates a flexible barrier around the part you want to protect. It is commonly used on fuel hoses, oil lines, coolant hoses, brake or clutch lines, vacuum hoses, AN hoses, and wiring routes that sit near exhaust heat.
The sleeve used in this guide is rated up to 1200°C intermittent. That does not mean the hose underneath should touch an exhaust or turbo housing. It means the sleeve is designed for very hot engine bay areas where radiant heat exposure is a real risk.

Choose The Right Heat Sleeve Type First
Before measuring anything, decide whether a push-over silicone sleeve is actually the correct product for the job. Most installation problems come from trying to force the wrong sleeve style over the wrong part.
Use when you can slide the sleeve over the hose, wiring or line from one end before final fitting.
Use when fittings, banjos or connectors are too bulky for a normal sleeve to pass over.
Use where a stitched sleeve suits the route, and you do not need the stretch of a silicone sleeve.
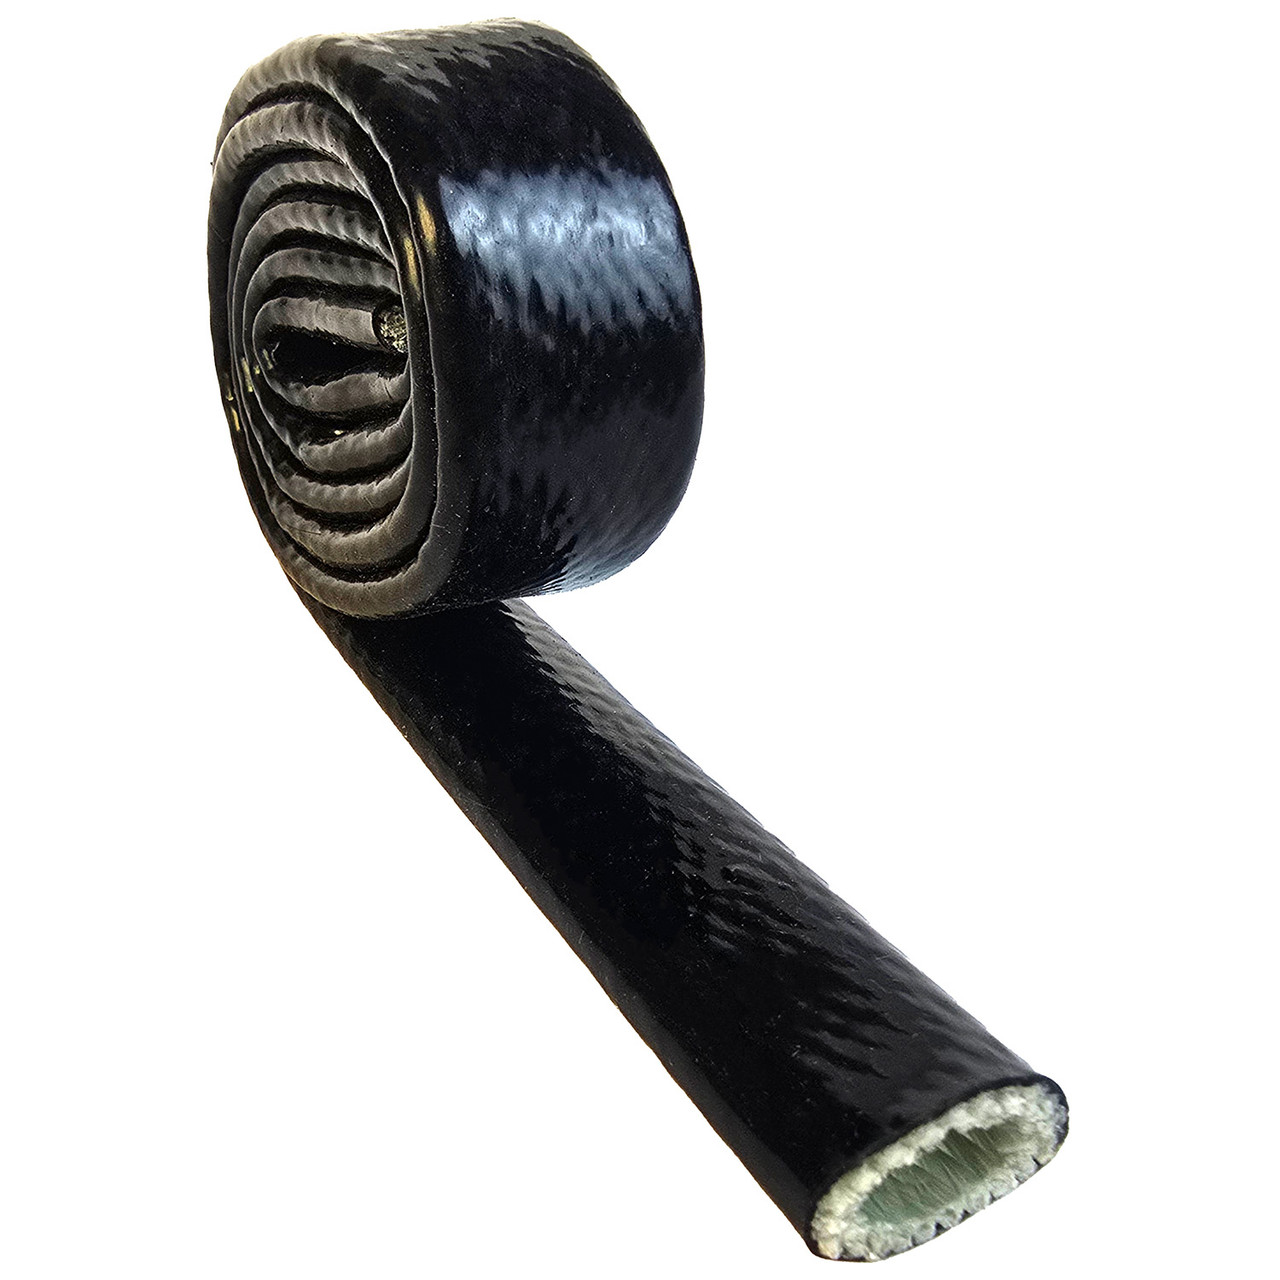 Exoracing Silicone Fibreglass High Temperature Heat Sleeve 0.5m
Push-over heat protection for hoses, lines and wiring near turbos, manifolds and downpipes.
From £14.99
 Exoracing Gold and Silver Velcro Heat Sleeve 0.5m
Wraparound protection for lines that cannot be disconnected or sleeved from one end.
From £14.99
How To Measure For Heat Sleeve
Measure the outside diameter of the hose, line or wiring bundle at its thickest point. Do not measure the inner bore of the hose, because the sleeve has to fit over the outside of the part.
As a general rule, choose a sleeve around 2 to 5mm larger than the outside diameter. That gives enough clearance to slide the sleeve on without making it so loose that it looks baggy or moves around too easily. For a deeper sizing reference, use our heat sleeve size chart before ordering.

Choose the next sensible sleeve size up so it slides on without crushing the hose.
A slightly larger sleeve makes installation easier and helps avoid snagging the fibreglass lining.
Bundle the wires as they will sit in the car, then measure the widest point.
If sizing for the fitting makes the sleeve too loose on the hose, use a Velcro sleeve instead.
Tools And Parts You Need
You do not need many tools for this job. The important part is measuring accurately and cutting cleanly so the sleeve ends are easy to finish.
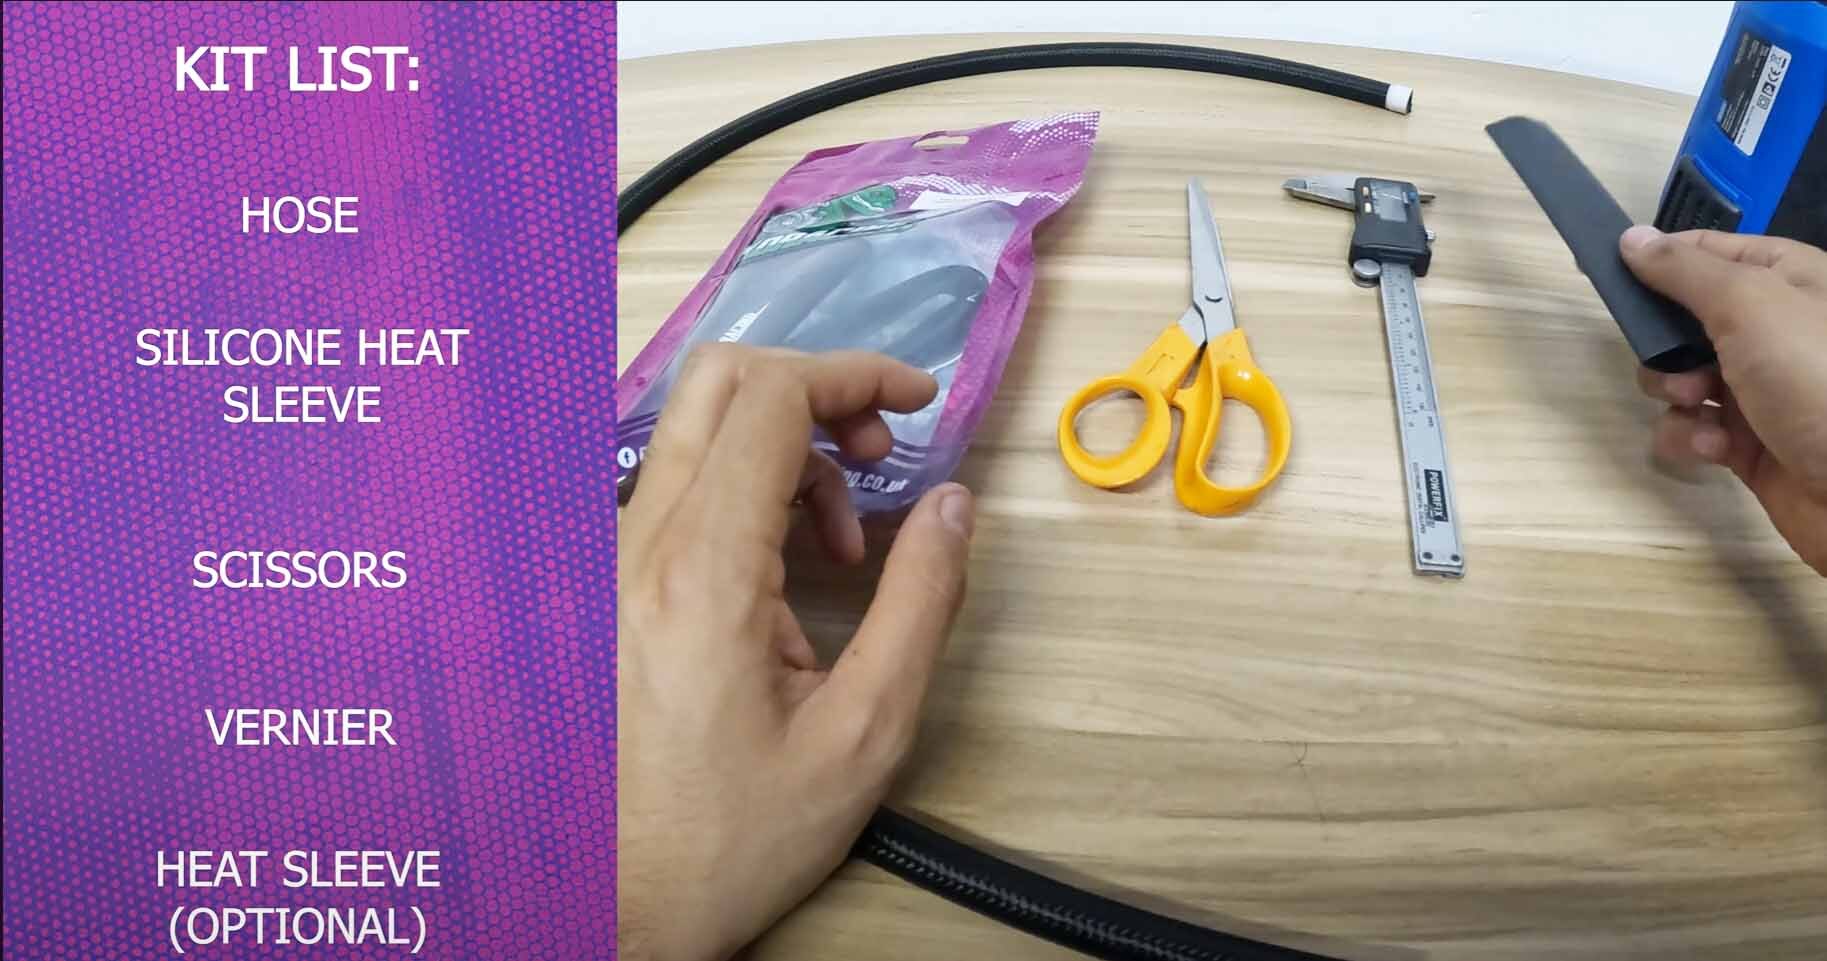
- Sharp scissors or a sharp cutting tool.
- Tape measure or vernier gauge.
- Masking tape for braided hose ends.
- A clean cloth for removing oil, dust and residue.
- Heat shrink, a heat gun or stainless steel cable ties for securing the ends.
Step 1: Prepare The Hose, Line, or Wiring
Start with the part removed or accessible enough to work on properly. Wipe the hose, line or wiring so there is no oil, fuel residue, road dirt or loose debris trapped under the sleeve.
If the hose is braided, wrap a small amount of masking tape around the end before sliding the sleeve on. This gives the sleeve a smoother lead-in and reduces the chance of the braid catching the fibreglass inside the sleeve.
From our own install, this small masking tape step made the sleeve much easier to guide into place. It is especially useful on freshly cut braided hose where the end can flare slightly.
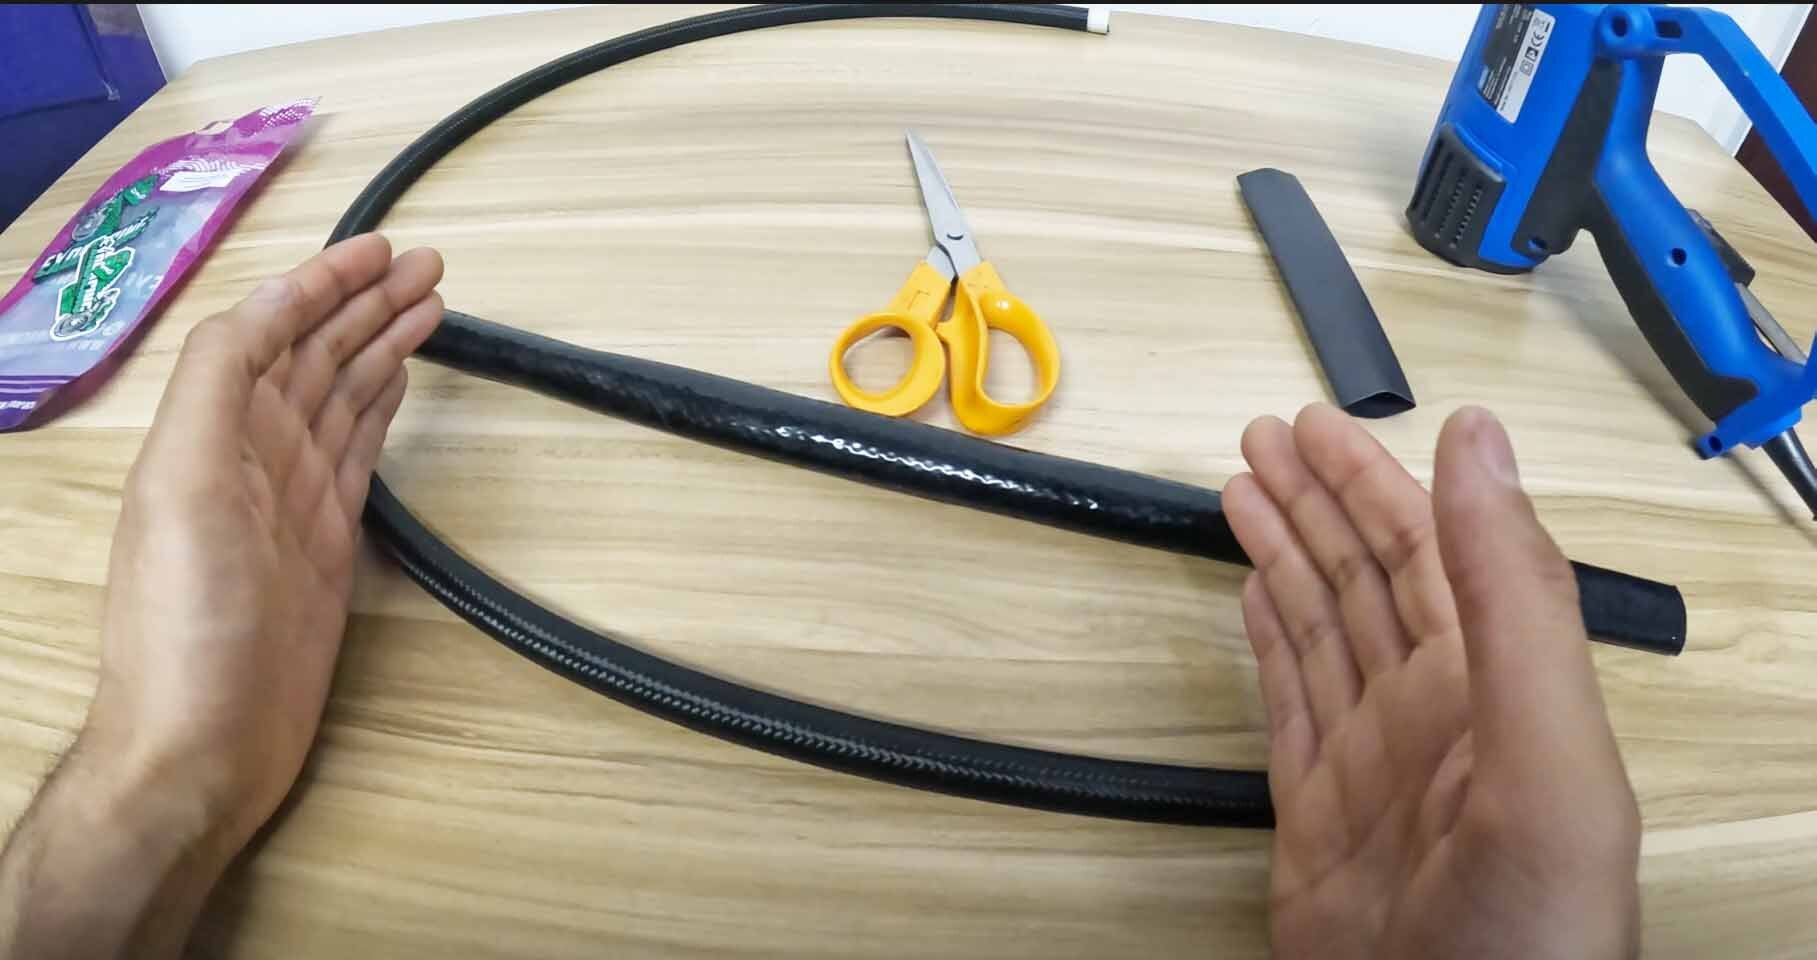
Step 2: Cut The Heat Sleeve To Length
Measure the length you need and cut the sleeve cleanly. We usually cut the sleeve slightly shorter than the hose, leaving a small amount of exposed hose at each end so fittings, clamps or heat shrink can sit neatly.
Do not leave the sleeve so short that it misses the hot area. The covered section should protect the part where it passes closest to the heat source, with enough length on either side to allow for movement and final positioning.
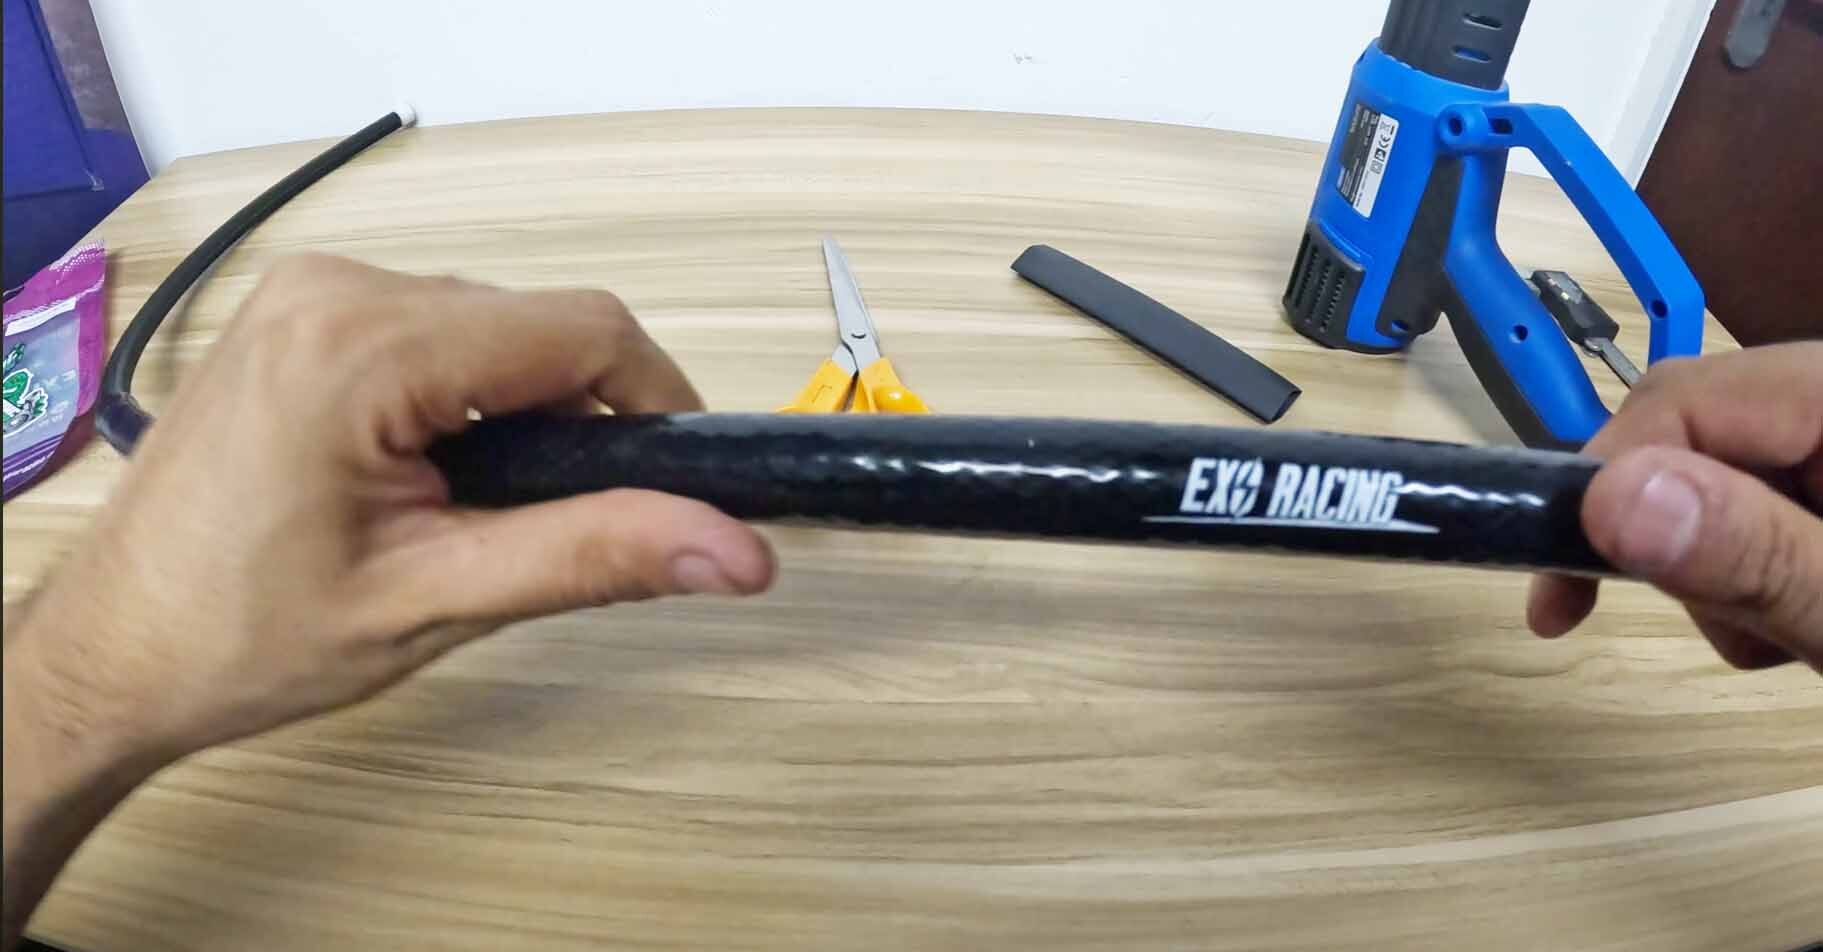
Step 3: Slide The Sleeve Into Position
Slide the heat sleeve over the hose, line or wiring slowly. It should feel firm but manageable. If you have to force it hard, stop and check whether the sleeve is too small, the hose end is catching, or the route has a sharp bend that needs straightening first.
Once the sleeve is on, adjust it so it sits evenly over the vulnerable section. Avoid twists, bunching or stretched sections, because those make the final install look untidy and can leave thinner coverage in the area that needs protection most.
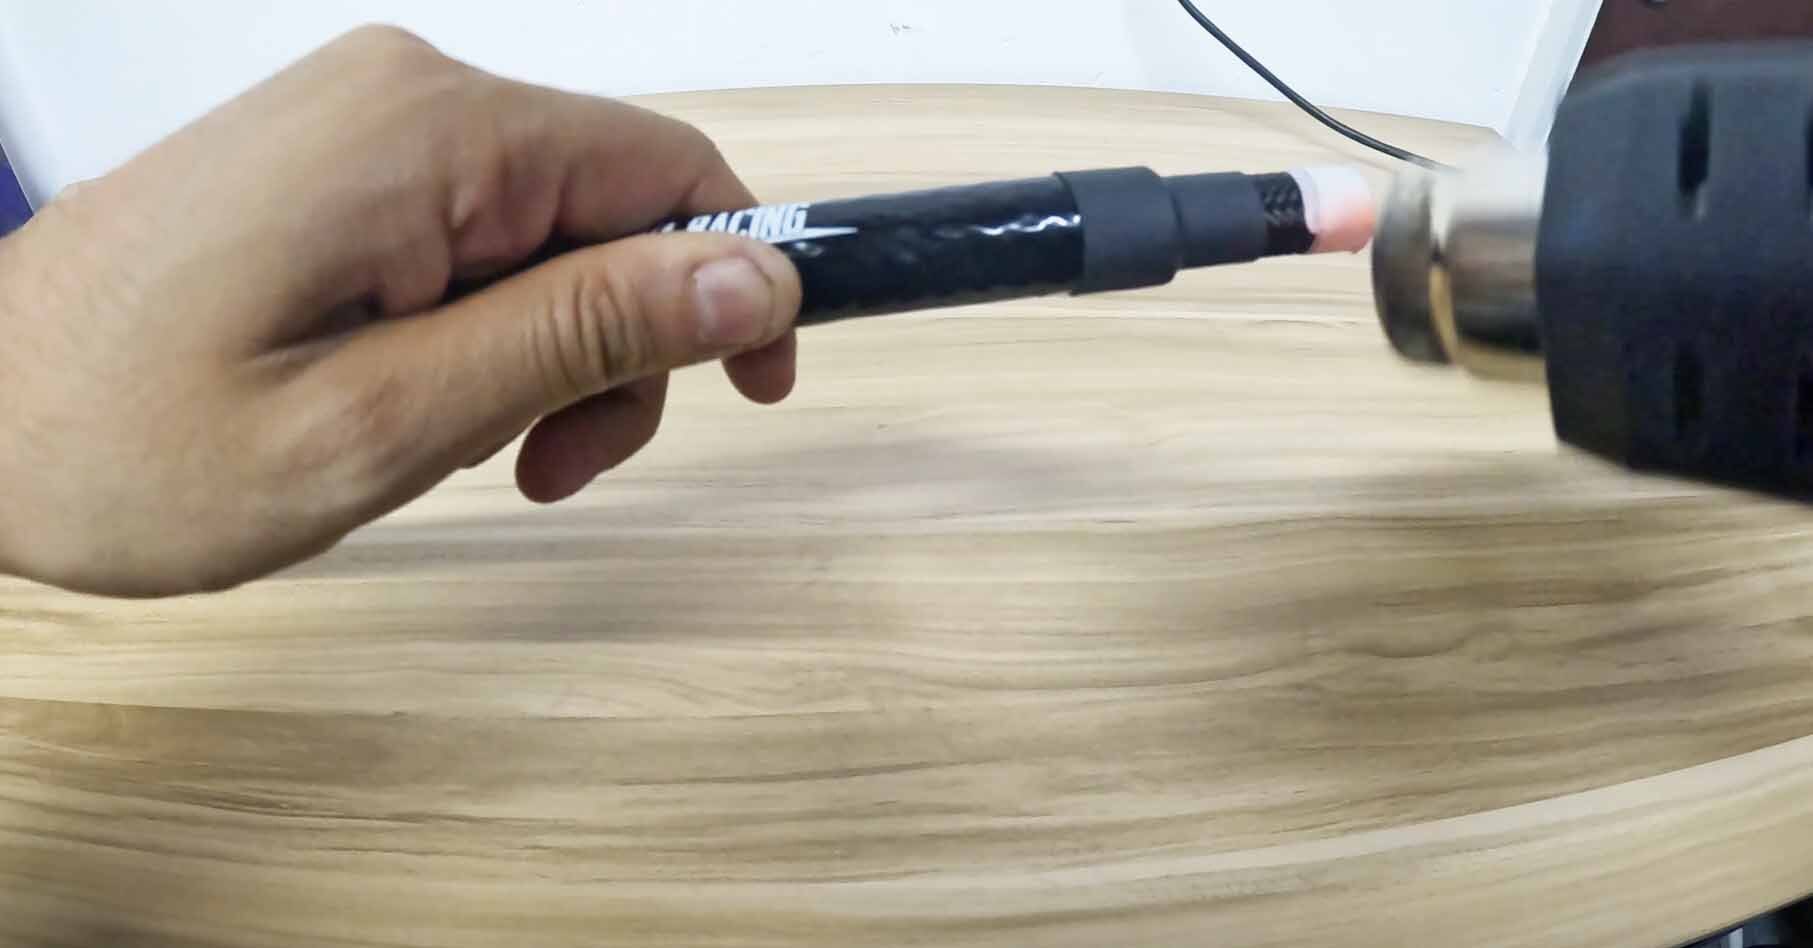
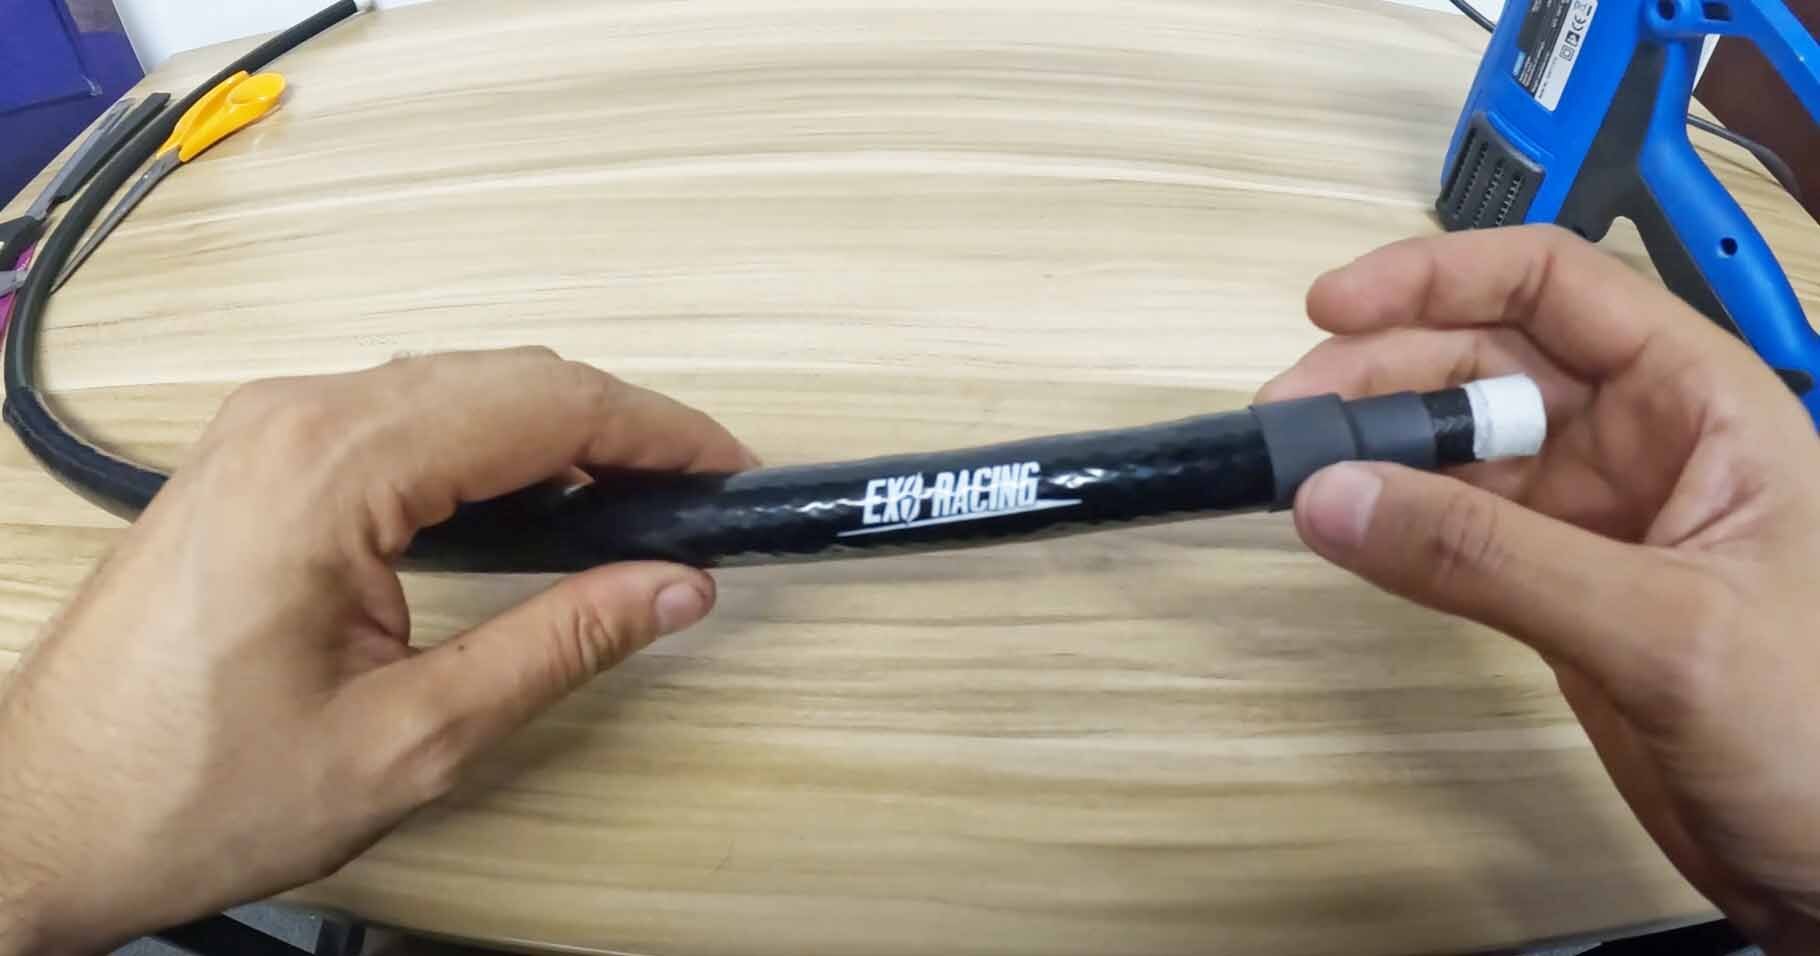
Step 4: Secure The Ends
Finishing the ends is what makes the install last. Unsecured sleeve ends can fray, slide or collect dirt. The two most practical finishing methods are heat-shrink collars or stainless steel cable ties.
Heat shrink gives a tidy finish if the area is suitable for it and you can apply heat safely. Stainless steel cable ties are a strong choice where the sleeve sits close to exhaust heat, and you want a mechanical fixing that will not soften.
 10 x Exoracing Stainless Steel Cable Ties
A heat-resistant way to secure heat sleeve ends near exhaust, turbo and manifold areas.
From £9.99
Where Heat Sleeve Helps Most
The best heat sleeve installs start by identifying two things: the heat source and the vulnerable part. If you understand both, it is much easier to choose the right protection and avoid wasting money on the wrong product.
Avoid contact with the turbo or manifold, then protect the line from radiant heat.
If insulation is already brittle or cracked, fix the wiring before adding the sleeve.
Sleeve helps, but clearance and routing are still the first priority.
The heat sleeve is for the vulnerable hose or wire, not for wrapping the exhaust itself.
If the main issue is the heat source itself, you may also need source control such as an exhaust wrap, a turbo blanket or a physical heat shield. For broader product selection, use our heat management parts category to match the product to the heat source and the part at risk.
What Happens If You Ignore Heat-Damaged Lines?
Heat damage is often slow at first. A hose may go hard, wiring insulation may become brittle, or a line may start to discolour before it actually fails. The danger is that the part can look acceptable until it is put under load, heat-soaked or exposed to vibration.
We see the biggest risk on modified turbo cars where extra boost, tighter routing and larger exhaust parts push more heat into the same engine bay space. Sleeving the vulnerable line helps, but only after you have checked that the hose, wire or line is still healthy underneath.
Ignoring the issue can lead to melted wiring, brittle vacuum hose, damaged fuel hose, cooked oil line coverings or unreliable sensors. The correction is simple: move the part away from the heat source where possible, repair anything damaged, then add the correct heat protection.
If wiring is the part you are protecting, our separate wiring heat sleeve guide explains the failure we had on our Civic and how we approached protecting the loom from engine bay heat.
Common Heat Sleeve Installation Mistakes
Choosing a sleeve that is too tight
A tight sleeve can snag, stretch and become frustrating to fit. Measure the outside diameter and leave enough clearance for the sleeve to slide over the part without being forced.
Sleeving over damage
Heat sleeve is protection, not repair. If wiring insulation is cracked, a hose is perished, or a line is leaking, fix that first.
Using a heat sleeve on the exhaust pipework
Heat sleeve is for hoses, lines and wiring. If you need to control heat from a manifold or downpipe, use a product designed for the heat source, such as exhaust wrap or a heat shield.
Forgetting to secure the ends
The sleeve may look finished once it is in position, but the ends still need attention. Finish them with heat shrink or stainless steel ties to reduce fraying and movement.
When Not To Use Silicone Heat Sleeve
Do not use a silicone heat sleeve as a shortcut for bad routing, leaks or damaged parts. If a hose is touching a manifold, the correct first fix is to reroute it or create clearance. If fuel or oil is leaking, repair the leak before adding any heat protection.
If you cannot slide the sleeve over the part because the fittings are already assembled, do not oversize the sleeve so much that it becomes loose. Use a Velcro heat sleeve instead.
If the part at risk is a flat surface, airbox, intake pipe or bulkhead panel, heat reflective tape or sheet may be more suitable than a sleeve. The right product depends on whether you are protecting a round line, a surface or controlling the heat source itself.
Inspection After Installation
After the first proper heat cycle, inspect the sleeve again. Check that it has not moved, twisted, softened another nearby part or pulled tight against a sharp edge.
For cars used hard on the road or track, make heat sleeve inspection part of your normal service routine. Look for exposed fibreglass, loose end fixings, fuel or oil contamination and any sign that the hose or wiring underneath has continued to deteriorate.
Heat Sleeve Installation FAQs
Can I use a heat sleeve on a fuel hose?
Yes, a heat sleeve is commonly used on fuel hoses where they pass near exhaust or turbo heat. Check the hose condition first, keep it away from direct contact with hot parts and secure the sleeve ends properly.
Can a heat sleeve be used on wiring?
Yes, it can protect wiring routes from radiant heat, especially near downpipes, manifolds and turbo areas. If the wiring insulation is already damaged, repair it before fitting the sleeve.
How does the heat sleeve attach securely?
Push-over silicone heat sleeve is held in place by its fit, then finished at the ends with heat shrink or stainless steel cable ties. Velcro heat sleeve wraps around the part and closes along its length.
How easy is the heat sleeve to install?
It is straightforward if you choose the right size and can access one end of the hose, line or wiring. Braided hose can snag, so masking tape on the end helps the sleeve slide on cleanly.
What size heat sleeve do I need?
Measure the outside diameter of the part at its widest point, then choose a sleeve slightly larger. Around 2 to 5mm extra clearance is a useful guide for many hose and line installs.
Can I fit a heat sleeve over AN fittings?
Sometimes, but it depends on the fitting size compared with the hose. If the fitting is much larger than the hose, a Velcro heat sleeve is usually cleaner than oversizing a push-over sleeve.
Will the silicone heat sleeve melt?
It is designed for high-heat areas, but it should not be treated as a license to let hoses touch exhaust parts. Keep clearance wherever possible and use source control if the heat source itself needs managing.
Final Decision
If you can slide the sleeve over the hose, line or wiring from one end, a silicone fibreglass heat sleeve is the cleanest option. Measure the outside diameter, choose a slightly larger sleeve, cut it neatly, slide it into position and secure the ends.
If the part is already assembled with large fittings, use a wraparound option instead of forcing an oversized sleeve. If the route is poor, the hose is leaking, or the wiring is already damaged, fix that first.
For the main product used in this guide, see the Exoracing Silicone Fibreglass High Temperature Heat Sleeve. If you are protecting several areas of the car, browse the full Exoracing heat management range to match the protection to the heat source and the vulnerable part.
Shop Silicone Heat SleeveAbout the Author

Exoracing is a UK-based performance parts and heat management specialist.
Since 2018, we have helped enthusiasts and workshops choose heat protection for turbo cars, track builds, wiring routes, fuel systems and modified engine bays.