
Honda K-Swap Guide: K20/K24 Parts List & Cost
Posted by Matthew Marks on 2nd Aug 2024
I'm Matt, the owner of Exoracing and welcome back to our blog! We have helped hundreds of customers since 2018 with K-Swapping their cars, so we have decided to compile everything we know in one place.
This guide will help you on the journey to K-Swap your car as we run through everything from OEM to Aftermarket parts and the best engines for a K-Swap.
We will review brands we recommend, tips and tricks, OEM parts, optional parts, and much more. By the end, you will know everything there is to know about K-Swaps!
If you would prefer to watch the video, we'll add it here for you, and make sure to subscribe to our YouTube channel whilst you're there.
- A K swap means fitting a K20 or K24 engine into an older Honda chassis
- Typical cost ranges from £4,000 to £8,000 depending on parts
- You’ll need mounts, wiring, cooling, fuel and exhaust upgrades
- Heat management is one of the most overlooked parts of a reliable build
- This guide walks you through everything step by step
What Does The Term K-Swap Mean?

First, it might be worth going over the terminology.
A K-Swap is when you replace your original engine with a Honda K-series engine, usually a K20 or K24. These engines are known for strong power, reliability, and huge aftermarket support.
They are commonly swapped into cars like the EK, EG, and DC2 chassis to create a much faster and more modern setup without losing the lightweight feel of older Hondas.
The most common cars for this are Honda Civic EG 92-95, Honda Civic EK 96-00 and Honda Integra DC2 96-01. Still, you can K-Swap virtually any car with enough willpower!
The most commonly used engine in a K-Swap is the K20a2 from a Honda Civic EP3 Type R or the K20A from a Honda Integra DC5 Type R.
These engines are the most common because they are coming down in price and are the most tunable from this era.
The aftermarket car parts world is a treasure trove for car enthusiasts, offering parts that can boost your car's horsepower at a reasonable price point.
Furthermore, aftermarket manufacturers have not only fixed many factory problems with their solutions but also enhanced the driving experience, ensuring you get the best out of your car.
How Much Does A K-Swap Cost?

The cost of this swap depends on the parts you choose. This guide will list all the OEM and aftermarket parts you need. In most cases, you can use OEM parts to keep the budget down, but this is not possible for some items (such as a K-Swap wiring conversion loom).
Note: Since writing this, we now have a full K-Swap cost guide if you would like to see exactly how much each part costs, as we were getting many questions about specific parts. Although we have added as much as we can in this guide, we felt it was worth its own guide to go in depth about the cost.
As OEM factory parts naturally wear over time (and these cars are currently around 30 years old), the use of brand-new products is strongly recommended for a reliable K-Swap. This emphasis on reliability will give you the peace of mind that your swap is built to last.
The most common starting point would be either with an EP3 or DC5 donor car to swap as much out of it as possible, or at least start with the basics on this list and expand upon them.
OEM Parts List

You will need these parts from a K-Series car, at a minimum, as a starting point. The list needs to include the following:
- Engine
- Gearbox
- Starter Motor
- Alternator
- All Sensors
- Engine Loom
- Charge Harness
In an ideal world, you can take as much as you can from the donor car, and all the parts above are the bare minimum you can get away with taking from the K-Series car.
The parts that are optional to get second-hand, but if you're on a budget, are worth getting are:
- Dc5 Shifter
- Dc5 Shifter Cables
- Ecu
Later in this guide, we will review aftermarket alternatives to these three options to determine whether the upgrade is worth it.
If you're using a Honda Civic EK chassis, for example, you'll need a Honda Civic EG or Honda Integra DC2 subframe (and the bolts, as they differ), EG front lower control arms, and an EG steering rack.
It would also be best to use an EG subframe to move the engine back slightly in the engine bay, giving more clearance for the radiator and air conditioning compressor.
Also, by moving everything back, the driveshafts sit at a much straighter angle than they would with an EK subframe.
Aftermarket Parts List

This section covers all the aftermarket parts needed to make the K-Swap happen.
To keep the guide consistent throughout, we will use the Honda Civic EK as our base point, but all of these parts will be used in most cases, regardless of which chassis you plan to swap into.
There are some direct-fitment swap parts for specific cars, such as the Hybrid Racing conversion looms, but if you are swapping into something like a Nissan S13 Silvia, you would need a custom loom made here.
Engine Mounts
The first item on the aftermarket parts list would be engine mounts. Your OEM mounts will be designed to fit your engine and chassis from the factory; you have to use specific K-swap engine mounts.
These K-Swap mount kits are designed to fit the OEM mounting locations on your chassis and the K-Series engine and gearbox for a stress-free bolt-in option. There are a few options here, such as:
Engine Mount Urethane Rating
There are a few varying factors here. The first is the urethane rating of the engine mount bushes. Generally, most people decide which bush to go with based on what they will use the car for.
For example, if you are only ever going to drive the car on public roads, and never on a track, you would want to run the 62a bushes, as they are the softest for driving over bumps, potholes, etc.
On the other side, if it were a full-time attack weapon, then you would go with the stiffest mounts possible to keep the engine from moving, and bumps/potholes would not be an issue here.
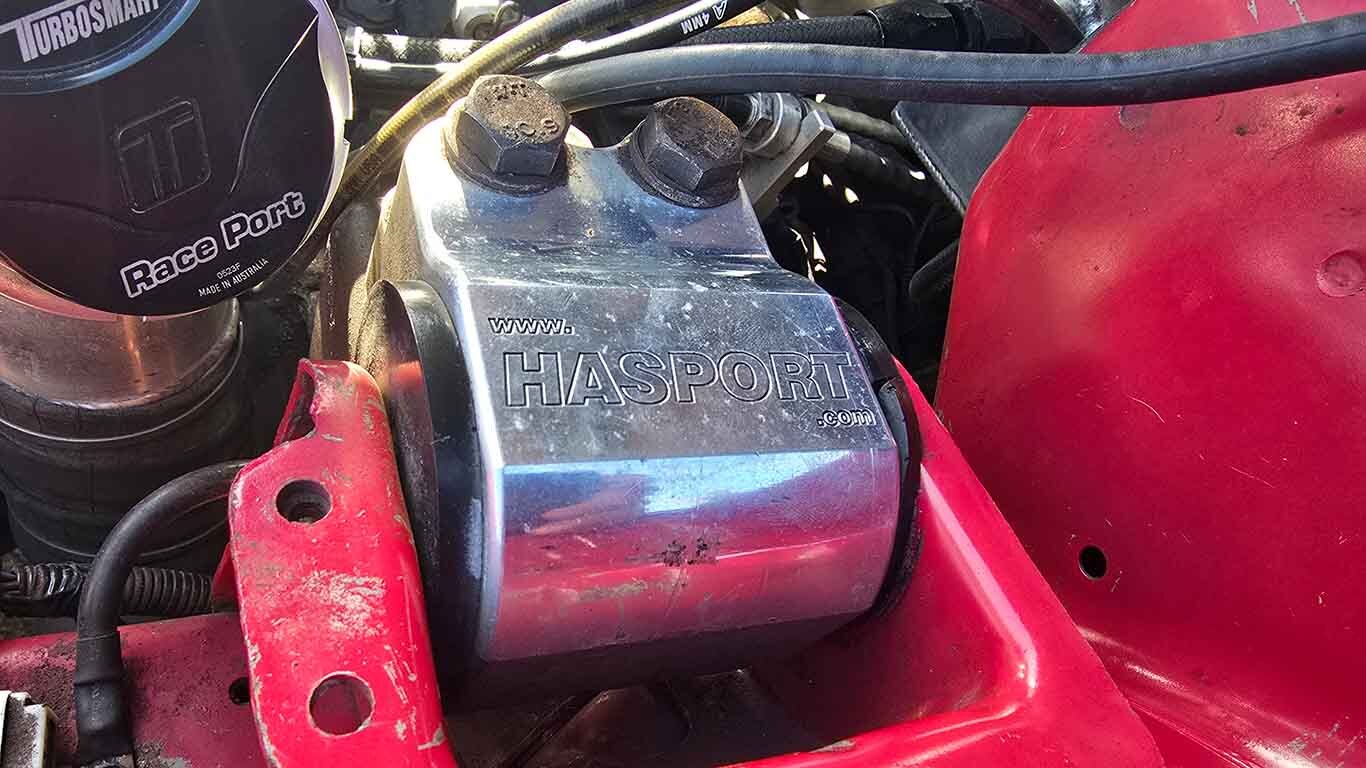
These are the different bushing ratings to choose from, but they may vary slightly by brand. We will use Hasport mounts here as a point of reference:
- U62a (Street)
- U70a (Race)
- U88a (Extreme)
- U94a (More Extreme)
- Solid 6061 (Extreme, Race Only)
Once you've picked the bush, it's time to choose the brand and fitment you prefer. Mostly, this is down to personal preference. We have sold both brands and used them on our own cars over the years, and have no issue with either.
In terms of fitment, Hasport seems to offer the most options for K-Swap, so we would naturally go with that.
Hasport, for example, makes a few variations for the Civic EK; if you use a K20A2 engine and gearbox and want a 62A bush for the street, you'd use their HAS-EKK2-62A kit, which is specifically designed for use with the Civic EG subframe.

There are also options for K24 transmissions, so you must match your engine mounts to them for fitment.
Take a look through the Hasport catalogue here to see if they have an option for your specific engine/car setup.
K-Swap Short Shifter

If you go for an OEM shifter/cable setup, you can skip this step and the shifter cable step; if not, let's go into what you'll need.
There are two main reasons for buying a brand-new shifter. Either your OEM shifter is worn to the point where gear changes are sloppy, or you want a shorter throw than the factory one.
Also, some of the shifters on the market look beautiful and are always the finishing touch to your interior.
Aftermarket shifters, such as the Hybrid Racing V3 DC5 short shifter, feature an adjustable throw, from 10% to 50% quicker than stock, and are also available in dust red or dust black.
Because of this decrease in shift distance, your shifts will feel much crisper and more positive than those of the stock shifter.
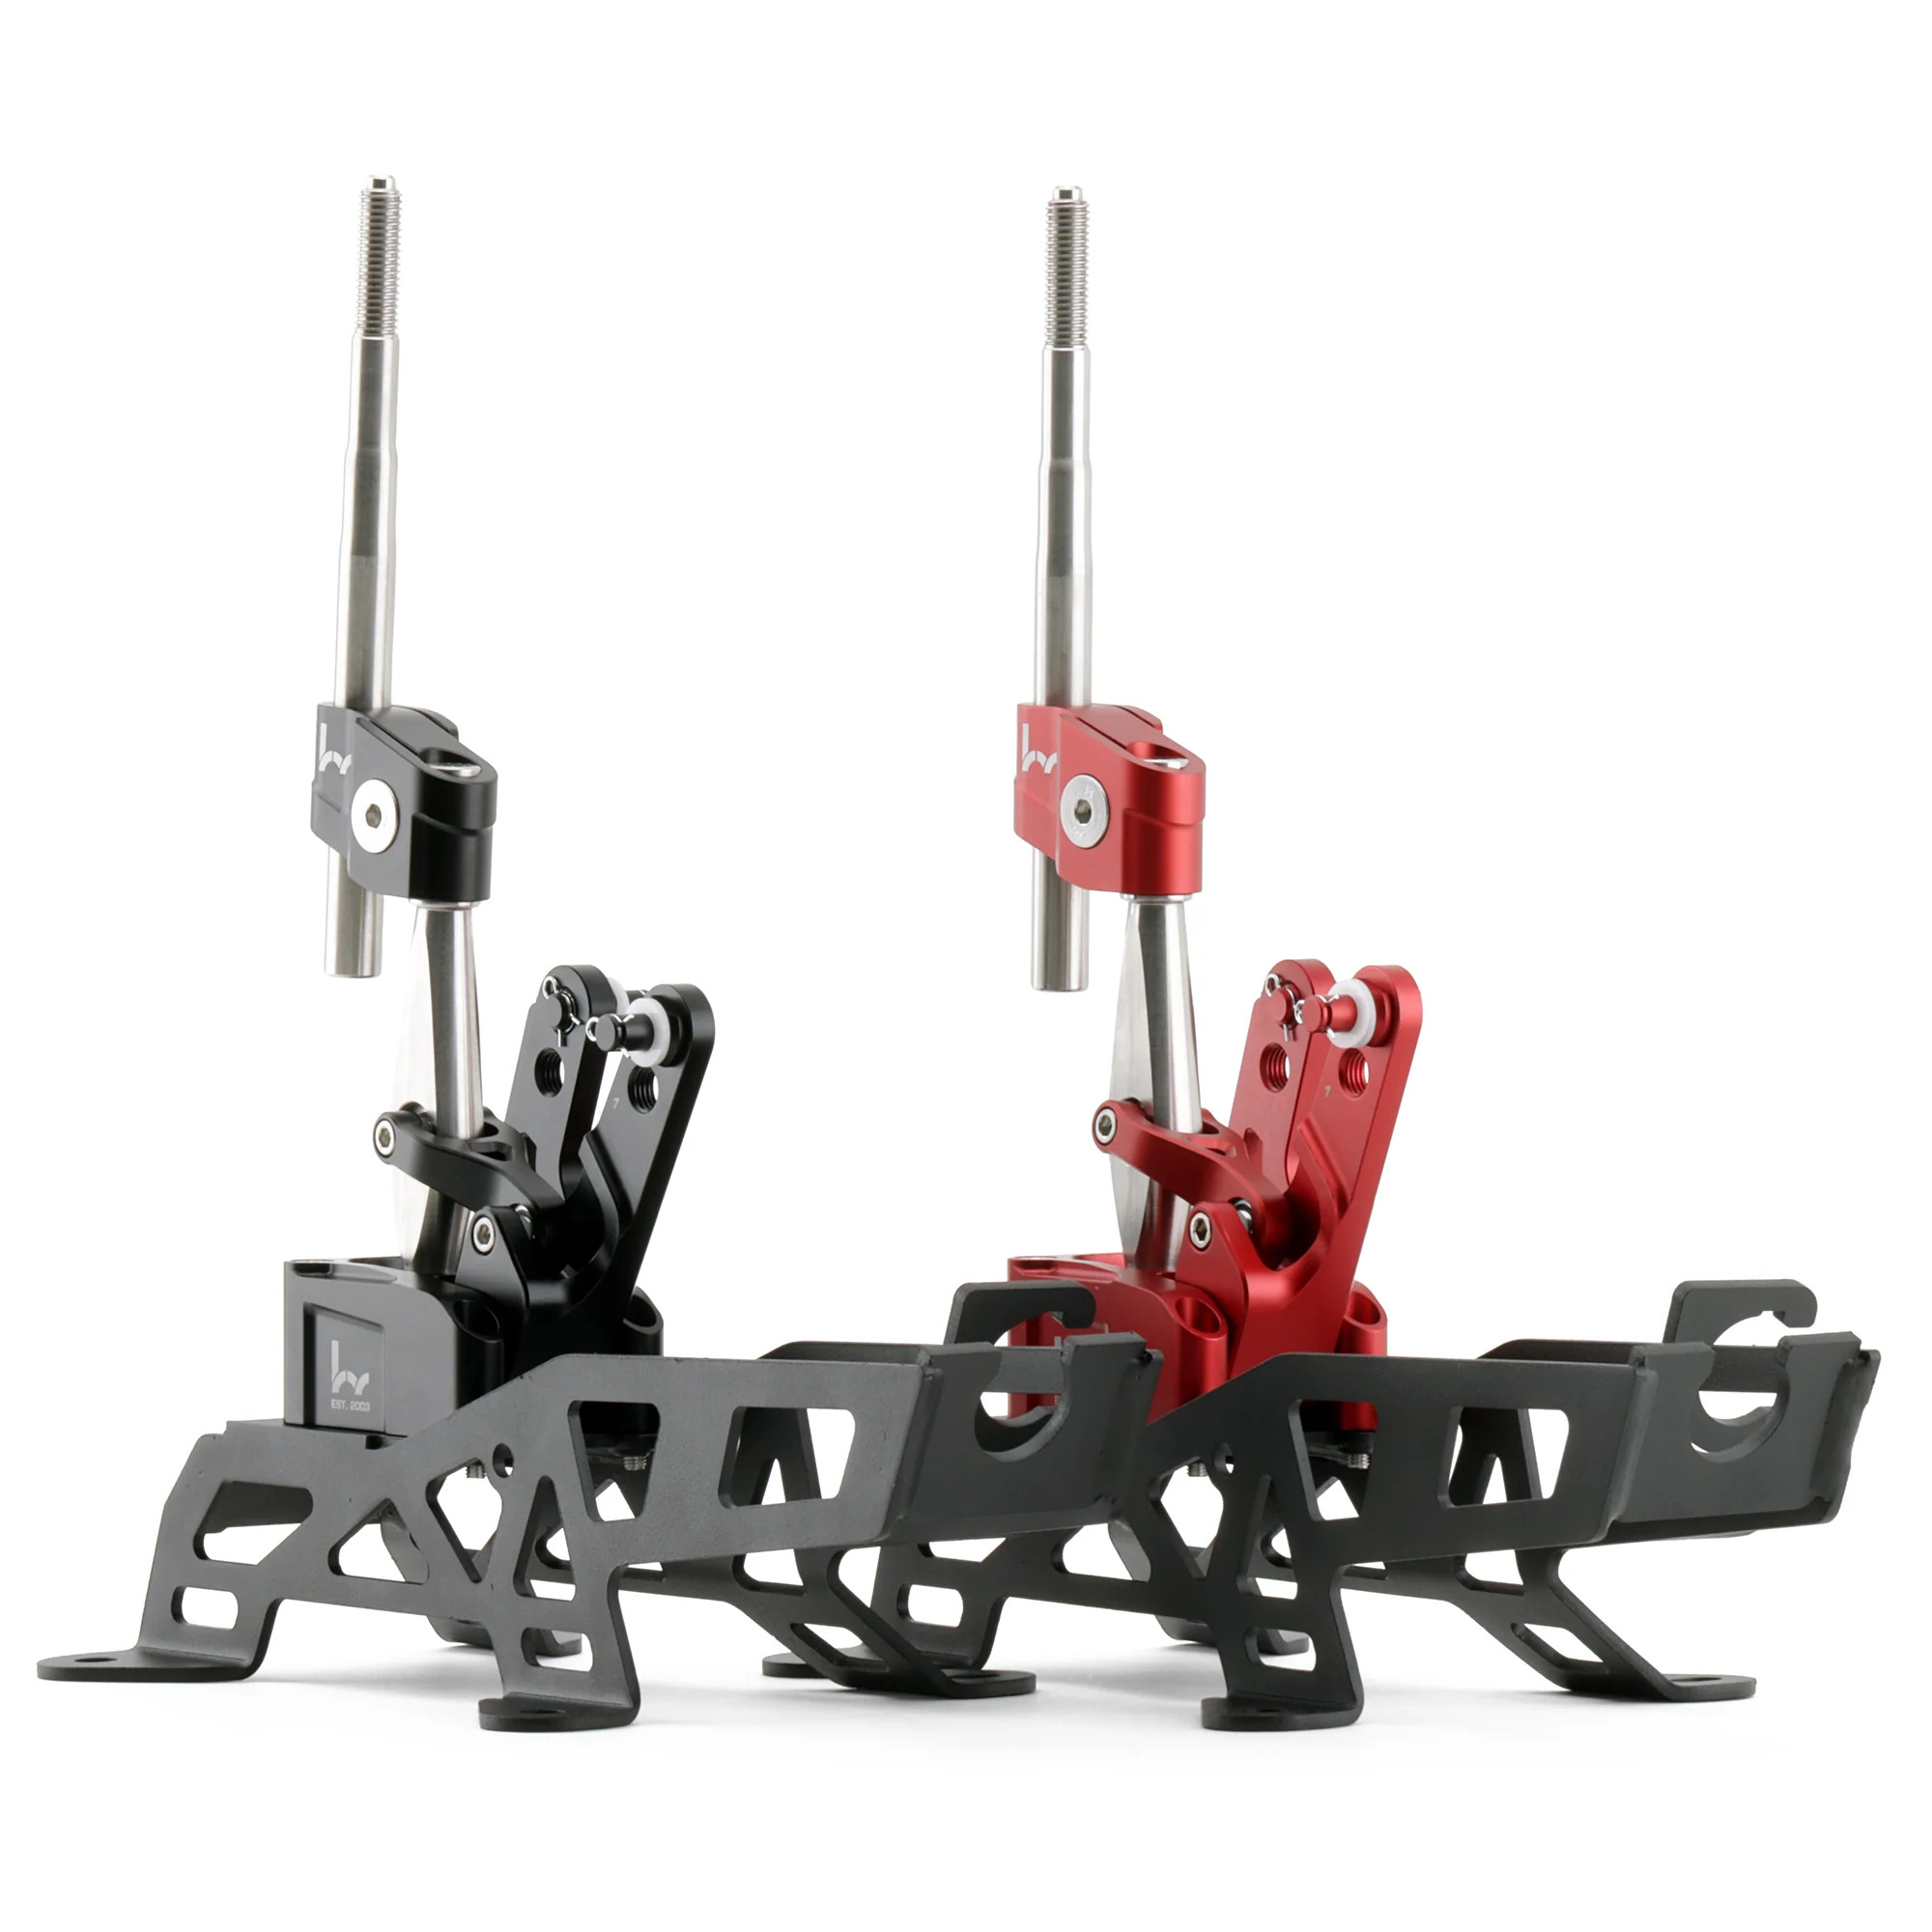 Hybrid Racing Short Shifter V3 For Honda Integra Dc5 02-06
10-50% Adjustable throw
From £484.00

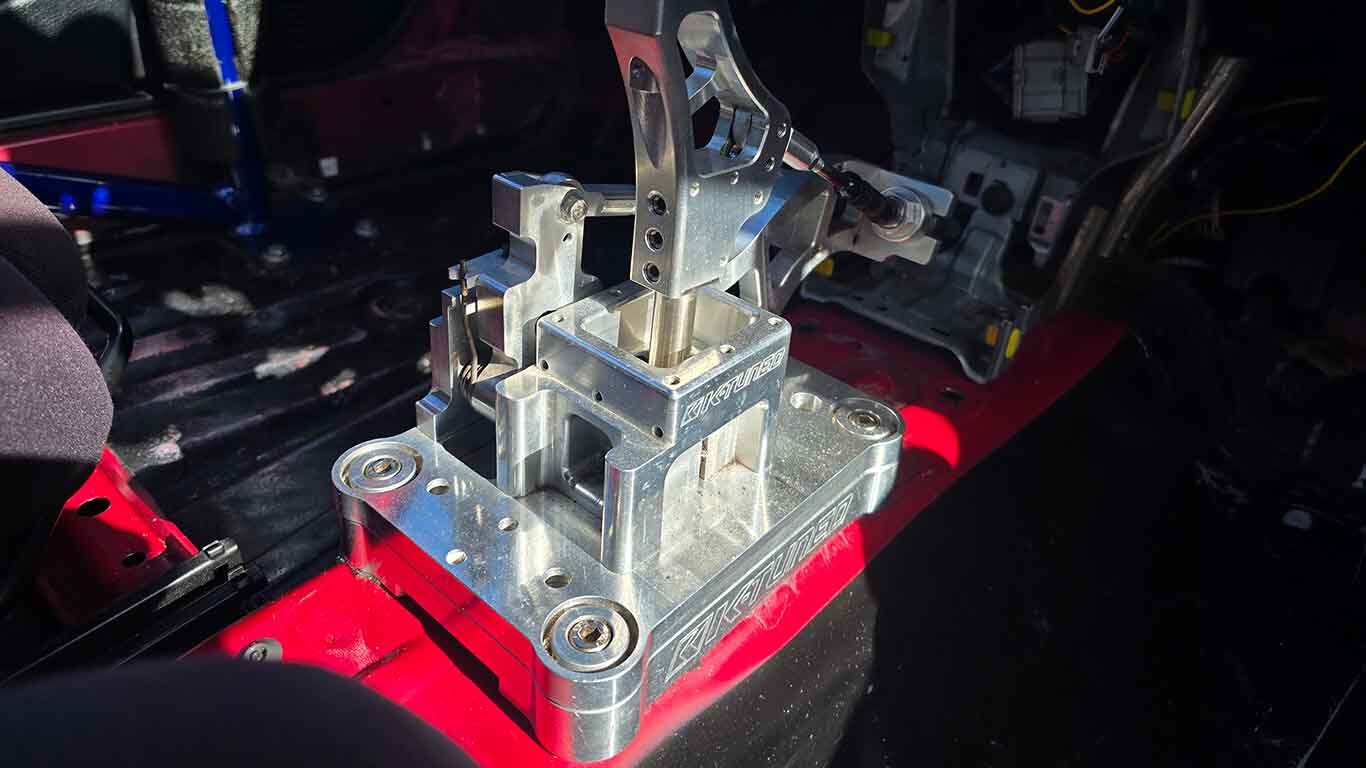
 K-Tuned Billet Dc5 Shifter Box For Honda Integra Dc5
Machined from billet aluminium and fully adjustable
From £516.75
They also have a flush, no-cut bolt-in option that bolts underneath the tunnel, allowing you to retain the stock centre console and achieve an OEM+ look.
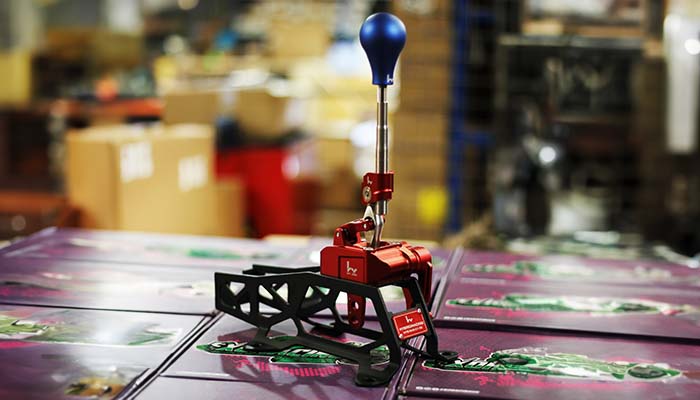
The K-Tuned short shifter operates similarly to a hybrid or OEM shifter, so the choice ultimately comes down to personal preference. Your unique driving style and car modification goals should guide your decision.
We generally go with the shifter that best suits the customer's build or colour scheme, as quality-wise, most shifters are very good and don't cause issues.

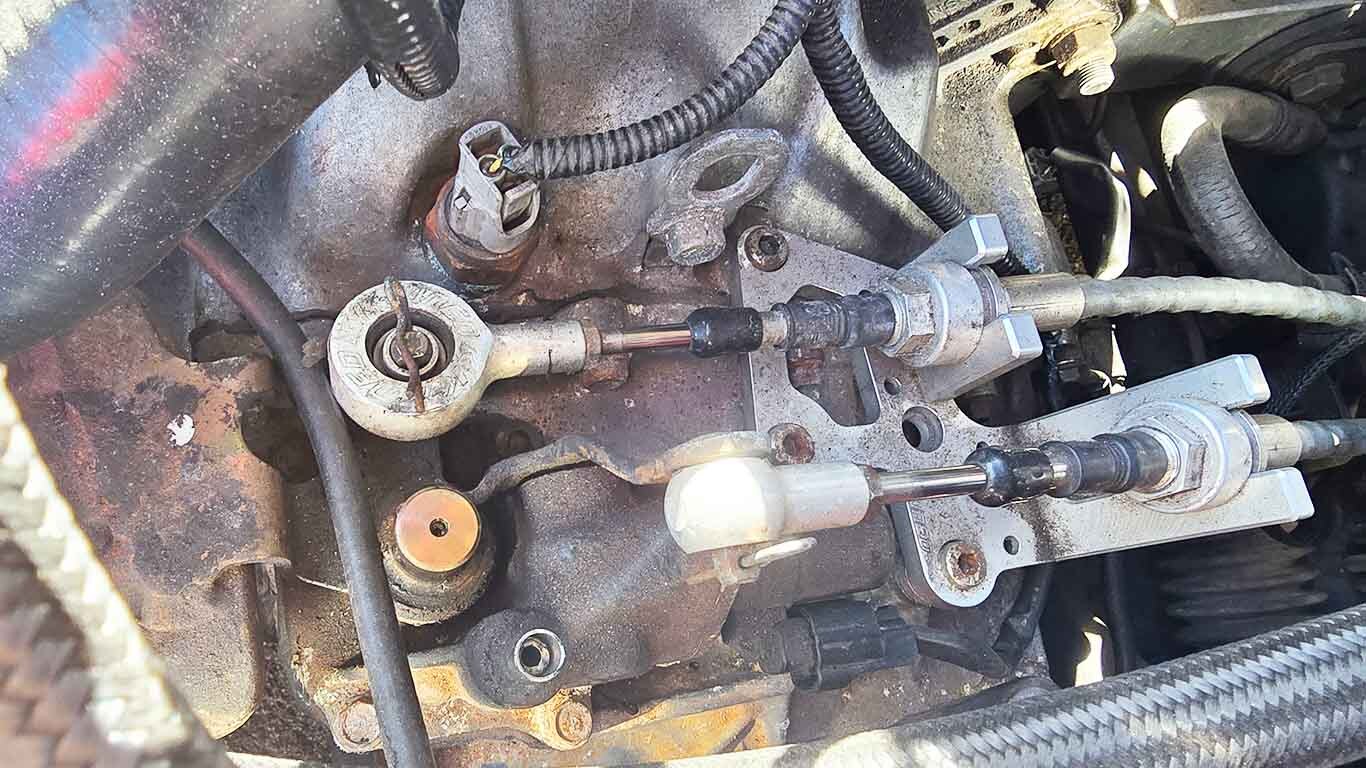
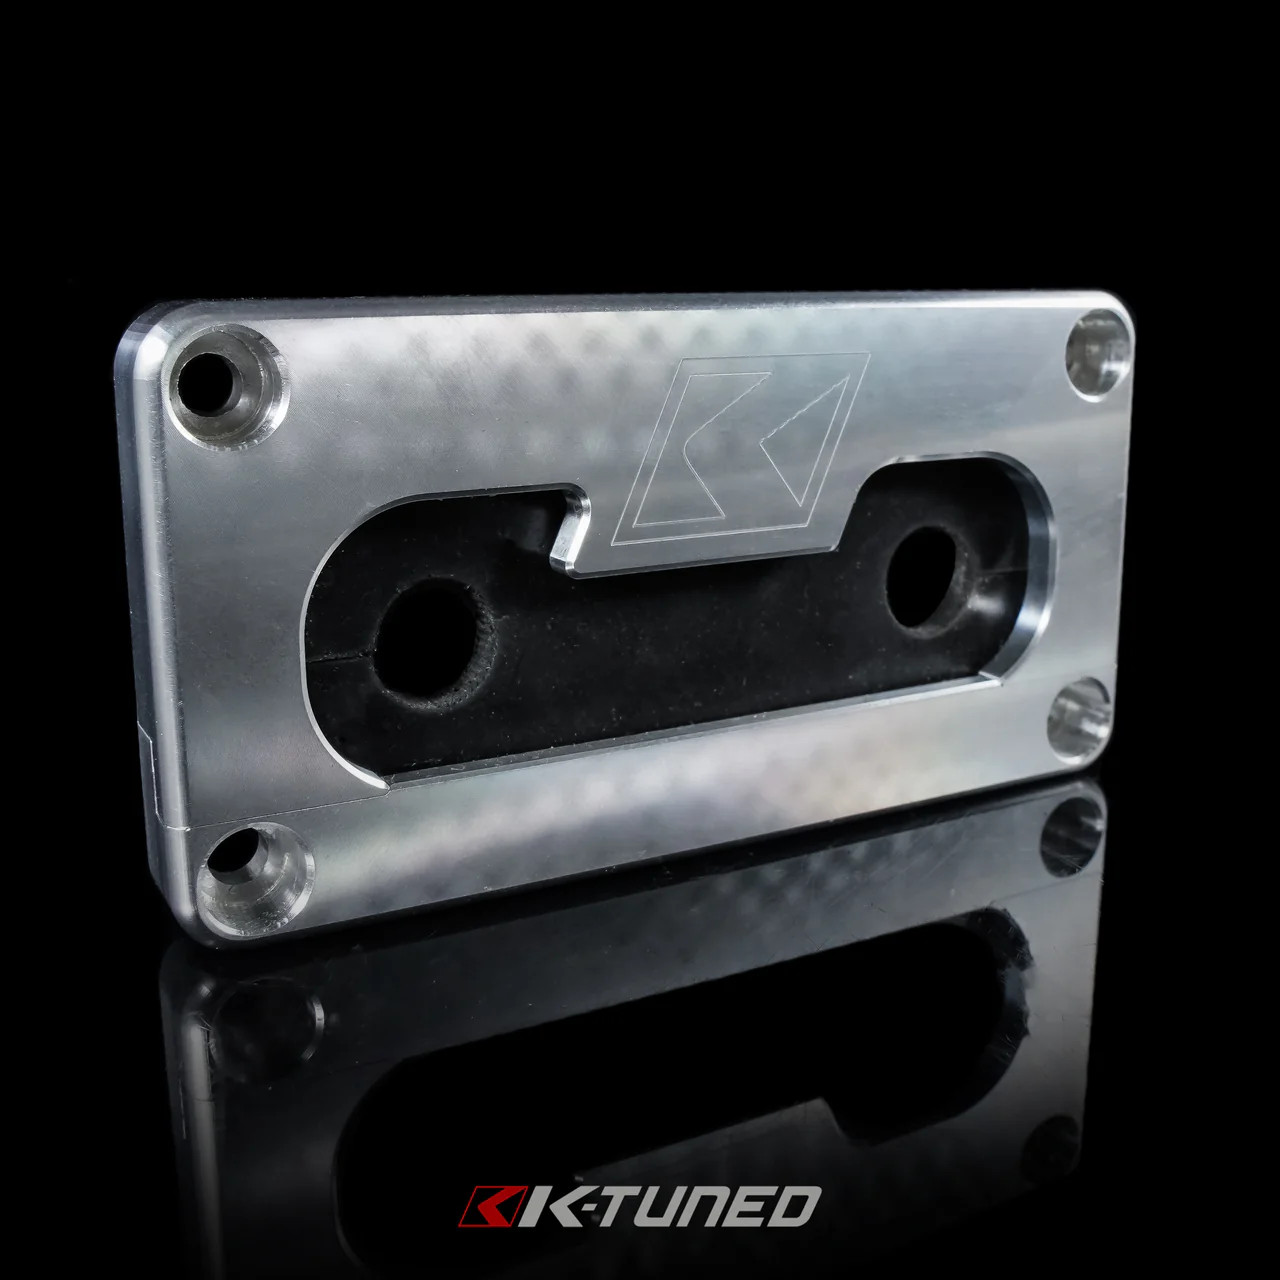
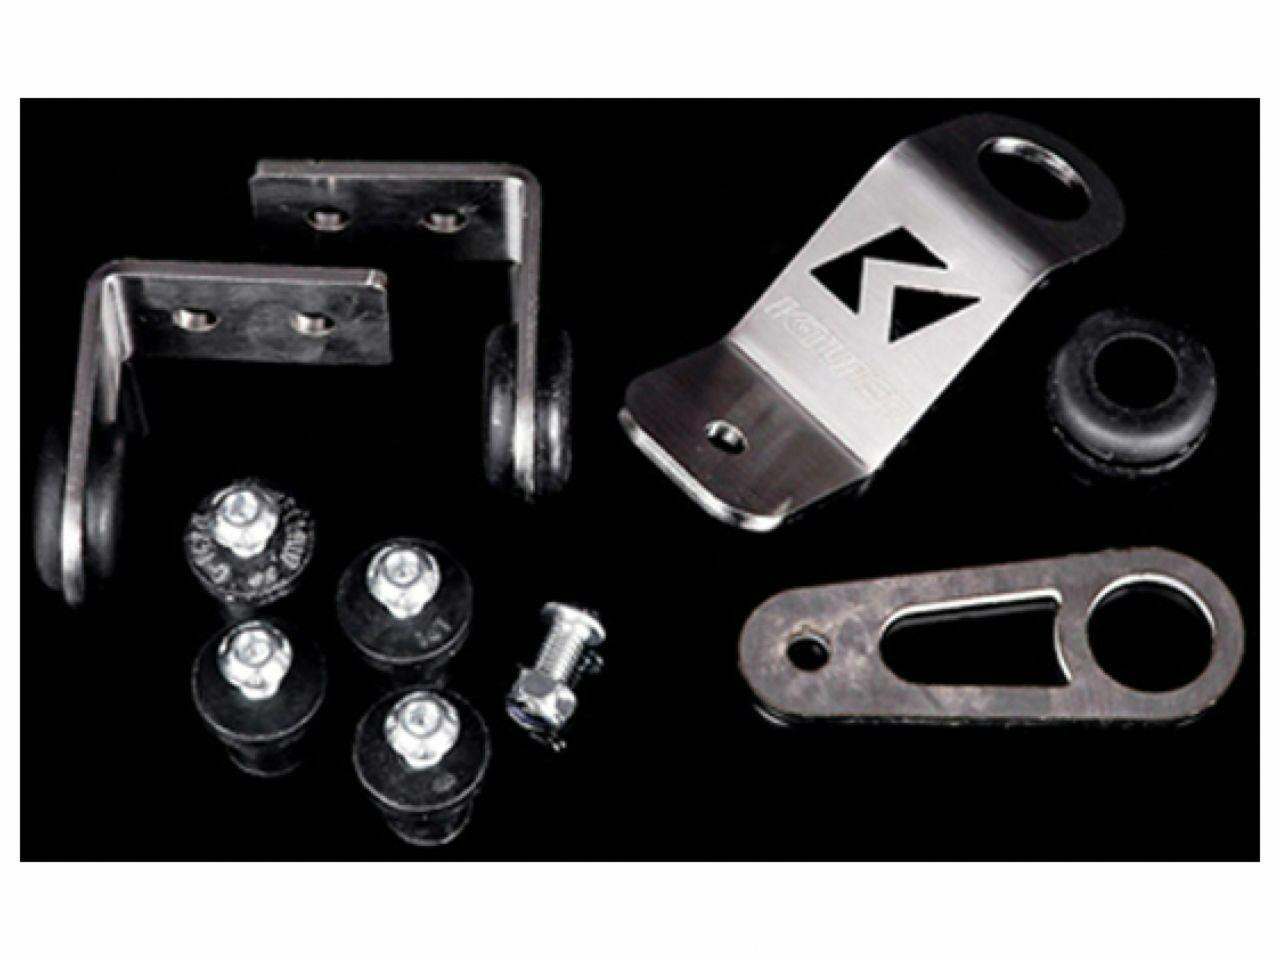
Shifter Base Plate
Since the Honda Civic EG/EK and the Honda Integra DC2 used factory-installed shifter linkages, not shift cables, you will have a hole in the exhaust tunnel where the shifter used to come through. You will use shifter cables when going to K-Swap, so there will be an unused hole in the chassis.
Hybrid Racing and K-Tuned both offer base plates that bolt to your tunnel, blocking this hole and mounting the shifter, making installation much easier.
The holes in the mounting plate already line up with the matching brand's shifter, making it one of the easiest parts to install, and completely closes up the gap, stopping any fumes or wind noise from entering the cabin.
Once installed, the shifter will bolt directly to this plate, eliminating all guesswork. The Hybrid Racing base plates even come with a rubber seal to seal the hole underneath and prevent fumes from entering the car, as said previously.
They also include the necessary hardware to make this a complete bolt-in option.
 Hybrid Racing Shifter Mounting Base For Honda Integra Dc5
Fits EF/EG/EK/DA/DC
From £211.00
 K-Tuned Billet Shifter Base Plate Above Tunnel
Fits: 1994-2001 Acura Integra, 1988-2000 Honda Civic
From £174.33
K-Swap Shifter Cables

The next item on the list is the K-Swap shifter cables. For the cables, you must use Honda Integra DC5 specification cables to bolt to the DC5 shifter correctly and the gearbox (even using the Hybrid Racing no-cut shifter).
The reason you need to use a DC5 shifter is that they are floor-mounted (unlike the EP3 OEM shifters), which makes them perfect for this. As a side note, you need to match the cables to the shifter.
For example, a DC5 shifter must be paired with DC5 cables. We use an Accord CL7 shifter for our AWD B-Series Civic conversion, as it is the only shifter that pairs with the aftermarket BAWD shifter cables.
There are a few good options over stock; as mentioned in the shifter section, Hybrid Racing and K-Tuned are the best options.
They both offer bolt-in, direct-replacement shifter cables and utilise spherical bearings, unlike OEM rubber, which makes your gear changes feel tighter than stock, and doesn't degrade over time like rubber will.
The biggest complaint about stock cables is that they feel "sloppy" to use, especially the rubber over time, and spherical ends completely solve this issue.
Recently, Hybrid Racing has released a revised version of their DC5 shifter cables, which are slightly shorter, making them currently the best option for K-Swap shifter cables.
 Hybrid Racing Shifter Cables K-Swap K20A/A2/A3/Z1 Transmission
Shifter cables specifically made for K-Swap cars
From £442.00
 K-Tuned OEM Spec / Street K-Swap Shifter Cables
Shifter cables specifically made for K-Swap cars
From £373.58
Shifter Cable Grommet
When installing the Shifter cables in a K-Swap car, you generally won't have a hole for them in the firewall, since the shift linkage used to be located underneath the vehicle.
You must drill a hole in the firewall for the cables to pass through. The cut hole is usually underneath the heater pipes, leaving you with a large, ugly hole —and that's where K-Tuned comes in.
They developed a shifter cable grommet to allow both cables to run through the firewall without risking them rubbing against the exposed metal.
Installation is simple; drill the correct hole size, bolt the plate in all four corners, and you're done!
Then you can easily pass the cables through the middle of the rubber. This won't just stop your cables from rubbing, but will also ensure they are held in the correct location and won't easily pull or move from either end.
Optional Shifter Parts
Before we move on to the next part, it's worth mentioning some products that will improve your driving experience. K-Series detent springs are a popular option and usually offer a spring rate up to 80% stiffer than stock.
This stiffer spring helps the gear selector fork apply more pressure, making your shifting feel sharper.
The best current options for these are the Hybrid Racing and Speedfactory Racing variants, both of which are well tested.
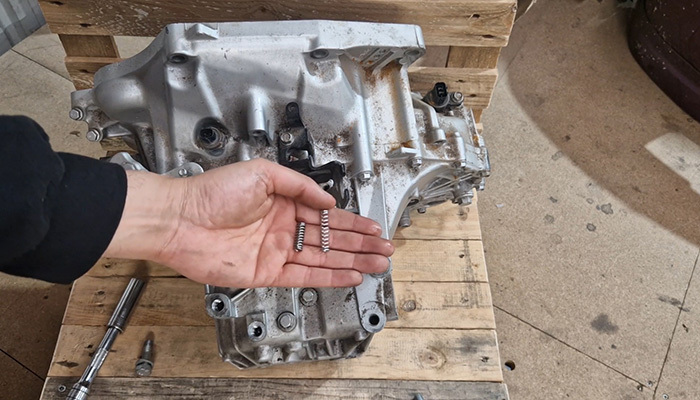
We even use the Speedfactory Racing detent springs in our own B-AWD Civic, and they made a massive difference to the feel of the gear changes.
The last optional upgrade worth looking at is a shifter spring upgrade. If you were going to buy a brand-new shifter, such as the Hybrid Racing DC5 V3, it would already come with a stiff spring.


If you're looking to upgrade an OEM or older shifter, this would be the way to go.
Speedfactory Racing heavy-duty K-Series shifter springs are up to 200% stiffer than stock, helping centre the shifter with greater force and improving shift accuracy.
K-Swap Driveshafts

Now onto the next step, driveshafts. Your OEM B/D series driveshafts were made to be the correct length and spline for the B/D-Series, but will not fit the K-Series.
Because of this, you will need specific K-Swap driveshafts. A few options are on the market, but we generally go towards Hasport for these.
They make specific Honda Civic EK K-Swap driveshafts that bolt in and fit the gearbox and hub with the correct splines and length, making this step hassle-free.
If you use a chassis other than a Honda Civic EK, Hasport also manufactures several variations of Honda K-Swap driveshafts.
Check out their catalogue to see if they have the correct swap driveshafts for you.
If you want to save a bit of money, you can also use K-Series driveshafts with B-Series outer CV joints for Civic EK, but if you're going down this route, it's worth researching exactly what will fit your chassis.
We have seen it a few times where a customer has bought K-Series driveshafts and B-Series outer CV joints, but because of slight part-number variations, they don't fit.
Make sure to research the splines you need to ensure they fit the first time on the driveshaft and in the hub you're using.
Clutch Line

The OEM clutch line for a Honda Civic EK/EG or Integra DC2 was designed for a D/B-Series Slave Cylinder, so it does not fit a K-series slave cylinder.
Because of this, you will need to consider upgrading to a specific K-Swap clutch line. These lines have the correct threads at the master and slave cylinders and are slightly longer to fit perfectly into a K-Swap.
Also, over time, the stock clutch line can become perished, so it would be worth upgrading to a braided stainless-steel line.

The two leading brands that manufacture K-Swap clutch lines are Hybrid Racing and K-Tuned, so it comes down to your preference.
Alternatively, suppose you are K-Swapping into another chassis.
You may need to manufacture a custom clutch line, but we can assist with that, as we work closely with Hel Performance, which can create any custom length, thread, and colour you want.
All we would need from you is the line length and angles you would like at either end, we can work out the rest!


Throttle Cable

The factory Honda throttle cables are now worn and stretched over time, which isn't surprising given they're 30 years old, so it's worth upgrading to a new option.
Also, if you are doing a K-Swap into a chassis that isn't a Honda, chances are your OEM cable wouldn't fit anyway due to variations in throttle bodies, pedal locations, and fitment.
Since the cable is likely worn anyway, you're better off getting a brand-new one to reduce the risk of future problems.
Hybrid Racing manufactures a perfect-length K-Swap cable for a perfect fit and reduced slack at your throttle pedal.
The Hybrid Racing throttle cable connects directly to your throttle body and pedal, and even includes a handy clip for attaching it to the bulkhead, which just rotates 90 degrees to lock in place!

K-Swap Exhaust Manifold

Now that you have sorted out how to mount the engine and the transmission, the exhaust manifold is next.
The stock K-Series exhaust manifold will not fit due to the different subframe, so, for clearance reasons, you will need to look at an aftermarket option such as Tegiwa, K-Tuned, or Skunk2.
All three of these brands manufacture specific K-Swap exhaust manifolds that fit without notching your subframe and bolt directly to your existing catalytic converter.
Before deciding on which exhaust manifold to go with, you need to decide on the end goal and the bore size you need. For example, you would need different pipe sizes if you were going with a 1000bhp turbo conversion or a totally stock naturally aspirated build.
The K-Swap manifolds generally have a bigger bore than stock (typically 2.5"), which will flow more than the stock manifold and feature equal-length runners for optimal flow.
If you aim for the most power possible, then the K-Tuned big tube manifold would be the way to go, as it features a large 3" exit, currently the most oversized bore on the market.
A 3" exit manifold, matched with a 3" exhaust, will deliver the highest possible flow out of the box without getting a custom exhaust and manifold made.


K-Swap Air Intake

Due to the B/D Series engines found in the '90s-era Hondas having the throttle body at the back of the engine bay, and the K-Series engines at the front, you cannot use your existing air intake.
Because of this engine rotation, a few companies have designed air intake systems specifically for the K-Swap Honda chassis.
As we know from tuning over the years, the colder the air going into the engine, the more power you will make.
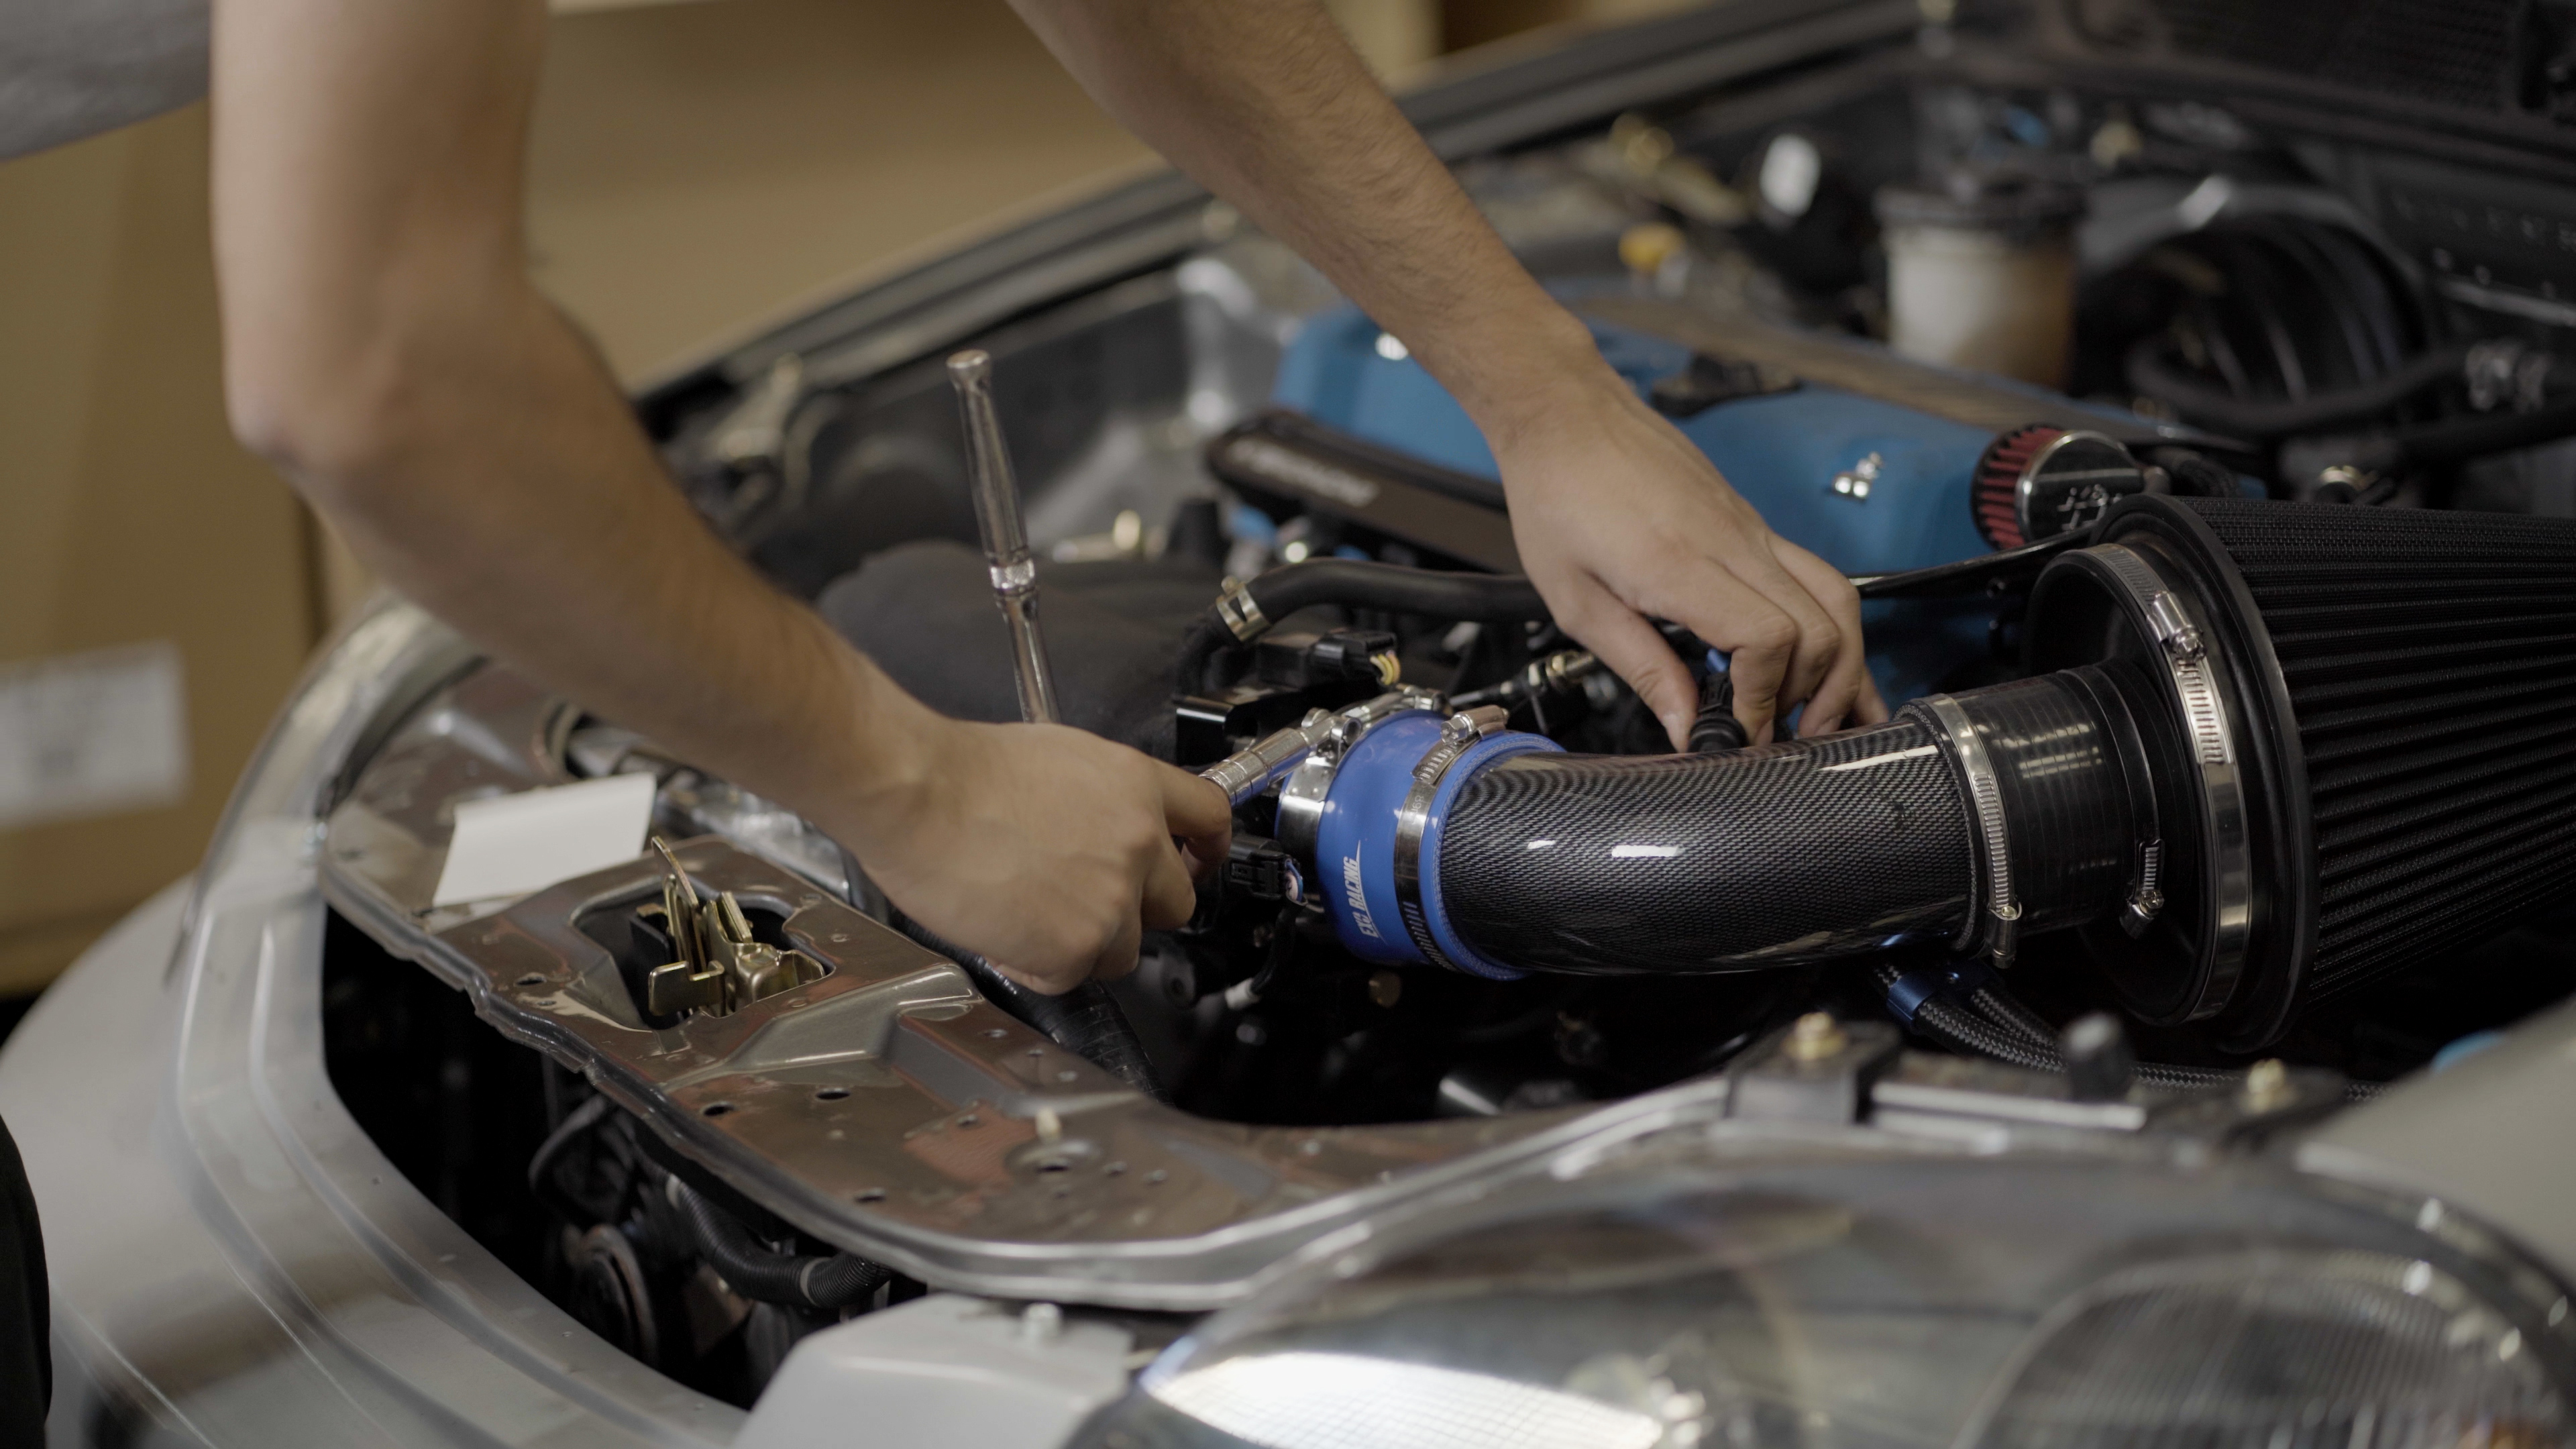
This would make a Hybrid Racing or K-Tuned cold air intake the best option here, as not only will it increase performance, but it also fits perfectly into a Honda Civic EG/EK and Integra DC2 chassis.
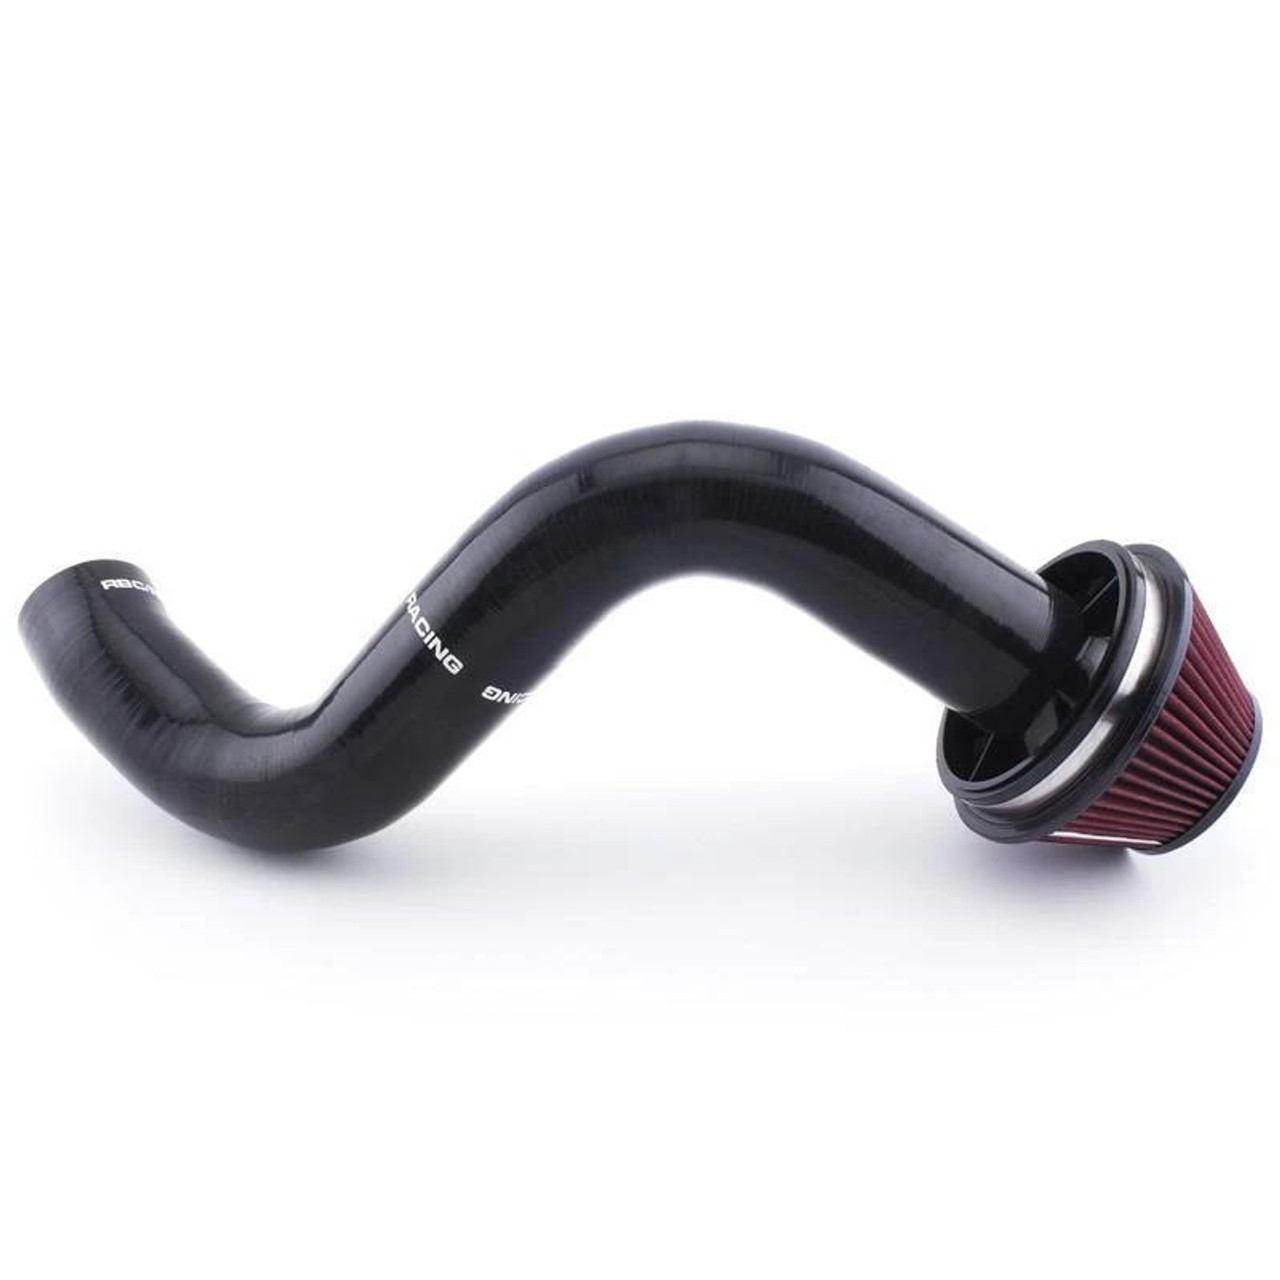
Which one you choose would depend on budget, looks and intake manifold choice.
K-tuned has a few options depending on your inlet manifold choices, such as with or without a velocity stack and 3" or 3.5" to cater for most setups.
Hybrid Racing have gone with one cold air intake option, a velocity stack version, with a total 3" diameter but a complete silicone construction for reduced intake temperatures.
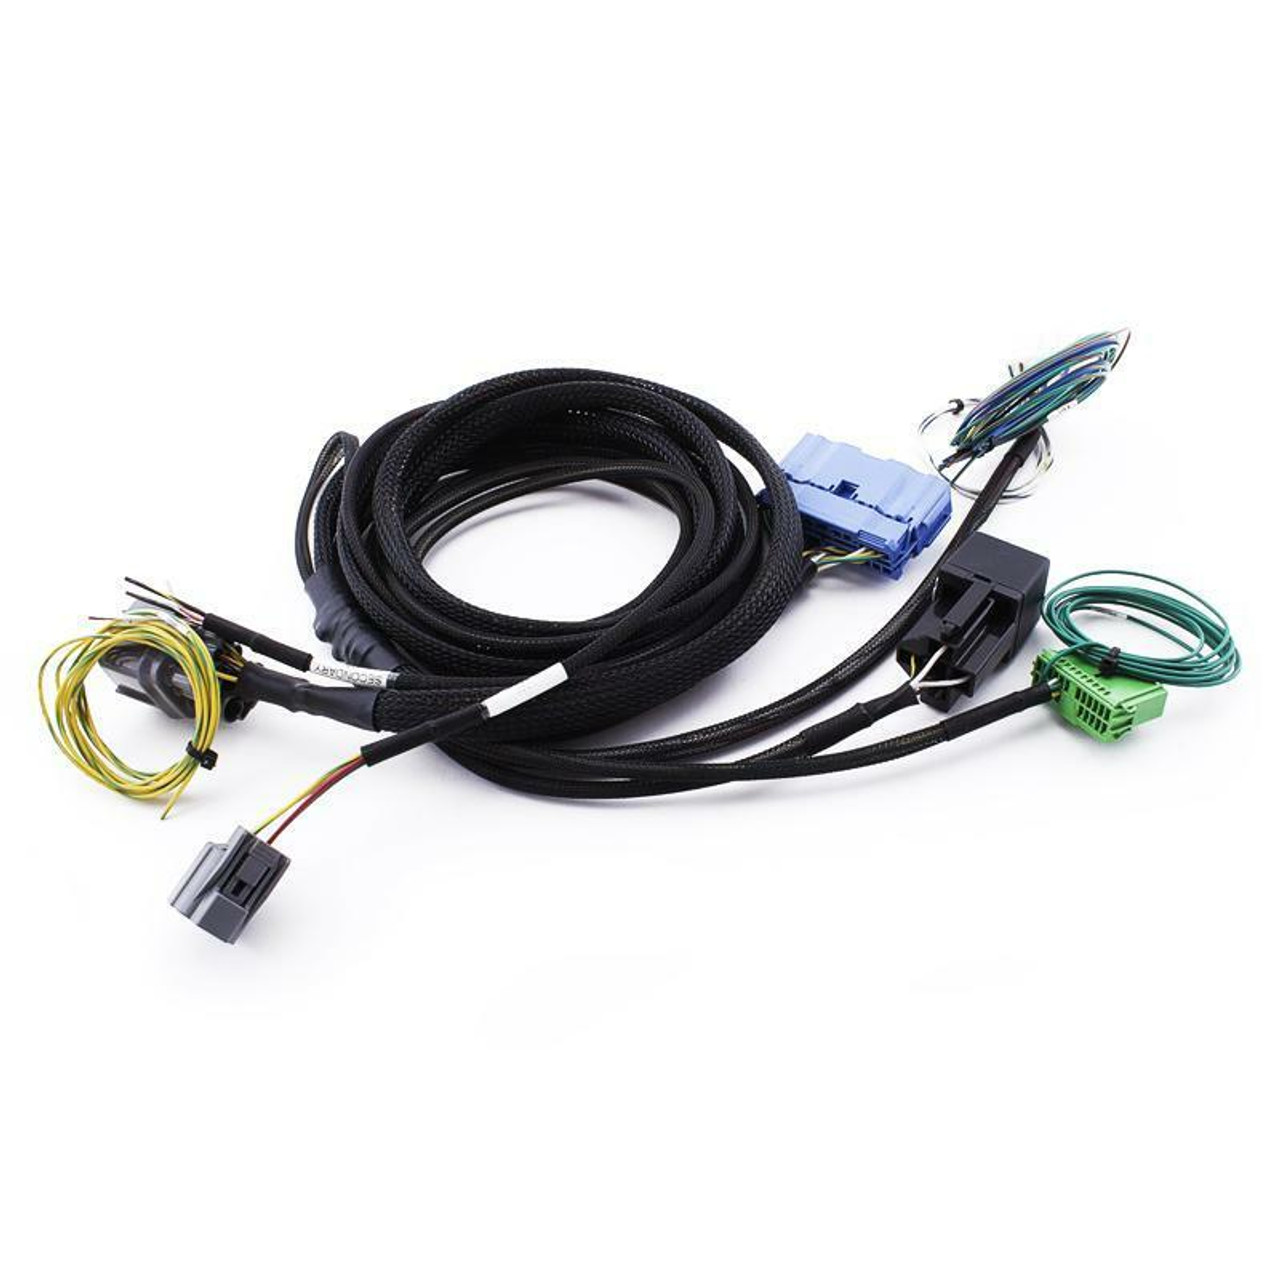
Wiring Conversion Harness

You will already have an ECU, engine loom, and interior loom in your stock wiring setup for whichever chassis you decide to K-Swap.
From the factory, the 3 of these are plugged together and work in combination to send signals to each part, such as the engine to the dash cluster or the engine to the ECU.
The marriage between these 3 parts is also how you see the RPM, fuel level, etc, on the dashboard. All sensors are linked to the ECU and output to the dash in real time for you to monitor.
Because you are now installing a K-Series engine and ECU, you will need a harness to connect to your interior loom so the factory gauge cluster works.
Again like most of the specific K-Swap parts on this list, Hybrid Racing and K-Tuned have options for a completely plug-and-play setup.
In this example, there is a specific Hybrid Racing Honda Civic Ek 96-98 loom and K-tuned alternative, both excellent options here.
Suppose you are swapping into a different chassis, you can either use a universal loom, or you may have to consult a wiring specialist on this step if you want to use your factory cluster.
Alternatively can opt for something like a digital dashboard and CAN setup, but we will cover that in another guide.
 Hybrid Racing Universal K Swap Conversion Harness
Ideal for K swap builds with no harness available.
£232.00
 Hybrid Racing K Swap Harness Civic EK 96-98
Wiring solution for 96-98 Honda Civic EK.
£232.00
 Hybrid Racing Harness K-Swap Honda Civic 99-00
Direct fit harness for 99-00 Civic K-Swap wiring.
£232.00
 Hybrid Racing K Swap Harness 88-91 Civic CRX
Built for 88-91 Civic and CRX K swap conversions.
£232.00
Engine Control Unit (ECU)

The engine control unit, or ECU for short, is the circuit board that keeps your brand-new K-Swap engine running.
The ECU controls everything in and on the engine from spark to fuel, and, with a combination of all the sensors, everything runs perfectly.
If you have decided to keep the stock ECU, you can move on to the immobiliser bypass section, which you will need. If not, we will run through the various ECU options you can choose from.
The most popular option would be a K-Pro ECU made by Hondata and essentially a board that bolts into the stock ecu, converting it to be fully reprogrammable.
With this fitted, you can take it to your tuner and get the most out of your brand-new setup, with extra added motorsport features, such as launch control.
If you need more controllability than a K-Pro can handle, Haltech is one of the best standalone options for engine management.
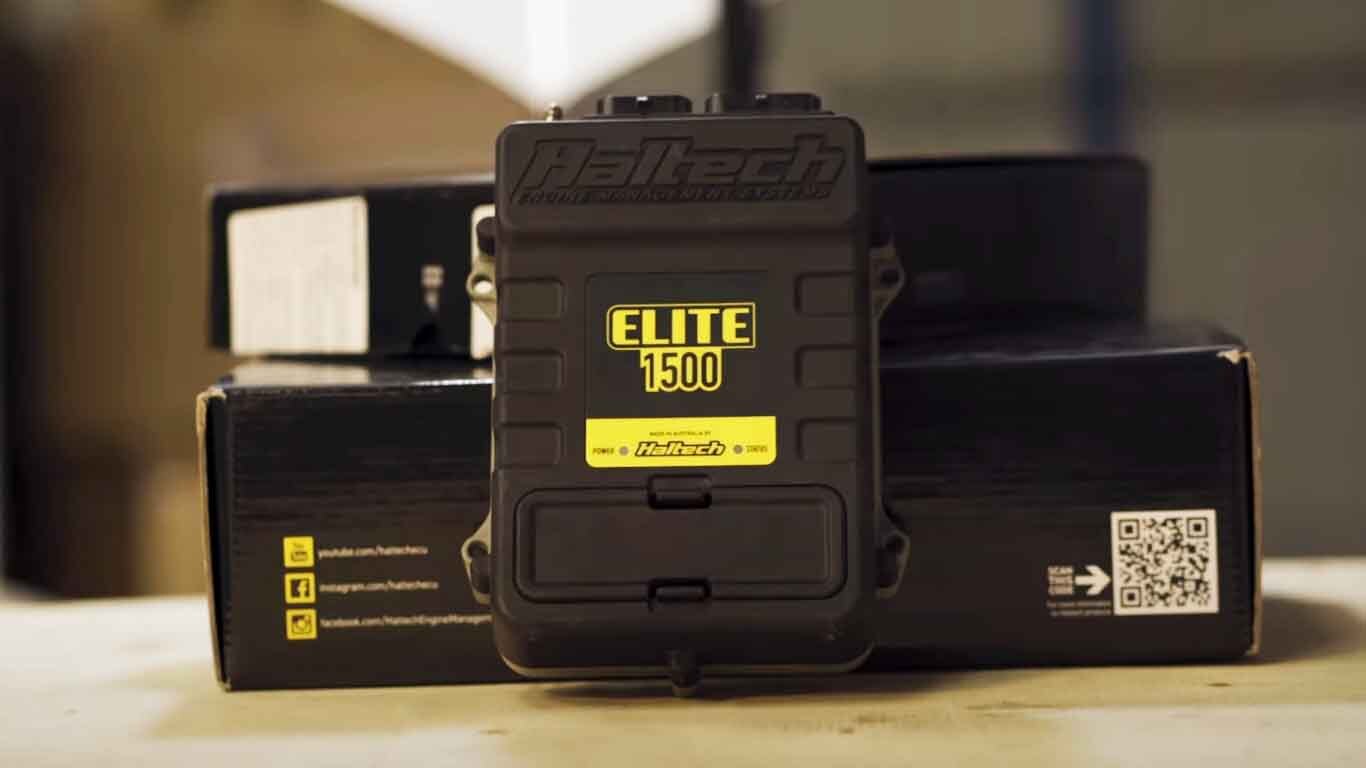
The most common Haltech for a K-Swap is the Elite 1500 range, and it can also come with an EP3/DC5 jumper harness, allowing it to plug directly into your engine loom without any custom wiring.
 Haltech Elite 1500 ECU For Honda Civic EP3
Complete plug and play ECU package for EP3 and DC5 manual K series setups.
£1,693.00
 Haltech Elite 1500 ECU Multiple Option
Advanced standalone ECU with drive by wire, cam control, logging and race features.
£1,279.00
 Haltech Nexus S2 ECU Multiple Option
Next generation ECU with more processing power, advanced race functions and flexible setup options.
From £1,395.00
Another massive advantage of using a Haltech dash is that you can link to one of their digital dashes.

Advantages of using a standalone ECU with a digital dash include:
- Swapping your gauge cluster to their IC-7 digital dash.
- Showing you every engine sensor in real-time.
- Even displaying warnings for conditions you can choose to set.
Again, like everything in this guide, this step will depend on your budget and what you use the car for. If you are still deciding which ECU to choose, reach out to us for advice.
Note: If you plan to map the car in the future to get the most from your build, we recommend an aftermarket ECU.
To be totally honest, the only time you're ever fine with a stock ECU is if you are never planning to modify it, but let's be real here: not many people go through the effort of K-Swapping only to not modify it, haha!
 Haltech IC-7 Digital Dash 7" Colour Display
Full-colour 7-inch digital dash with CAN integration and programmable shift lights.
£974.00
 Haltech UC-10 Digital Dash 10"
Large full colour 10-inch dash with logging, CAN integration, and standalone input options.
£1,595.00
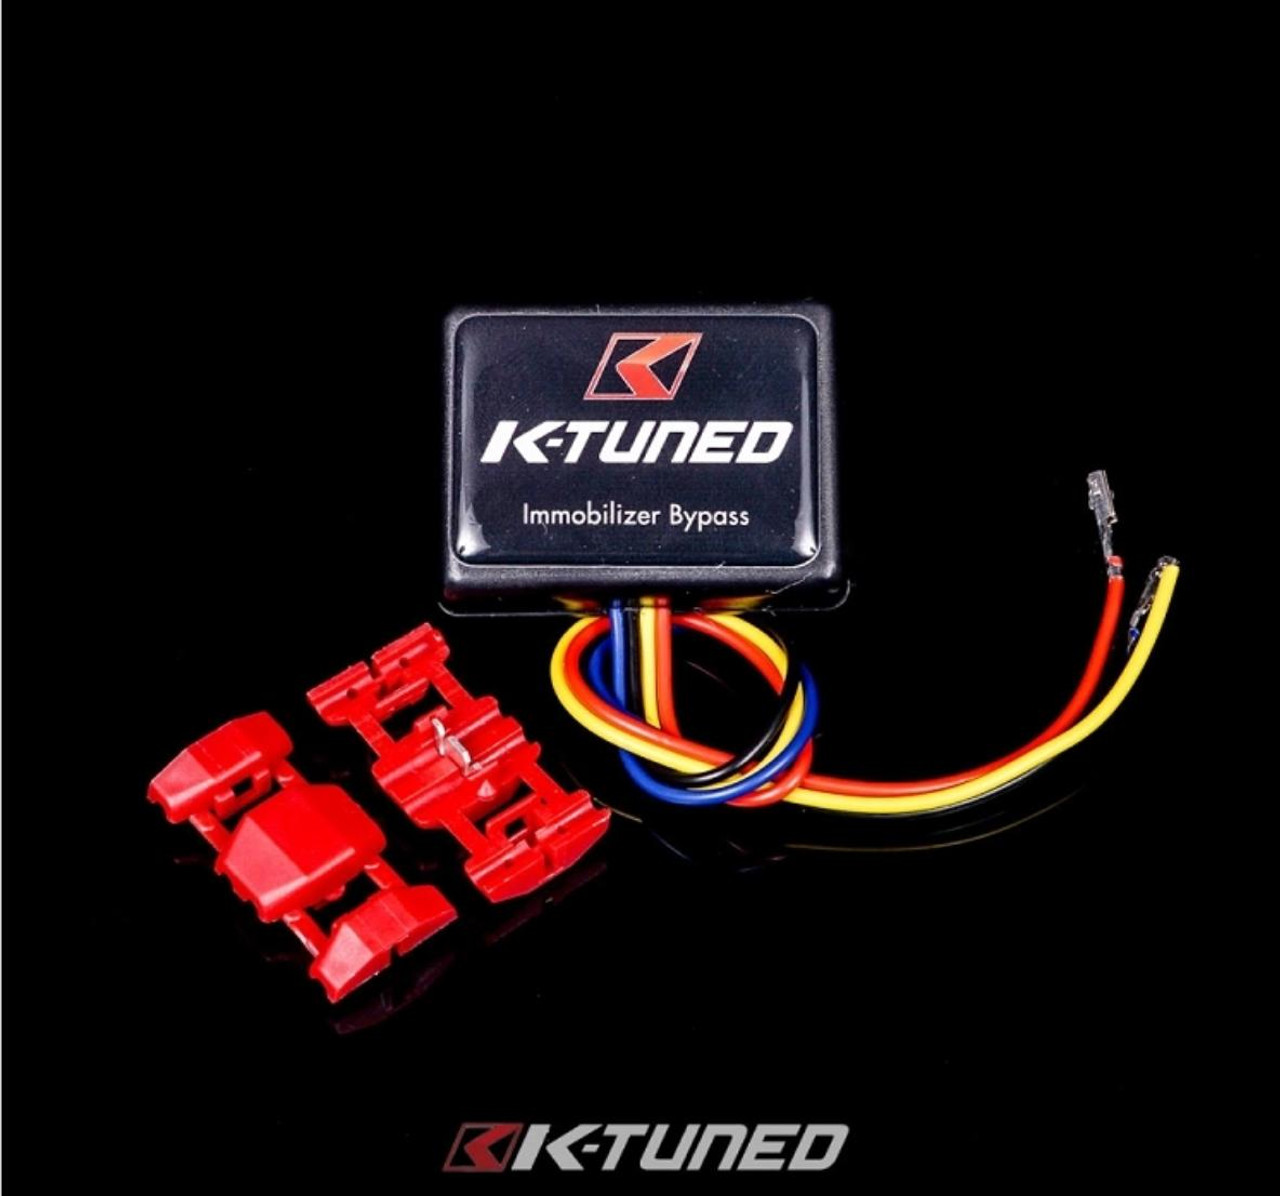
Immobiliser Bypass

If you did choose the stock Honda K-Series ECU route, you must run an immobiliser bypass unit.
Because the stock ecu is designed to run with an immobiliser matched to the key, there won't be one detected in the system, you will not be able to use the ECU, and it will also throw up an engine management code.
An immobiliser bypass will fix both problems and is easy to install with just four wires. This box completely bypasses the immobiliser system, meaning you can start the car without issues by wiring into the system's code signal wire.
There are two options here: the Hybrid Racing unit or the K-Tuned unit, and both are excellent choices.
One thing to note is that they only work with specific ECU codes, so it's worth checking your ECU for this before purchasing.
For reference, they usually work with ECU codes:
PLM, PLR, PND, PNF, PRA, PRB, and PPA.
Although it's worth checking the product descriptions of each to make sure it's compatible with your exact ECU. We'll add both below here so you can decided on which one you want to go with, just click the product links to go straight to the pages!
 Hybrid Racing Ecu Immobiliser Bypass For Honda K-Series K20
Run a stock K series ECU in your swap and bypass immobiliser and multiplex codes.
£263.00
 K-Tuned Immobiliser Multiplexor Bypass KSwap
Affordable 4-wire bypass that lets you use a stock K-series ECU in swap applications.
£273.95
K-Swap Radiator, Hoses and Brackets

The stock UK Honda radiators are generally on the driver's side, but for a K-Swap, you ideally need them on the passenger side due to where the water necks are on the head, etc.
The stock K-Series hoses are on the passenger side, and the rest of the coolant system is designed around this, including the thermostat housing.
The aftermarket radiators are designed with a modified bottom coolant hose port that points in the correct direction when installed on the passenger side.
The fact that aftermarket radiators are designed this way saves a lot of headaches and is a direct fit with K-Swap radiator hoses.
There are various options for a K-Swap radiator.
It mainly comes down to whether you want a half-size or full-size radiator. There are advantages to both, such as surface area and coolant capacity, but with a high enough flow fan for road/mild track use, either shouldn't be an issue.
Both options are available, but our usual go-to is the half-size, as they are neater, and unless you are going with a high-power turbo or a mega high-compression build, they will cool enough for the street.
Currently, many brands manufacture a specific K-Swap radiator, such as:
It is your choice which one to choose, as they are all excellent options at different prices.
 Tegiwa Radiator For Honda K Swap
Lighter than OEM and designed to cool your K swap more efficiently.
£195.00
 Hybrid Racing K-Swap Civic EK
Bolt in full-size radiator with dual core construction for serious K swap cooling.
£505.00
 Hybrid Racing Half-Size K-Swap EK
A compact bolt-in radiator that leaves room for accessories.
£400.00
 Mishimoto Radiator Civic K-Swap 96-00
Full aluminium radiator made specifically for 96 to 00 Civic EK K swaps.
£350.40
Note: If you are struggling with air intake temperatures due to the extra heat the K-Swap produces, consider our range of heat management products, which can protect sensitive areas and reduce intake air temperatures when used correctly.
K-Swap Radiator Hoses
You will need to run a set of specific K-Swap radiator hoses to counter the issue of the radiator swapping sides. There are good options here, as all the K-Swap radiator hoses share the exact fitment.
The only difference would be the brand's colour scheme you choose to match your engine bay.
If you went with a full-length or half radiator, you must get the correct swap hoses to match this.
We usually go with the Hybrid Racing option, as their hoses are black on the outside to match nearly any build and pair very well with their aftermarket aluminium radiators.
 Hybrid Racing K Swap Radiator Hoses K20 K24
K swap silicone hoses routed for a neater engine bay with fewer awkward bends.
£95.00
 K Tuned Passenger Side Rad Hoses K Swap
Designed for K swaps with a passenger side radiator for easier fitment and no hose headaches.
£124.52
 Exoracing Silicone Hose Kit For Honda Civic K20
Complete 4 ply silicone hose kit with stainless clamps for a full EP3 cooling refresh.
£149.99
Whilst you're here, it might be worth upgrading to a full Exoracing silicone hose kit to eliminate the risk of old, perished hoses causing problems!
To learn how to install these, head over to our How to Install Silicone Hoses guide.
Coolant Temperature Sensor and Fan Switch
Since the stock Honda Civic EP3 and Integra DC5 have their fan switches on the radiator, you will also need another option.
Luckily, some of the K-Swap radiators come with ports for the fan switch, making this much more accessible. If they do not, you can use a radiator hose insert, such as the Tegiwa K-Swap hose insert, which houses the fan switch and coolant temperature sensor.
If your aftermarket radiator has a fan-switch port, you need to mount the coolant temperature sensor there, or cap it off.
Hybrid Racing makes a coolant temperature sensor adapter that lets you use your B/D-Series sensor, which is required in some cases, as some older gauge clusters cannot read some data from the K-Series ECU.
Either way would work; it depends on which radiator setup you choose and whether you want to run a hose adapter inline.
 Tegiwa K-Swap Radiator Hose Insert With Sensors
Complete hose insert with sensors to make your temp gauge and fan work properly.
£58.83
 Hybrid Racing Coolant Temperature Sensor Adapter K-Swap
Let's you thread a factory B/D series temp sensor into your K swap system.
£27.00
 Hybrid Racing Coolant Temperature Sensor Honda Replacement
Sends coolant temp to your older gauge cluster in EF, EG, and EK.
£27.00
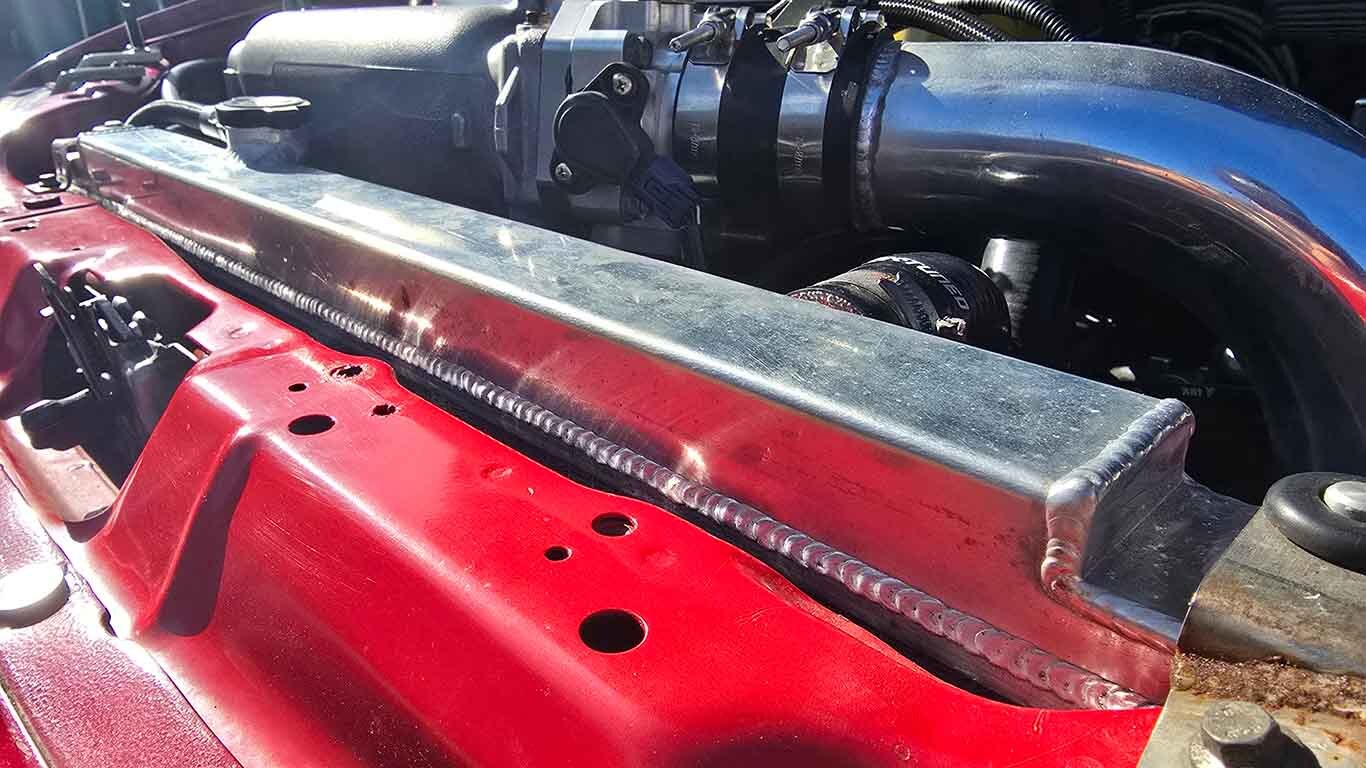
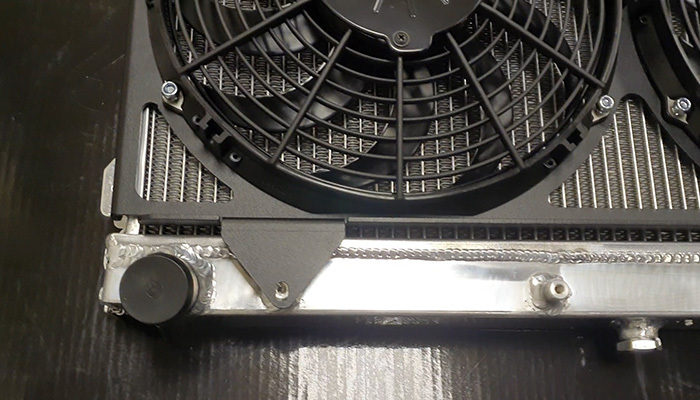
Radiator Relocation Bracket Kit
To mount a K-Swap radiator, most people cut off the driver's radiator mounting brackets and weld them to the passenger side.
Although this does work and is a totally free option (just time involved), there are now specifically designed kits which will make your life easier and installation much neater.
K-Tuned manufactures a complete bolt-in radiator relocation kit, including brand-new rubbers and radiator stays. This kit is generally the neatest and most reliable option when fitting your brand-new radiator.
Another major advantage of this kit is that you don't need to weld, just bolt it on! For the mild DIY guy who cannot weld, this is a perfect option. You only need a drill and a few minor tools to install this kit.
 K Tuned Bolt-On Radiator Bracket Kit For Honda EG DC2 EK
Securely mounts half-size radiators in EG, EK, and DC2 K swap setups.
£74.71
Slim Spal Radiator Fan
There is no point in going through all of this to have cooling issues further down the line. This is where SPAL Automotive comes into the equation. They offer sizes ranging from 3/75" to 15", though 10"-12" is most common for this swap, as it uses the least wasted space on the radiator.
They also offer a range of motor sizes to allow clearance from the block or air intakes, as the K-Series will sit closer to the radiator than a B/D-Series.
Spal Automotive is our only recommendation here, as they are the most reliable fans on the market, hence why Speedfactory Racing uses them in their drag-spec radiators!
We have been a SPAL dealer for years now and have not had a single problem with them, so we would highly recommend going down the SPAL route when choosing a fan!
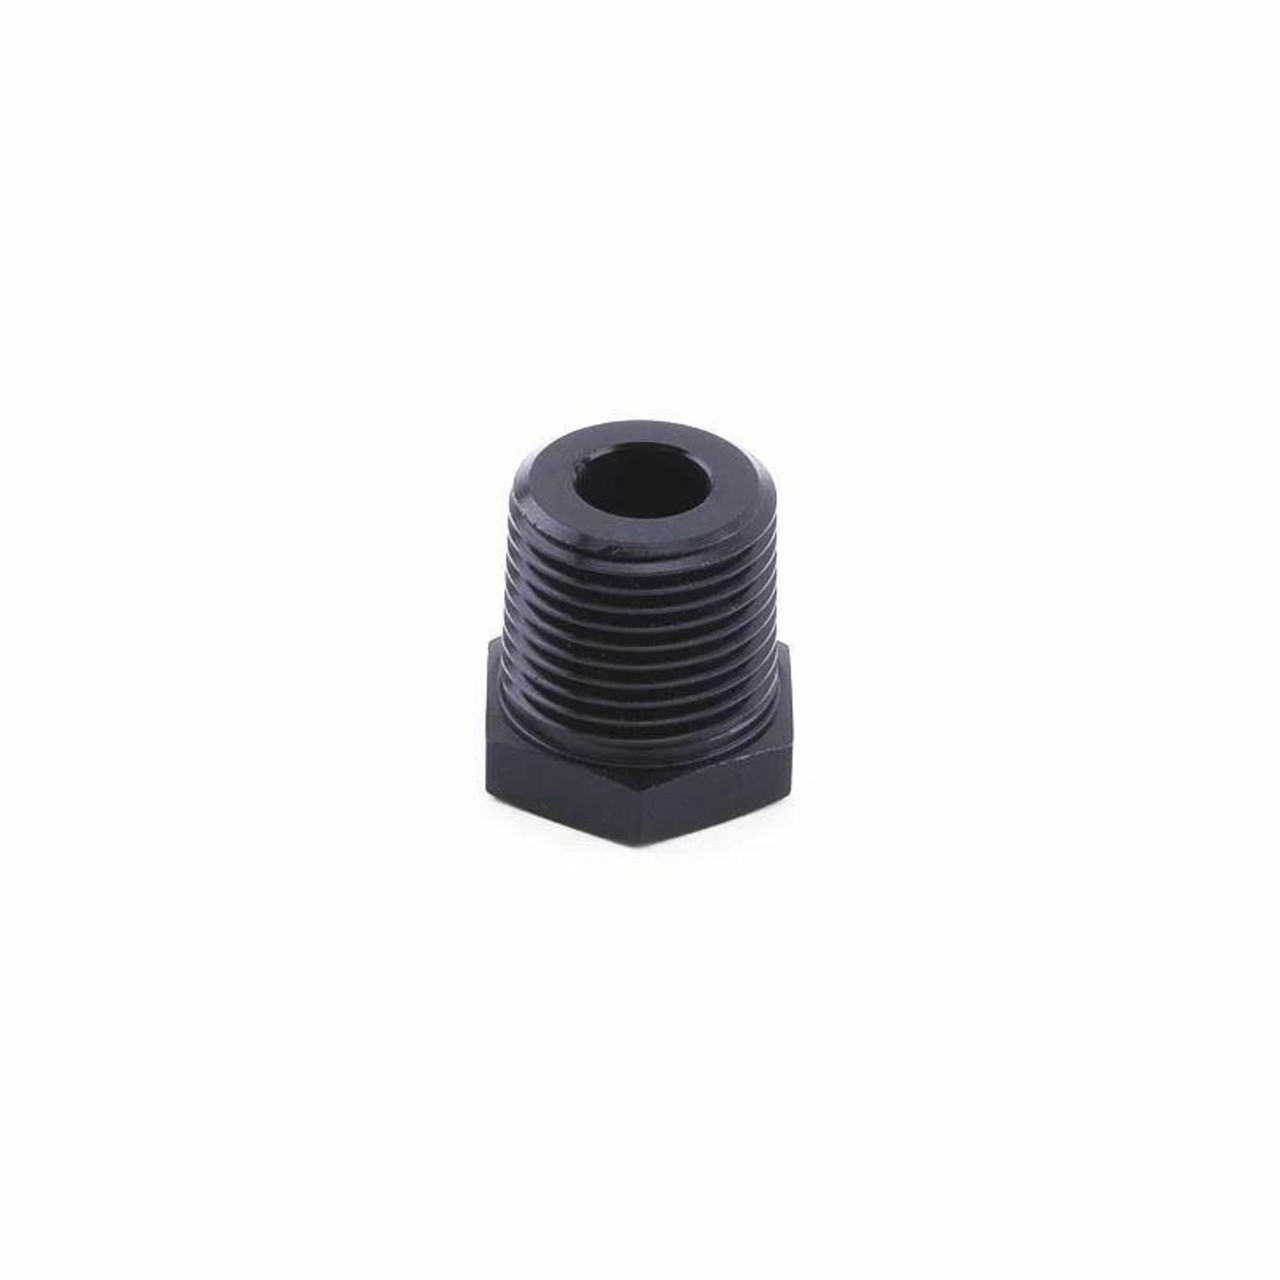
Swivel Neck Thermostat Housing
The last thing to consider on the coolant side of your project is the thermostat housing.
Quite often, the OEM plastic housings become brittle over time and, depending on the location of your radiator, may not 100% line up with your K-Swap coolant hoses.
Because of the relocation of multiple parts, a fully adjustable swivel-neck thermostat housing will be the answer.
For a thermostat housing, we would always go with T7Design, as they are 3D-scanned to fit the first time perfectly and use OEM thermostats, so they operate the same as the factory system.
They also offer an optional fan-switch port, another solution to the fan-switch relocation problem if you haven't decided how to address it yet.
The fact that they are 360-degree adjustable, available in black or raw, and can convert to AN16 if needed is a huge bonus!
You may want to run an AN16 drag radiator, or just match the colour of the thermostat housing to the rest of the engine bay. This option covers both.
Hybrid Racing has now also released its own version, which is another great option here. We will add both below for you to choose from!
 Thermostat Housing Black Swivel Neck For Honda K20 EP3 DC5
Billet swivel neck housing with OEM style outlet angle and dual plunger thermostat design.
£156.00
 Thermostat Housing Black Swivel Neck For Honda K20 EP3 DC5 With Fan Switch
Same billet swivel neck housing supplied with a quality M22 fan switch for K swap cooling setups.
£172.80
 Hybrid Racing Swivel Neck Thermostat Housing For Honda K-Series
Premium billet housing with 360-degree hose routing flexibility and an extra sensor port.
£232.00
K-Swap Fuel Rail

The older Honda systems, such as the EP3 and DC5, use a non-return fuel system, but it is inefficient and will not adequately supply fuel for your new swap.
They also have hardlines at both ends, and ideally, you want to run AN or pushlock hoses to route your fuel lines where you want.
The OEM option doesn't allow for this, and being a non-return system from the factory, they only have 1 line going to the fuel rail, not a looped return system like the EK, for example.
Note: If you have an EP3 or DC5 and are struggling with the non-return system, have a read through our guide on how to build an EP3 fuel return system!
Anyway, back to the K-Swap goodness.
The other advantage of going with a fuel rail, such as the Hybrid Racing-specific K-Swap version, is that it gives you the option to run a centre-feed rather than out of the side, keeping the line tucked and as neat as possible.
Since you already need to eliminate the OEM K-Series hardlines, you're better off going with a complete AN line system to build exactly how you want.
There is much more scope with an aftermarket rail, and most feature ORB06 or ORB08 ports to allow higher flow than stock and simplify fuel system building.
For all the reasons above, we always recommend swapping out the fuel rail for an aftermarket version.
 Hybrid Racing Fuel Rail K-Swap and Universal
Versatile high flow rail with side or centre feed options for a cleaner K swap bay.
£200.00
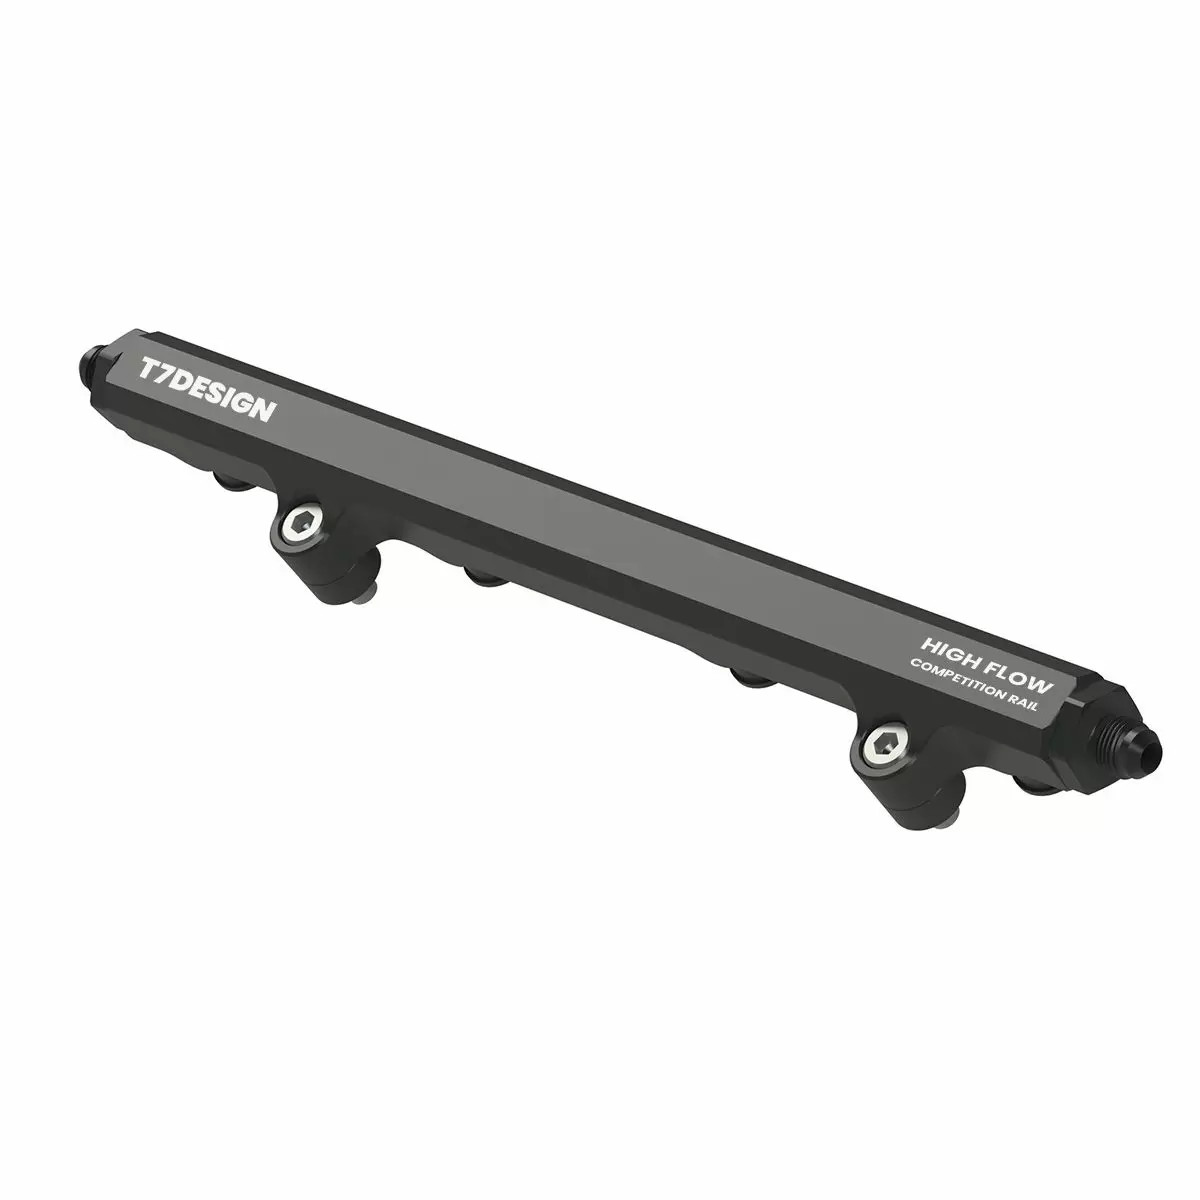 T7Design Fuel Rail Kit Standard For Honda K20 EP3 DC5
Lightweight high-flow rail supplied with fittings, spacers, and injector clips.
£123.60
 Speedfactory Mega Flow Fuel Rail Billet AN10 K-Series
Massive bore AN10 rail built for serious power and high-volume fuel setups.
£212.87
 ACUiTY Fuel Rail Satin For Honda K-Series K20A K20Z
Refined high flow rail with multiple ORB ports and a clean satin anodised finish.
£188.87
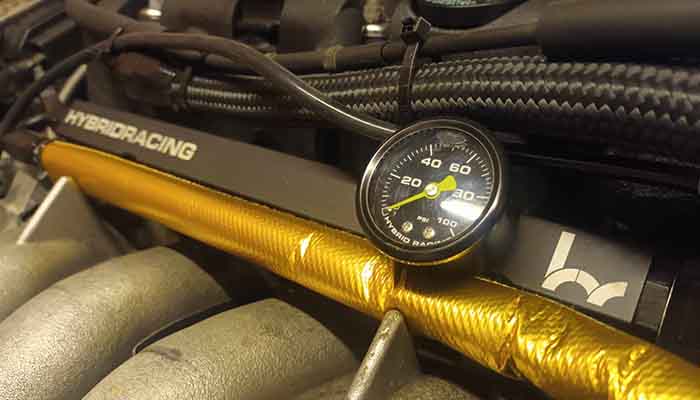
Fuel Pressure Regulator

The next part on the fuel-related list would be a fuel pressure regulator.
From the factory, you would more than likely have a stock fuel pressure regulator on the fuel rail, but the EP3/DC5 pressure regulators are actually in the fuel tank, so you wouldn't have one supplied with the engine swap.
Because of this, we need to include one to regulate the fuel circulating through the new return system.
A few options are available here, but the best way to choose is to match the ports to your fuel rail and lines to avoid step-ups or downs in the system, allowing the most flow possible.

For example, if you chose a K-Swap Hybrid Racing fuel rail with AN06 male fittings, you should match it with an AN06 fuel pressure regulator.
Using AN06 will make installation much easier and eliminate the need for adapters.
We would always recommend going with AN06 for an EP3 fuel system, as we've seen customers running up to 700bhp on the road without issues. Additionally, the fuel pressure regulator doesn't cause problems at lower pressure.
If you wish to learn about AN fittings and the best way to use them/install them, head over to our AN fitting blog, where we explain all this in depth.
 Hybrid Racing Unibody Fuel Pressure Regulator Universal
Stable piston design regulator with included fittings for clean and reliable fuel pressure.
£232.00
 Nuke Performance Fuel Pressure Regulator FPR100S ORB06
Motorsport grade regulator rated for 200 to 700 bhp with 1 to 1 boost reference.
£318.00
 Turbosmart FPR6 Fuel Pressure Regulator AN06
Compact 1 to 1 regulator for 6AN fuel systems with adjustable pressure.
From £179.94
Fuel Line Kit

Now that you've got your fuel rail and fuel pressure regulator, it's time to choose the fuel lines.
We briefly mentioned this above, but there are a few points worth noting. Firstly, the type of fuel hose you use depends on the fuel you plan to run.
If it's only pump fuel, a push-on or braided rubber hose would be fine, but if you're going for race fuel or anything higher octane than pump fuel, you would need a braided PTFE hose.
The reason you would need PTFE is that it doesn't degrade with higher-octane fuel and doesn't leak fuel vapour from the line.
Note: If you are running the fuel lines through the car, you MUST use PTFE hose. This is due to the fuel vapour leaking from the rubber lines. You DO NOT want this inside the car, so when planning the fuel lines' location, bear this in mind.
Most of our customers are moving towards using PTFE anyway for futureproofing, as the only downside is that it isn't as flexible as a rubber-lined hose, but it doesn't degrade.
If you want to avoid building your line and want an off-the-shelf kit, Hybrid Racing offers a few direct bolt-on kits that let you use your OEM fuel filter setup.
As a note, the Hybrid Racing kit is rubber, not PTFE.
They also make a tucked fuel line kit that includes a filter, which would be the best option if you want to tuck as many lines as possible.
 Hybrid Racing K Swap Fuel Lines EG EK DC2
Pre-assembled AN fuel line kit to convert to a return system.
£179.00
 Exoracing AN Black Nylon Braided Hose 1.0m
Lightweight braided hose ideal for fuel and oil systems.
From £9.99
Exoracing AN PTFE Black Nylon Braided Hose 1.0m
PTFE-lined hose safe for E85 and high-pressure fuel setups.
From £14.99
Optional K-Swap Parts
All the parts in this next section are optional; only quality-of-life improvements or space-saving kits for the engine bay.
These won't stop the K-Swap from working, but for some people are hugely vital whether it's being used as a daily or a full race car.
There are a few advantages to running some of these kits, such as the alternator relocation and power steering/air conditioning delete kit, which allow for larger inlet manifolds and save space.
Also, an electric water pump conversion kit replaces the stock water pump with one that can be controlled via the ECU or a separate controller, allowing complete control over your flow rate.
This is definitely more important in race applications, but again always depends on your specific use case for the car.
The list we would recommend looking at for optional K-Swap parts would be:
 Electric Water Pump Plate Kit Black Billet Aluminium K20 K24
Deletes the mechanical pump.
£420.00
 Black Alternator Relocation Kit A/C P/S Delete K20 K24
Relocates the alternator for better clearance.
£421.20
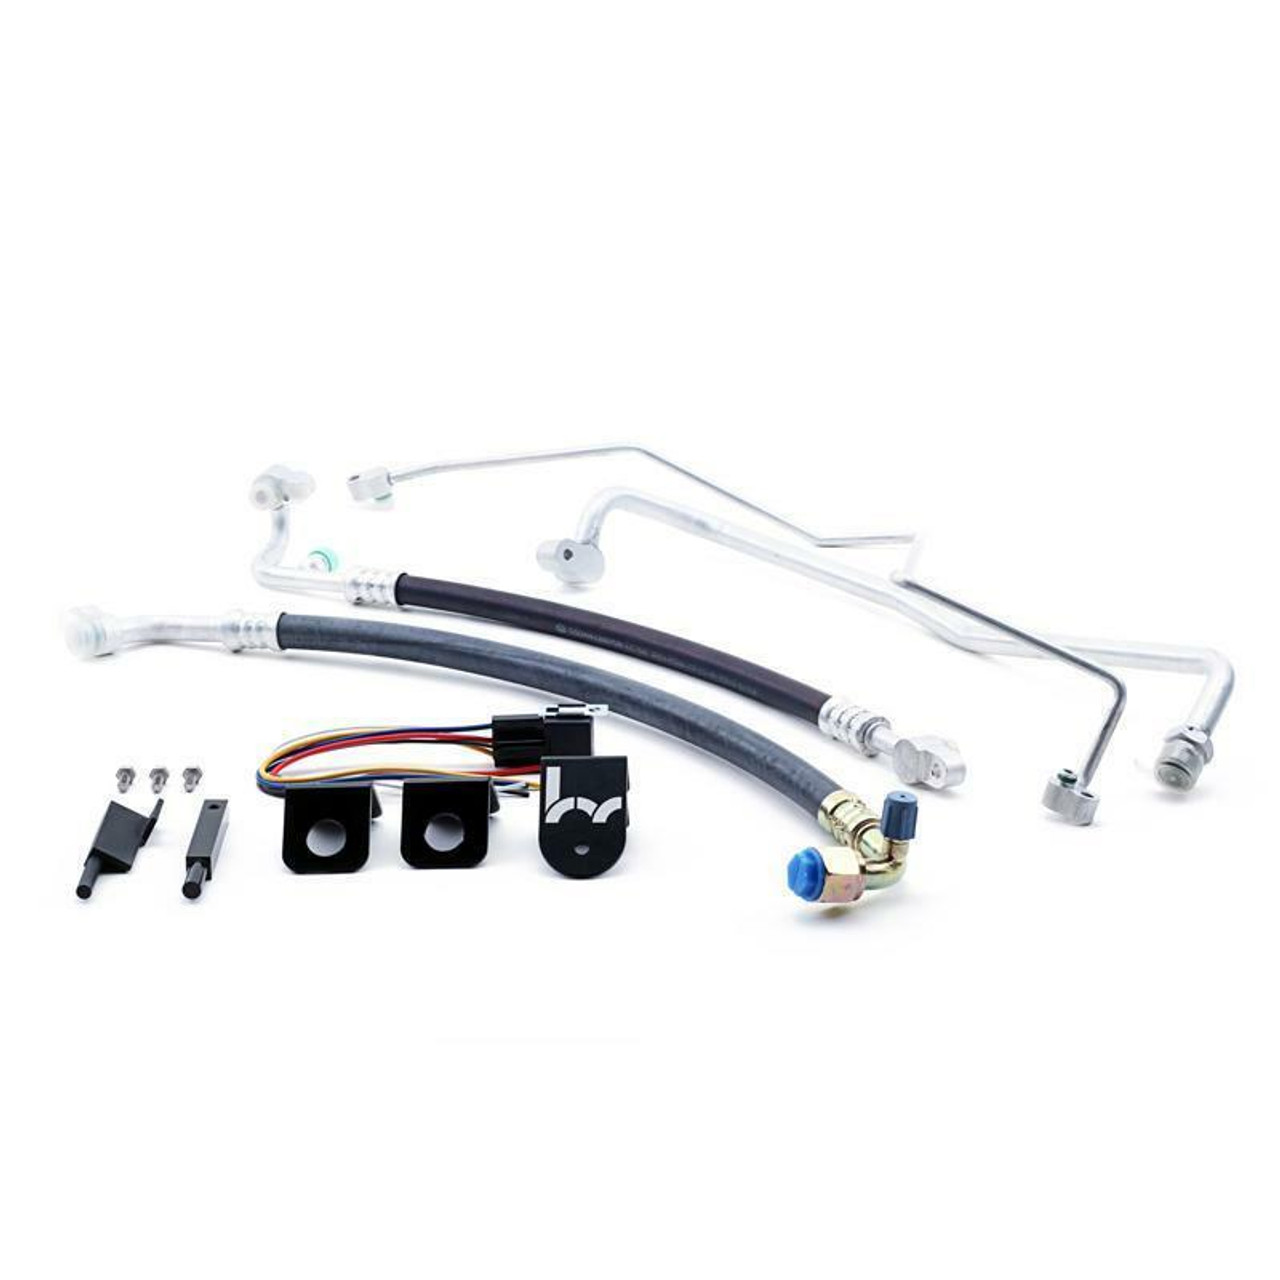 Hybrid Racing AirCon Line Kit K-Series For Honda Civic 96 to 00
Retain air conditioning in your EK K swap.
£242.00
 Hybrid Racing Power Steering Kit Civic Integra 92-01
Retains power steering on EG, EK, and DC2 K swap.
£400.00
Checklist Before Starting Up

Finally, we are onto our last section, which would be things to check and ensure are working correctly. Checking for problems is the most crucial step, as accidentally missing engine oil could be catastrophic.
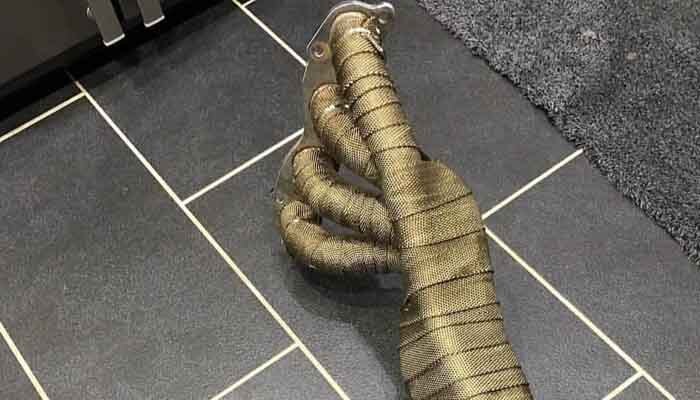
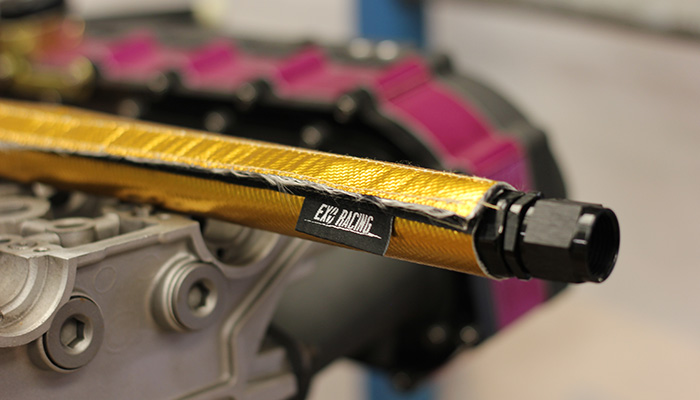
Also, whilst you're there, make sure to keep your heat management in check by relocating hoses if needs be or stopping the heat at source using an exhaust wrap. As you are now swapping a different engine into your chassis, you may find that where the last engine wasn't a problem, this one now is.
The list we would recommend checking or replacing as a starting point is as follows :
- Complete nut and bolt check
- Put in fresh engine oil
- Change the oil filter
- Put in fresh gearbox oil
- Install brand-new spark plugs
- Install a new fuel filter
- Check all electrical work, such as grounds/ terminals, etc.
- Check for fluid leaks
- Ensure you don't have any hoses close to a major heat source

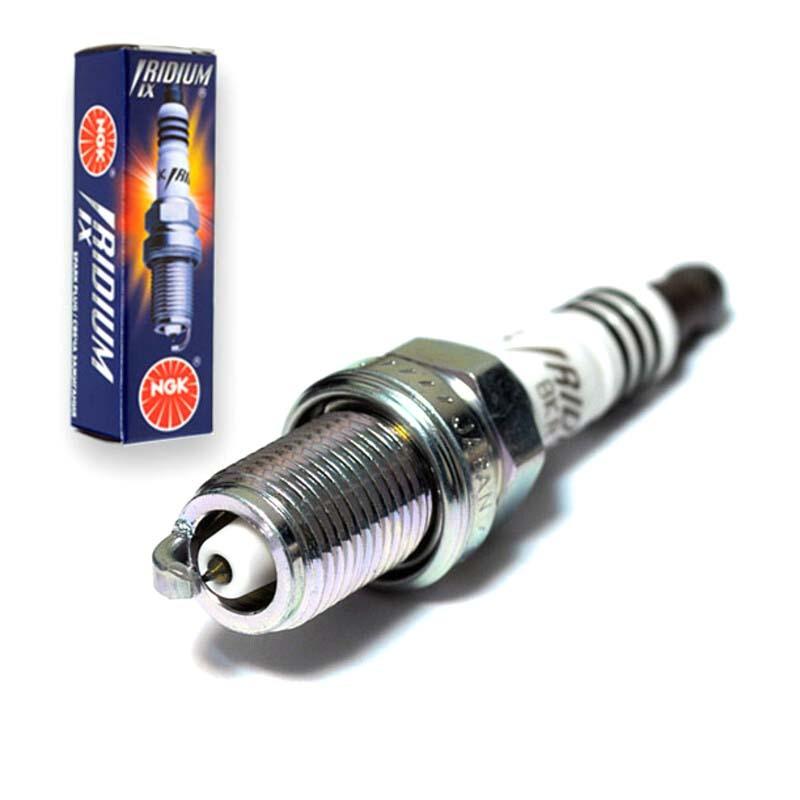 NGK Iridium IX Spark Plugs BKR7EIX-11
Stronger spark and better combustion for tuned engines.
£42.47
 Exoracing Gold and Silver Velcro Heat Sleeve
Quickly install heat protection for lines, wiring, and hoses.
From £14.99
 Exoracing Titanium or Carbon Exhaust Wrap
Reduce engine bay temps and protect surrounding components.
From £24.99
Once you've checked as much as possible, you are ready to start it up and enjoy your brand-new K-Swap!
Conclusion
We've covered everything you need to complete a K-Swap conversion from start to finish. You can now find all the products you need confidently without guessing what will fit or what to use.
Be sure to check out some of our other articles for help with topics such as the AN fitting assembly, installing titanium intake exhaust studs, or our last guide, a start-to-finish B/K Series turbo conversion!
Please let us know in the comments below if this guide helped you. If you still need any help or advice regarding K-Swaps or any parts or brands we've mentioned in this article, please don't hesitate to contact us.