
How To Install A Turbo Blanket: Step By Step Guide
Posted by Matthew Marks on 2nd Aug 2024
A turbo blanket is one of the easiest ways to reduce engine bay heat, protect nearby components, and improve heat control around your turbocharger.
In this guide, we will show you how to install a turbo blanket step by step, including how to check fitment, how the springs should sit, and the common mistakes to avoid.
The install is usually quick, but it is still worth doing properly. A poorly fitted blanket can move, rub on nearby parts, or leave areas of the turbine housing exposed.
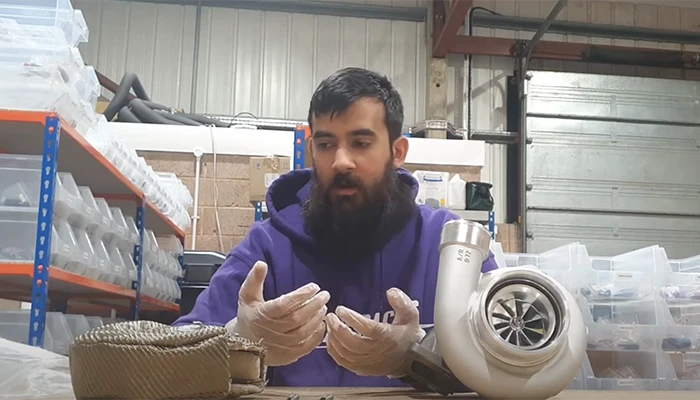
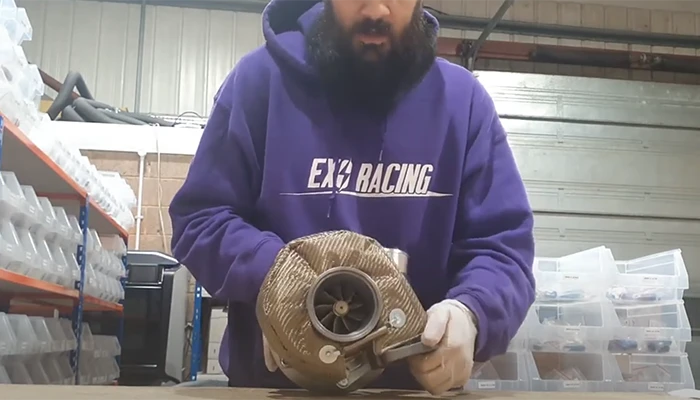
This guide is based on real installs we have done on our own turbo builds. The photos show an earlier Exoracing blanket, but the same process applies to our improved Exoracing Turbo Blanket V3.
This guide is perfect for:
- Beginners fitting a turbo blanket for the first time
- Turbo car owners dealing with high engine bay temperatures
- Anyone wanting to protect wiring, hoses, intake pipework and paintwork from turbo heat
- Track, drift, drag and fast road builds where heat control matters
Turbochargers create a huge amount of heat, especially around the turbine housing. If that heat is left unmanaged, it can radiate into the engine bay and affect wiring, coolant hoses, oil lines, intake pipework and surrounding components.
A turbo blanket helps contain that heat at the source. This can reduce under-bonnet temperatures, protect nearby parts, and help make the car more consistent when driven hard.
To learn more about the benefits, read our full guide here: What is a turbo blanket?
Please make sure to subscribe to our YouTube channel while you are there, as we are releasing more videos to help with heat management installs.
It's time to move on to the tools and things you need to install your blanket as quickly as possible.
- A turbo blanket fits over the turbine housing, not the compressor side
- Always install it when the turbo is completely cold
- Check the blanket size before fitting it
- Use the supplied springs to secure it properly
- After the first heat cycle, check that the blanket has not moved
Turbo Blanket Installation At A Glance
| Difficulty | Beginner friendly |
| Time needed | Around 5 to 15 minutes, depending on access |
| Best used on | Turbocharged petrol and diesel engines |
| Main benefit | Reduces radiant heat from the turbocharger |
| Must check | Choose the correct turbo blanket size before installation |
How To Choose The Correct Turbo Blanket Size
Before fitting a turbo blanket, make sure you have the correct size for your turbo.
A blanket that is too small may not cover the turbine housing properly, while one that is too large can sit loose and move around once the car is running.
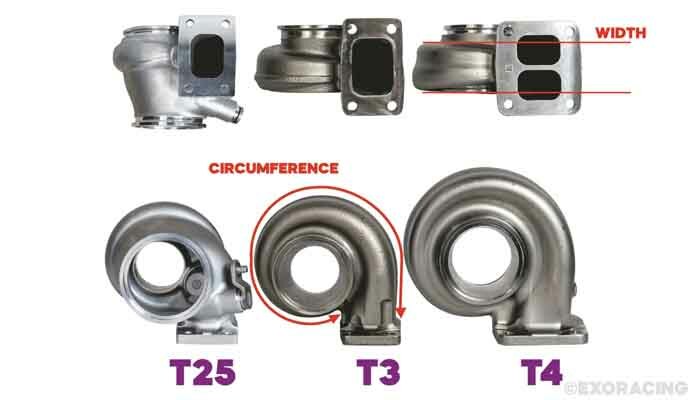
Our Turbo Blanket V3 is available in T25, T3 and T4 sizes, with titanium or carbon exterior options.
The blanket is designed to fit snugly over the hot side of the turbo and is secured using the supplied stainless steel spring fasteners.
If you are unsure which size you need, measure the turbine housing and compare it with the sizing guide on the product page before ordering.
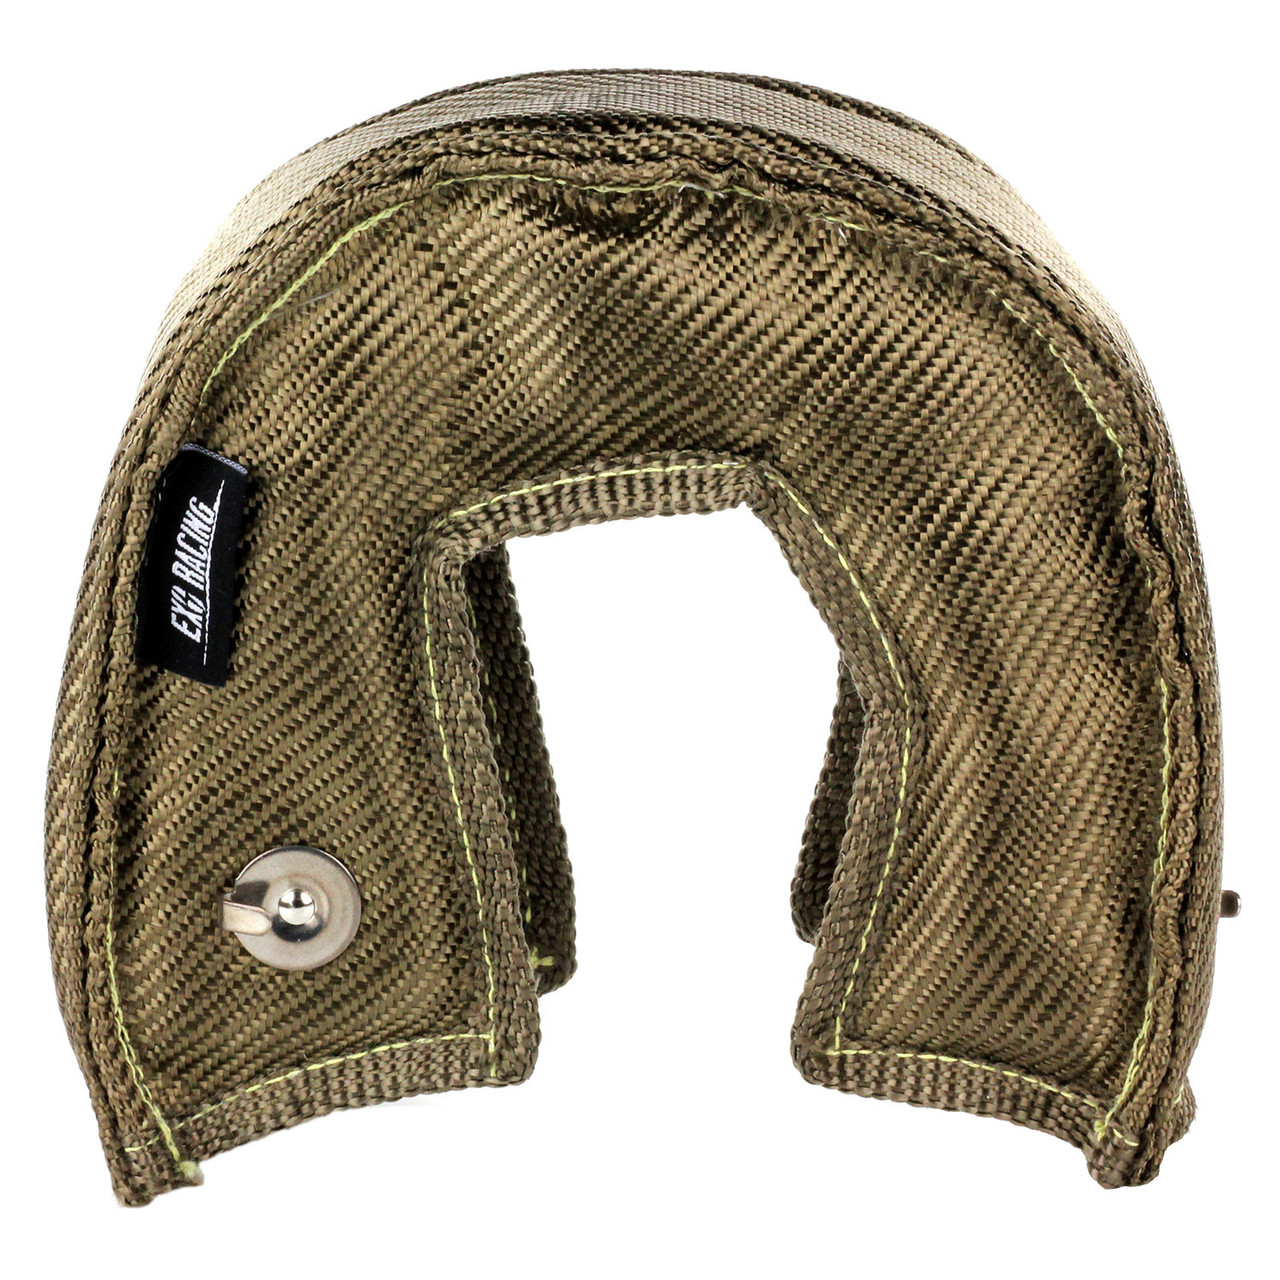 Exoracing Turbo Blanket V3
Contain turbo heat at the source and protect nearby engine bay components.
From £119.99
Tools And Parts You Will Need
A turbo blanket install does not need many tools, but access can vary depending on your engine bay layout. Before you start, check whether any intake pipework, heat shields, boost pipes, or brackets need to be moved out of the way.
Parts Needed:
- Correct size turbo blanket
- Supplied stainless steel springs
- Gloves or hand protection
Optional Parts:
- Basic hand tools to remove anything blocking access
- Silicone heat sleeve for nearby hoses, oil lines, coolant lines or wiring
- Exhaust wrap for nearby downpipes or manifolds
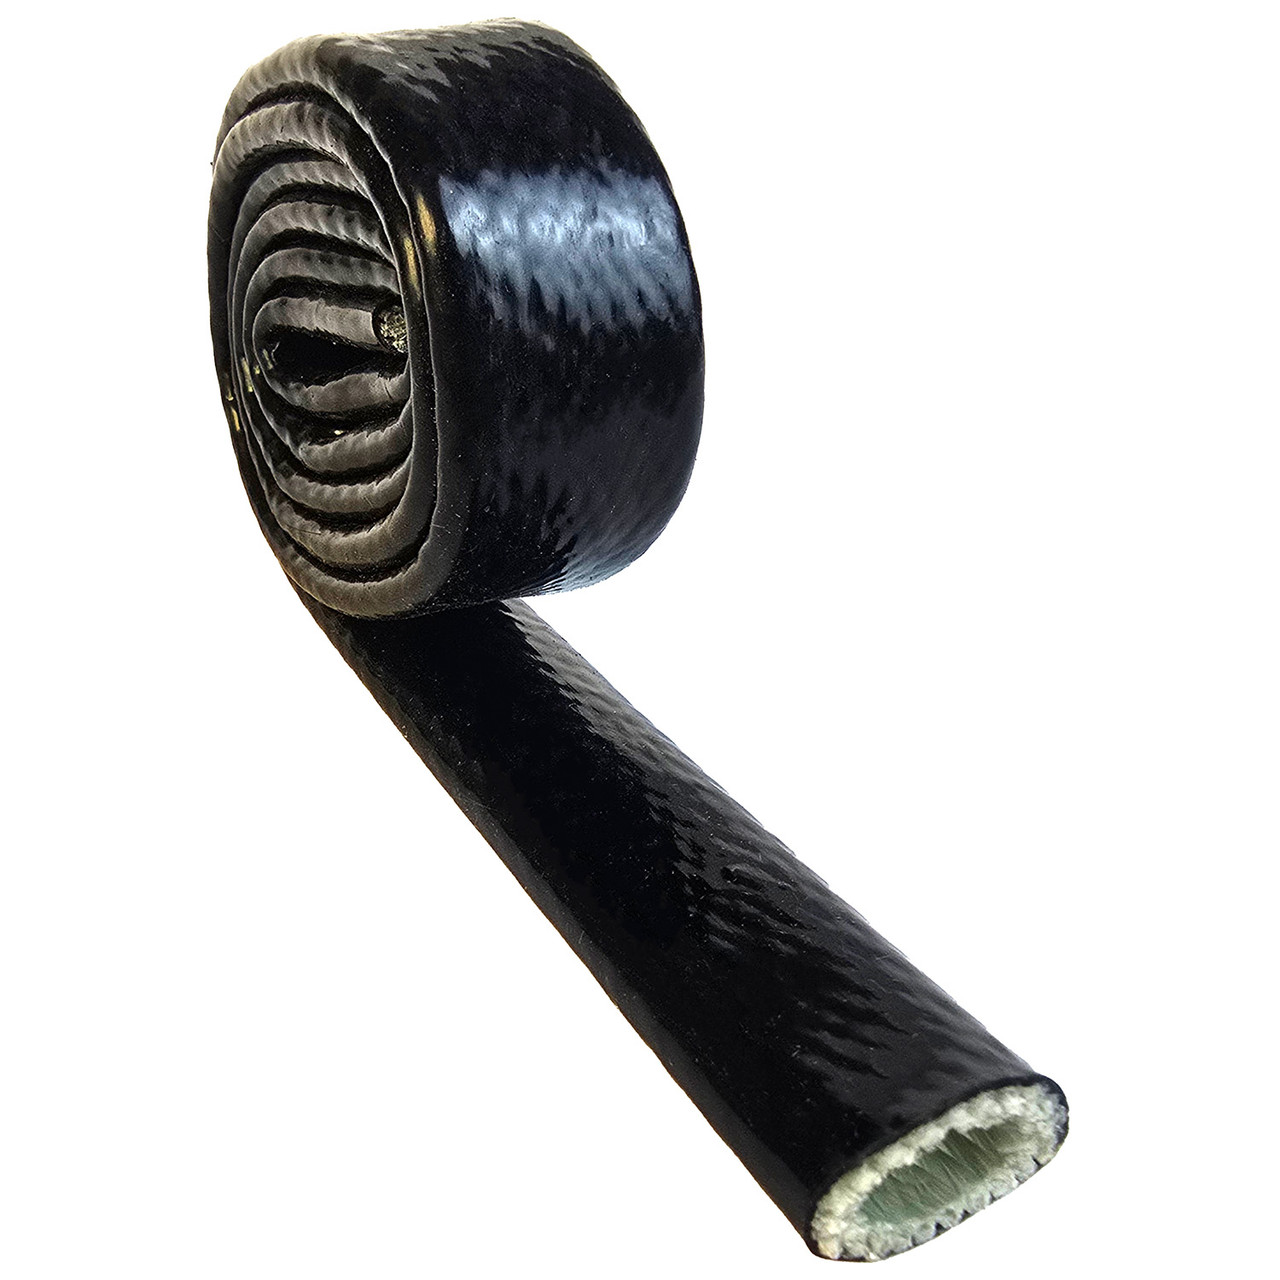 Exoracing Silicone Fibreglass Heat Sleeve
Protect oil lines, coolant hoses, brake lines and wiring near turbo heat.
From £14.99
 Exoracing Titanium or Carbon Exhaust Wrap
Reduce radiant heat from nearby manifolds, downpipes and hot side pipework.
From £24.99
Before You Install The Turbo Blanket
Before fitting the blanket, let the car cool fully. The turbocharger turbine housing can stay hot for a long time after the engine has been running, so do not rush this step.
Once the turbo is cold, check the area around it. Look for oil residue, fuel smells, damaged hoses, cracked fittings, or wiring that is already brittle from heat. Fix these issues before fitting the blanket.
A turbo blanket is designed to control heat. It is not designed to hide existing leaks or poor routing.
Turbo Blanket Installation Steps
Now that you have checked the fitment and made sure the turbo is cold, you can install the blanket.
Take your time here.
The blanket should sit neatly around the turbine housing without touching the compressor wheel area, actuator arm, wastegate linkage, or anything that moves.
1. Put on the gloves!
Although we have left this part optional, most turbo blankets are made of fibreglass, silica, titanium weave, or a combination of all 3. It is always recommended to wear gloves to prevent skin irritation.
Any gloves will do here; they don't need to be mega expensive. Just any pair of gloves you have lying around that will stop potential skin irritation.
2. Make sure the turbocharger is cold
The next thing you must check before installing is that the turbocharger is cool to the touch. The last thing you want is to get burns while trying to install something to reduce the risk of burns!
Once you are happy that the engine and turbocharger exhaust housing are cool to the touch, you can proceed to the next step.
3. Remove anything in the way
Depending on your application, something in the way, such as a heat shield, may be stopping you from installing the blanket.
Remove anything like this so you have full access to the turbocharger's exhaust housing and enough room around it to adjust the turbo blanket.
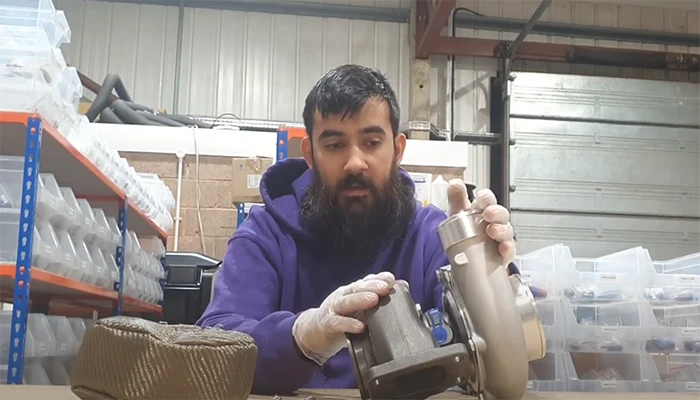
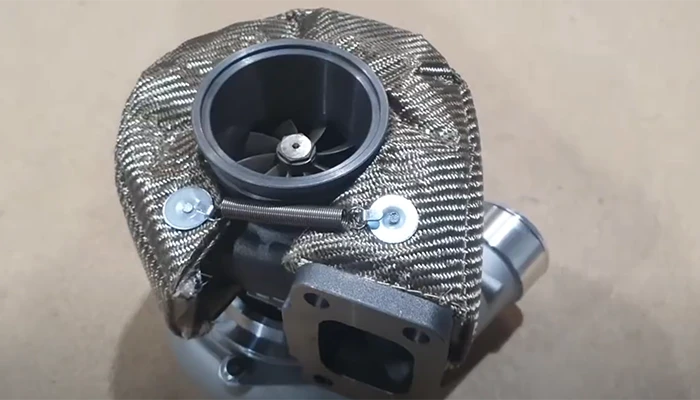
4. Fit The Turbo Blanket Over The Turbine Housing
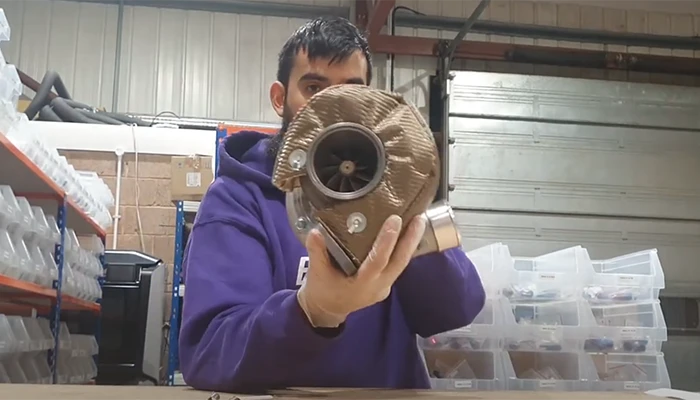
Place the turbo blanket over the exhaust housing of the turbocharger. The blanket should cover the turbine housing from the downpipe side towards the centre cartridge, without covering the compressor side.
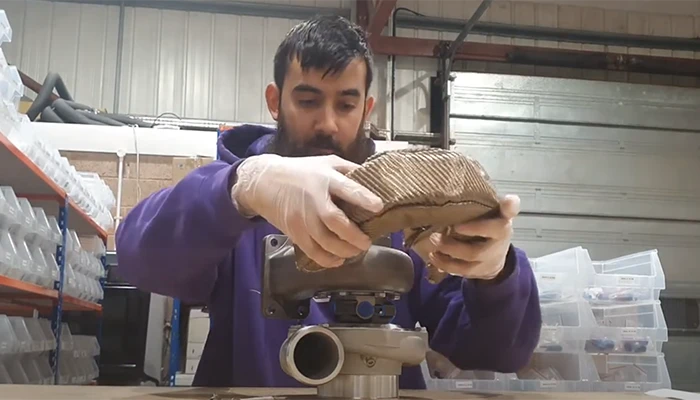
One end of the blanket will usually be slightly wider than the other. In most cases, the wider side should sit towards the turbocharger flange, as shown in the photo.
The blanket should feel snug, but it should not need to be forced into position. If it looks stretched, badly twisted, or does not cover the turbine housing properly, double-check the size before continuing.
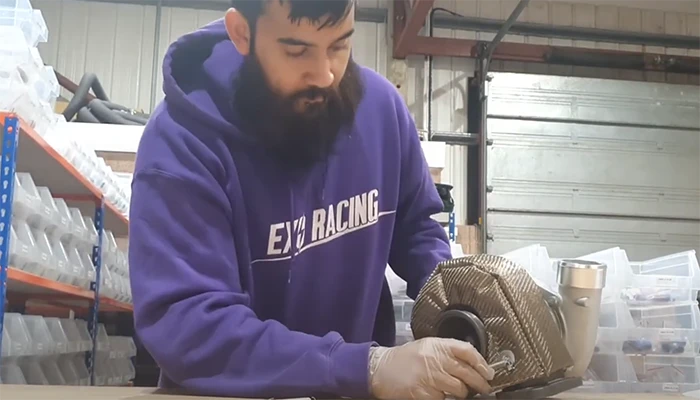
5. Install The Springs
Once the blanket is seated correctly, install the supplied springs between the anchor hooks. These springs hold the blanket tight to the turbine housing and help stop it from moving when the engine vibrates, or the turbo heats and cools.
You do not need to wrap the spring all the way around the turbo. The springs are designed to connect between the blanket hooks and keep the correct tension.
Once fitted, gently move the blanket by hand. It should feel secure and should not slide around the turbine housing.
Common Turbo Blanket Mistakes To Avoid
- Fitting the blanket while the turbo is hot can cause serious burns
- Using the wrong size blanket can leave heat exposed or make the blanket sit loose
- Covering moving parts can interfere with actuator arms, linkages or wastegate parts
- Ignoring leaks before installation can turn a small problem into a bigger safety risk
- Not checking after the first heat cycle means you could miss movement or loose springs
A turbo blanket is a simple install, but it still needs to be fitted cleanly. Correct sizing, clean surroundings, and good spring placement are what make the difference.
First Heat Cycle After Installing A Turbo Blanket
After the blanket is installed, start the car in a well-ventilated area and let it warm up gently. It is normal for a new turbo blanket to smoke slightly during the first few heat cycles as moisture and manufacturing residue burn off.
Once the turbo has cooled down fully, check the blanket again. Make sure it has not moved, the springs are still secure, and nothing nearby is touching the blanket that should not be.
If everything is secure after the first heat cycle, the blanket should be ready for normal use.
Product Used In This Guide
The photos in this guide show an earlier Exoracing turbo blanket, but our current version is the improved Exoracing Turbo Blanket V3.
The V3 blanket uses a carbon or titanium weave exterior, silica insulation wool centre, and stainless steel wire mesh interior. It is available in T25, T3 and T4 sizes and includes two stainless steel spring fasteners.
If you are replacing an old blanket or fitting one for the first time, make sure you choose the correct size for your turbo before ordering.
Frequently Asked Questions
Q. What is a turbo blanket?
A. A turbo blanket is a high-temperature cover that fits over the turbine housing of a turbocharger. Its job is to contain heat at the turbo, reduce radiant heat in the engine bay, and protect nearby components.
Q. Why should I use a turbo blanket?
A. You should use a turbo blanket if your turbo sits close to wiring, hoses, intake pipework, brake lines, paintwork or other heat-sensitive parts. It can help lower under bonnet temperatures and improve heat control around the turbo.
Q. How long does a turbo blanket take to install?
A. Most turbo blanket installs take around 5 to 15 minutes if access is good. It may take longer if you need to remove intake pipework, heat shields, brackets or other parts to reach the turbo.
Q. Can I install a turbo blanket with the turbo still on the car?
A. Yes, in most cases, you can install a turbo blanket with the turbo still fitted to the car. The main requirement is access. If the turbo is buried deep in the engine bay, you may need to remove parts around it first.
Q. Should a turbo blanket smoke after installation?
A. A new turbo blanket may smoke slightly during the first few heat cycles. This is usually moisture or manufacturing residue burning off. If the smoke is heavy, smells like oil or fuel, or does not stop, turn the car off and inspect the area.
Q. Can a turbo blanket catch fire?
A. A turbo blanket should not catch fire when fitted to a clean and healthy setup. The main risk is contamination from oil, fuel, power steering fluid or other flammable liquids. Always fix leaks before installing a turbo blanket.
Q. What size turbo blanket do I need?
A. This depends on your turbo size and turbine housing. Our Turbo Blanket V3 is available in T25, T3 and T4 sizes, so check the sizing guide before ordering.
Q. Can I use a turbo blanket with exhaust wrap?
A. Yes. A turbo blanket controls heat at the turbo, while exhaust wrap controls heat on manifolds, downpipes and hot side pipework. Using both together is a strong heat management setup.
Q. Will a turbo blanket reduce intake air temperatures?
A. A turbo blanket can help reduce radiant heat in the engine bay, which may help reduce heat soak into intake pipework. The biggest benefit is usually more consistent temperature control, rather than a single guaranteed horsepower number.
Conclusion
Installing a turbo blanket is one of the quickest heat management upgrades you can do on a turbocharged car. When fitted correctly, it helps contain turbo heat, protect nearby components, and reduce radiant heat inside the engine bay.
The most important things to remember are simple: let the turbo cool fully, check for leaks first, choose the correct blanket size, fit the springs properly, and recheck everything after the first heat cycle.
If you are building a turbo setup, protecting wiring and hoses, or trying to reduce engine bay temperatures, a turbo blanket is one of the easiest places to start.
Use code BLOG5 at checkout for 5% off your order.
Thank you for reading, and make sure to read some of our other related heat management guides if they are useful for your build: