
How To Install A Fuel Swirl Pot System
Posted by Matthew Marks on 12th May 2026
How To Install A Fuel Swirl Pot System
A practical step-by-step guide to planning, mounting, plumbing, wiring, priming and leak checking an external fuel swirl pot system for a track, drift or high-power build.
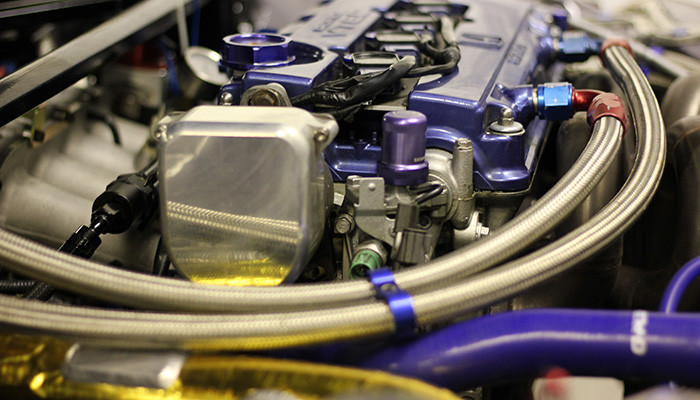
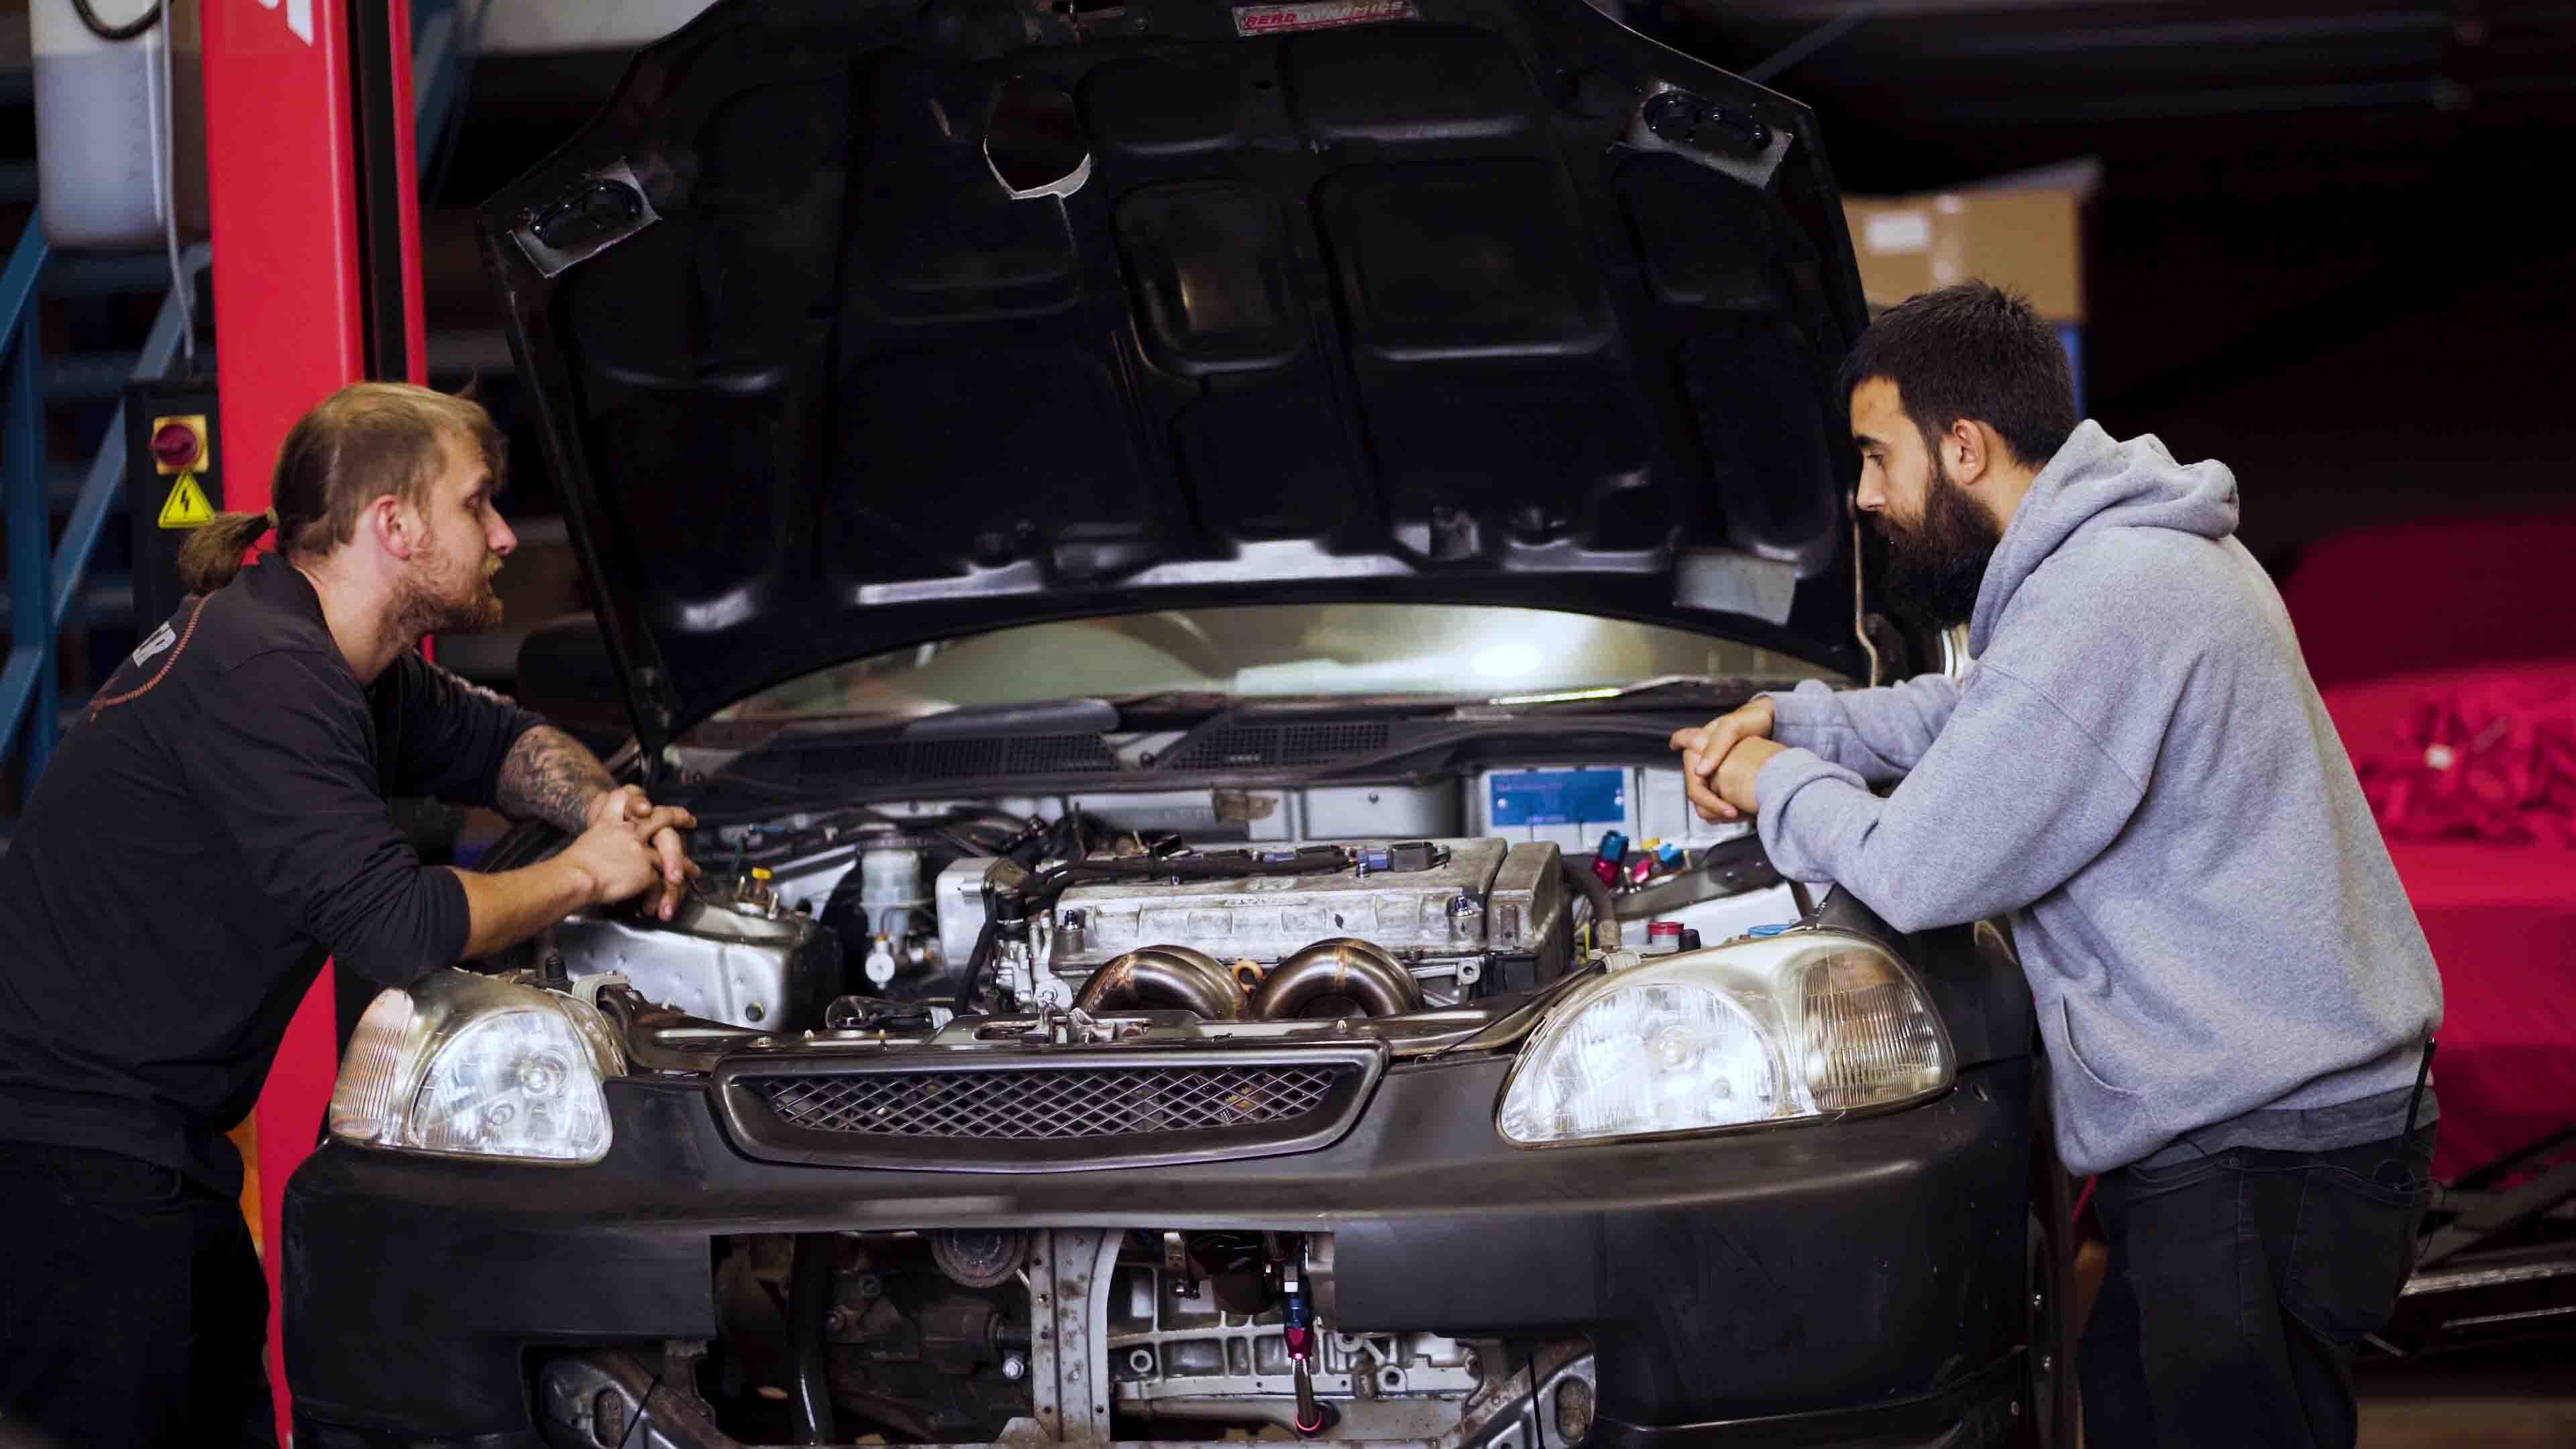
Written from the Exoracing AWD Civic fuel system and modified car experience, with safety checks built into every stage.
Shop Nuke Performance Surge TanksFuel surge is one of the quickest ways to turn a hard-driven car from reliable to risky. Under heavy cornering, braking or acceleration, fuel can move away from the pickup in the main tank. If the pump draws air instead of fuel, the engine can hesitate, misfire or run lean at exactly the wrong moment; you don't want that at 9k RPM.
A fuel swirl pot, also called a fuel surge tank, gives the high-pressure fuel pump a small reserve of fuel to draw from which means you should never run out of fuel and encounter surge. In this guide, we will cover how to build an external swirl pot system with a fuel cell, lift pump, high-pressure pump, AN hose and fittings.
This is a guide for competent builders. Fuel leaks, poor wiring and badly routed lines are serious safety risks, especially if the system is inside the car. If you are not confident with fuel systems, AN fittings, pump wiring or leak testing, use a professional motorsport workshop.
If you want the theory before the installation, start with our guide to what a swirl pot is and how it works. This article focuses on the practical build process. This guide is purely for the installation side of swirl pots.
The simple answer
To install an external fuel swirl pot system, mount the fuel cell or main tank safely, mount the surge tank and pumps securely, plan the line routing, build fuel-rated AN lines, wire the pumps through suitable relays and fuses, then prime the system and check every fitting for leaks before starting the engine.
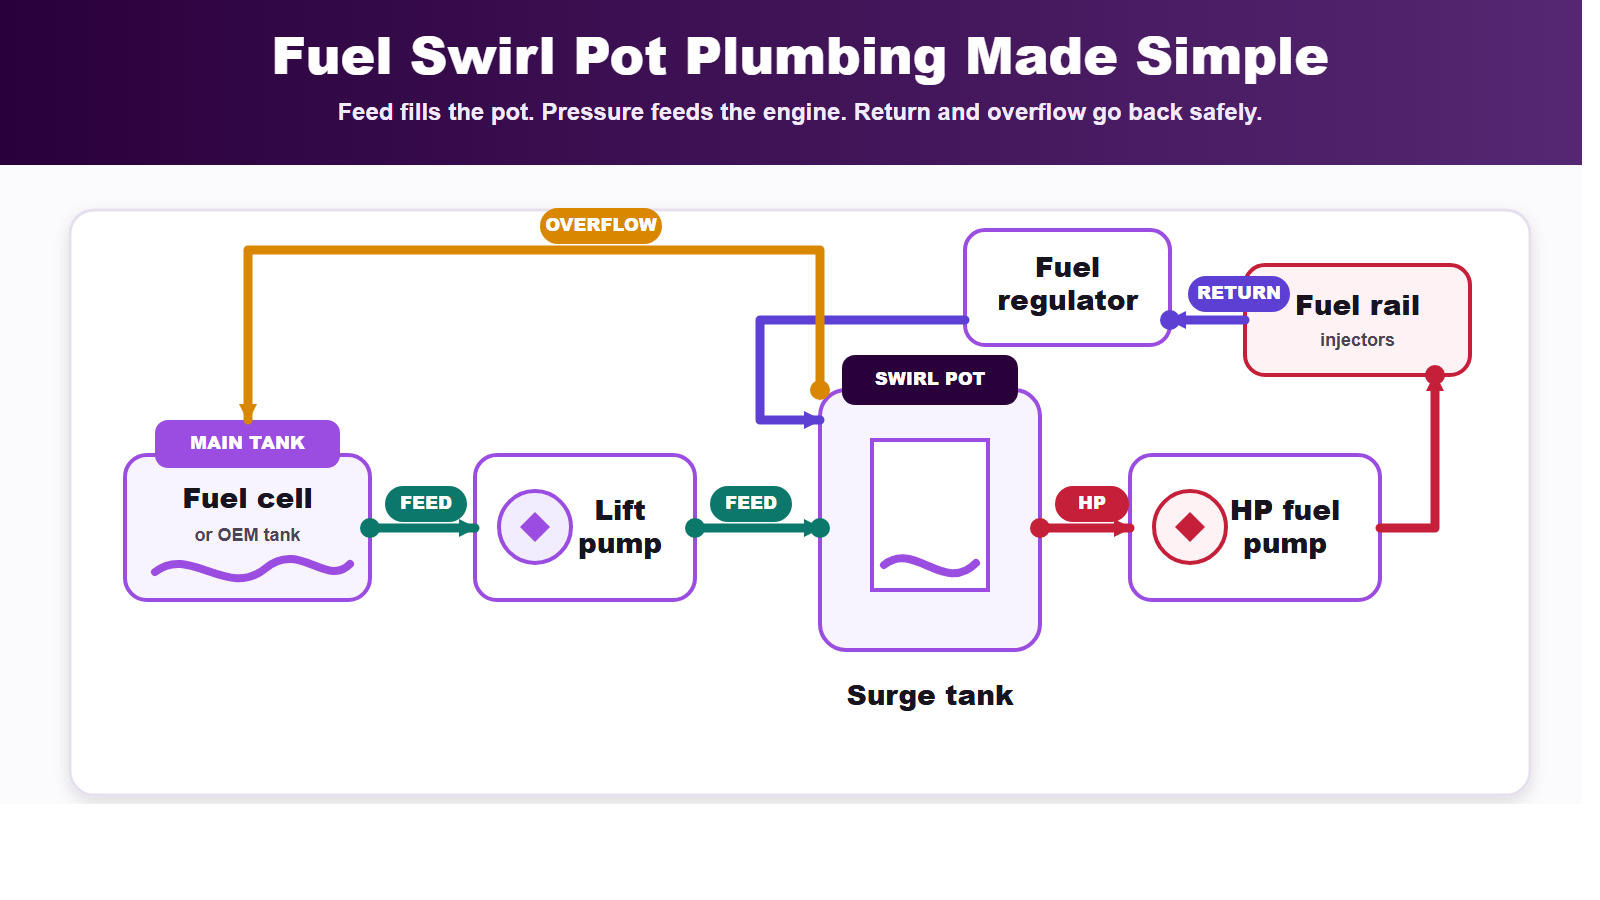
A typical layout is: main tank or fuel cell to lift pump, lift pump to swirl pot, swirl pot to high-pressure pump, high-pressure pump to fuel rail, regulator return to swirl pot, and swirl pot overflow back to the main tank or fuel cell.
The most important parts of the job are correct hose choice, correct pump sizing, safe mounting, proper wiring, fuel-rated seals and patient leak testing.
- A swirl pot helps prevent fuel starvation on track, drift, drag and high-power builds.
- PTFE hose and PTFE AN fittings are usually the sensible choice for fuel lines, especially inside the car or with ethanol fuels.
- The swirl pot must have a safe overflow or return path to the tank so it cannot become pressurised.
- Fuel pumps should be mounted securely, wired through proper relays and fused correctly for their current draw.
- If fuel lines run near a turbo, manifold, downpipe or radiator, plan your heat management before the lines are finalised.
Watch: Step By Step Swirl Pot Guide For Beginners! This video walks through the plan, parts, swirl pot, pumps, fuel filter, fuel rail, regulator and return layout.
When Do You Need A Fuel Swirl Pot?
You normally need a fuel swirl pot when the standard tank or fuel cell cannot keep the pump pickup covered during hard driving. This is most common on track cars, drift cars, drag cars, slick-tyre builds, turbo conversions and cars running low fuel levels during competition.
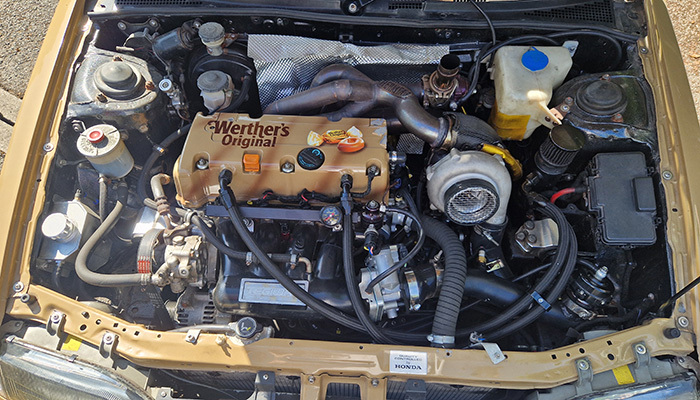
One of the worst cars for this seems to be the Honda Civic EP3, and we have built many systems for these in the past, as they seem to suffer pretty badly.
The problem is not only the amount of fuel in the car. It is where the fuel is during max load. In a long right-hander, during a hard launch or under heavy braking, the fuel can move away from the pickup for a short time. On a performance engine, that short interruption can be enough to cause a lean condition, which is never a good thing.
If the car does not suffer a fuel pressure drop or surge, the standard tank may be enough.
Long corners, transitions and braking zones can uncover the pickup, especially below a full tank, which is why you will see most competition cars will have fuel cells and integrated swirl pots.
Basic aluminium cells are not always baffled enough to feed an EFI pump directly under load.
Pump flow, line size, regulator return, filters and wiring all need to match the engine's fuel demand.
External swirl pot versus all-in-one fuel cell
An external swirl pot system uses a separate surge tank, external plumbing and one or more pumps. It gives you flexibility, can work with many fuel cells and can be more budget-friendly than a complete motorsport fuel cell system.
An all-in-one fuel cell or CFC-style setup combines more of the fuel control inside the cell. That can reduce external plumbing and make the installation cleaner, but it usually costs more and still needs careful mounting, wiring and safety planning.
If you remove the original tank and put a fuel cell inside the car, check your motorsport regulations before committing. Many classes require a sealed firewall between the driver compartment and the fuel system (and for good reason).
Parts And Tools Needed
The exact parts depend on your engine power, fuel type, pump choice, hose size and whether you are using the original tank or a separate fuel cell. The list below is for an external swirl pot system similar to the setup shown in our video.
Core parts
- Fuel cell or main tank with suitable feed and return ports.
- External fuel swirl pot or surge tank with the correct AN ports.
- Low-pressure lift pump to fill the swirl pot.
- High-pressure fuel pump to feed the fuel rail.
- Fuel filters suitable for your pump and injector setup.
- Fuel pressure regulator and return line, if your system requires one.
- Fuel-rated AN hose and matching fittings.
- Pump brackets, P-clips, bulkhead fittings, grommets and mounting hardware.
- Correct relays, fuses, cable size and terminals for the fuel pumps.
- Fresh fuel for priming and testing.
Useful tools
- Drill and correct drill bits for the mounting hardware.
- AN spanner or aluminium jaws to avoid damaging fittings.
- Hose cutters or a clean cutting method suitable for your hose type.
- Marker pen, tape measure and masking tape for layout planning.
- Fire extinguisher suitable for fuel fires.
- Absorbent towels, leak-detection paper, or a clean blue roll for checking fittings.
- Multimeter and crimping tools for pump wiring.
For more details on hose and fitting choice, use our ultimate guide to AN fittings, our AN PTFE fitting installation guide and our guide on how to install AN fittings to braided rubber hose.
Watch: Our Exoracing guide to assembling AN fittings and braided hose before you build fuel lines.
Verified parts used in this type of setup
Use these product cards only as a starting point for planning. You still need to choose the correct pump flow, hose size, fitting angles and filter layout for your exact engine and fuel.
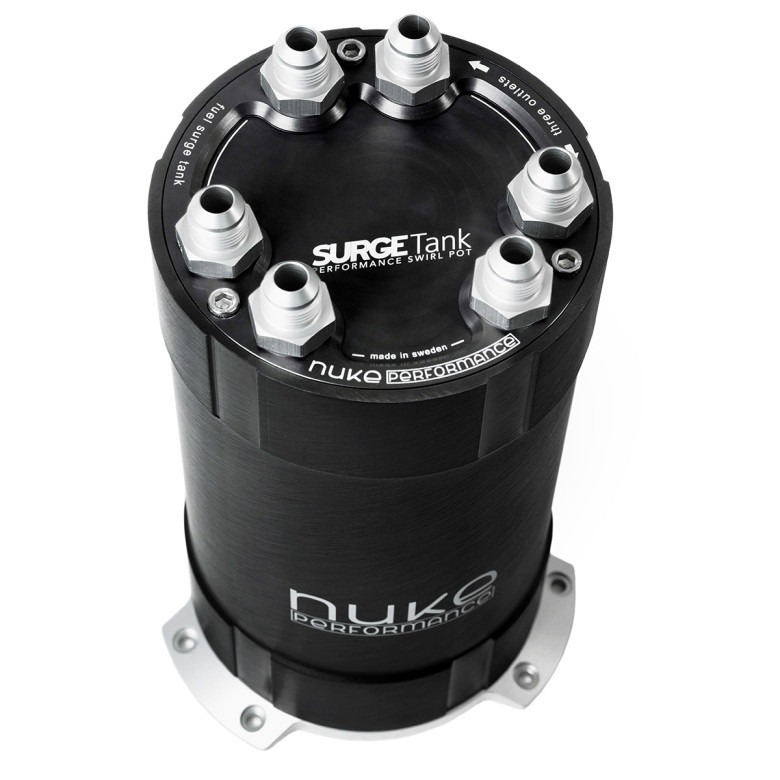 Nuke Performance 2G Fuel Surge Tank 3L 1 - 3 External Pumps
A proper surge tank option for external pump fuel systems on hard-driven builds.
From £488.40
 Exoracing AN Ptfe Stainless Steel Braided Hose 1.0m
PTFE-lined hose for fuel, coolant or oil lines, with stainless braid for abrasion resistance.
From £9.99
 AN Ptfe Full Flow Hose End An04-An12
PTFE-compatible hose ends for building fuel lines with the correct hose and fitting type.
From £9.99
Fuel Swirl Pot Plumbing Layout
Before drilling holes or cutting hose, sketch the whole fuel path. A neat swirl pot install starts with understanding what each line does.
This pump keeps the swirl pot full from the main tank or fuel cell.
The high-pressure pump should draw from the swirl pot's bottom outlet.
This line must match the fuel demand, filter layout and regulator position.
On many EFI systems, returned fuel goes back into the swirl pot to help keep it full.
Excess fuel must return safely to the main tank or fuel cell; this helps to avoid overpressurising of the swirl pot.
Do not block the overflow or treat the swirl pot like a sealed tank. If the lift pump and regulator return keep feeding it with nowhere for excess fuel to go, pressure can build in places you do not want it.
Step-By-Step Fuel Swirl Pot Installation
The exact order may change slightly depending on your chassis, but this process works well for most external swirl pot installations. Read the whole guide before starting, because line routing and pump placement affect the mounting decisions.
1. Mount the fuel cell or main tank
Start by placing the fuel cell where it can be mounted securely, filled safely and inspected easily. In many builds, this is the boot area, but the exact position depends on weight distribution, chassis structure, regulations and available space.
Mark the mounting holes with a pen, then check underneath before drilling. Make sure you are not about to drill into wiring, brake lines, fuel lines, the exhaust, the tank itself or a structural area that should not be modified.
Use suitable bolts, washers and locking nuts. The cell must not be able to move under braking, cornering or impact. If the cell is inside the cabin or boot space, confirm whether a sealed firewall is required for your use case.
2. Mount the swirl pot and fuel pumps
Mount the swirl pot close enough to the fuel cell to keep the lift pump plumbing simple, but leave enough space to access fittings, filters and wiring later. The pot should sit upright according to the manufacturer's instructions so the outlets, returns and overflow work as intended.
Mount the lift pump and high-pressure pump with proper brackets rather than cable ties or loose straps. Fuel pumps vibrate, get warm and can be noisy. Rubber isolation can help reduce vibration, but the pump must still be fixed firmly.
Keep pumps away from exhaust heat, sharp edges, moving suspension parts and areas where luggage or tools can hit them. If a pump has a preferred mounting angle or inlet height, follow the pump manufacturer's instructions.
3. Decide on fuel line routing
Before making a single hose, plan every line from end to end. Look for the shortest clean route that avoids exhaust heat, suspension movement, seat rails, sharp holes, driveshafts, steering components and places where the hose can rub.
If the lines pass through panels, use proper bulkhead fittings or grommets. Do not run braided hose through a bare drilled hole. Stainless braid can still chafe, and a sharp edge can eventually damage the hose.
Think about heat at this stage. On a turbo car, fuel lines often pass near the manifold, downpipe, radiator, turbocharger or hot charge pipework. Fix routing first, then add a heat sleeve where the line still needs protection.
4. Measure and assemble the fuel lines
Measure each line with a little allowance for movement, but do not leave big loops of hose. A fuel line should not be pulled tight between two points, and it should not sag into a place where it can catch or rub.
Use the hose and fittings as a matched system. PTFE hose needs PTFE hose ends. Standard rubber braided hose uses a different fitting style. Mixing fitting types can create a dangerous leak, even if it looks like it has tightened up.
After cutting the hose, clean out any debris before assembly by either blowing into the hose or using an air compressor. We are always trying to use an air compressor if we can, as even the smallest particles still inside the line before assembly can block fuel filters or injectors.
Small hose fragments can travel through the system and cause filter, regulator or injector problems. Build one line at a time and label it if the routing is complex. This makes installation much easier later on.
5. Install and secure the fuel lines
Fit the lines loosely first so you can adjust angles and remove twist. Once every hose sits naturally, tighten the fittings properly with suitable tools. AN fittings seal on the mating surfaces, not by being crushed as hard as possible.
Support the hose with P-clips or proper mounts at sensible intervals. The line should not be hanging from the fitting. Any unsupported weight or vibration at the end of the hose can fatigue the fitting or loosen the connection over time.
Keep feed, return, and overflow lines clearly identifiable. If the lines are close together at the swirl pot, label them during assembly so they are not crossed during final tightening.
6. Wire in the fuel pumps
Fuel pumps should be wired through suitable relays and fuses, with cable sized for the current draw of each pump. Do not power multiple high-current pumps through old factory wiring without checking whether it is suitable.
Use proper crimp terminals, secure earth points and insulated connections. Keep wiring away from fuel fittings where possible, and protect it from abrasion anywhere it passes through panels or close to metal edges.
For safety, the pump control strategy should stop the pumps if the engine stops in an accident or fault condition. Many ECU, relay and inertia switch setups can achieve this, but the correct solution depends on the car.
7. Add fuel and prime the low-pressure side
Add enough fuel to the main tank or cell for testing. Keep the area ventilated, keep ignition sources away and have a suitable extinguisher nearby. Do not prime the system while tools, loose wiring or open containers are sitting around the fuel system.
Run the lift pump first, where possible. Confirm that it fills the swirl pot and that excess fuel returns safely through the overflow route. Listen for unusual pump noise, cavitation or air in the line.
8. Prime the high-pressure side and check for leaks
Prime the high-pressure pump without starting the engine. Check every fitting from the swirl pot to the fuel rail, regulator and return. Use a clean blue roll around fittings to spot dampness. Do not use your hand to feel around pressurised fuel leaks.
If anything leaks, stop the pumps, clean the area, fix the issue and test again. Do not accept a slight weep as normal. Fuel leaks do not improve once heat, vibration and pressure cycles are added; they almost always get worse.
Set base fuel pressure according to your regulator, injector and ECU requirements. If the car is mapped, do not assume the new fuel system can be fitted without checking pressure behaviour and calibration requirements.
9. Start the car and check everything again
Once the system holds pressure with no leaks, start the engine and let it idle while you check the fuel system again. Watch fuel pressure, listen to pump noise and inspect the feed, return, overflow, filters and regulator.
After the first heat cycle, switch the car off and inspect it again. Fuel hose, fittings and brackets can settle after installation. Recheck everything before driving, after the first drive and again after the first proper hard use.
10. Road or track test carefully
Do not go straight from the garage to full-load track use. Start with gentle testing, check for leaks, confirm fuel pressure is stable and make sure the car behaves correctly under light load before increasing demand.
For serious builds, logging fuel pressure against boost, throttle position and RPM is the best way to confirm the system is doing its job. A swirl pot should give the main pump a more stable fuel supply, but the logs tell you whether the whole fuel system is keeping up.
Do Fuel Lines Need Heat Protection?
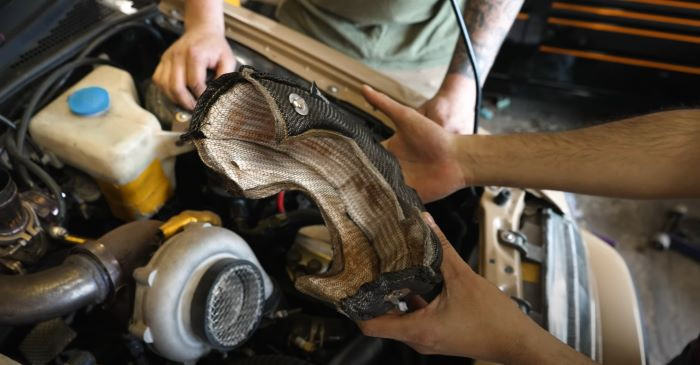
A swirl pot helps with fuel starvation, but it does not protect the fuel system from heat. If your fuel lines pass close to a turbo, exhaust manifold, downpipe, radiator or other hot part, you need to think about heat management separately.
Use the same logic Exoracing uses across heat management: identify the heat source, identify the vulnerable part, improve routing and clearance first, control the heat source where possible, then protect the line with the correct sleeve or shielding.
Heat sleeve is for hoses, fuel lines, oil lines, brake lines, clutch lines and wiring. It is not an exhaust wrap, and it should not be used as a shortcut for a damaged or leaking line. If the hose is already brittle, cracked or fuel contaminated, replace it before adding protection.
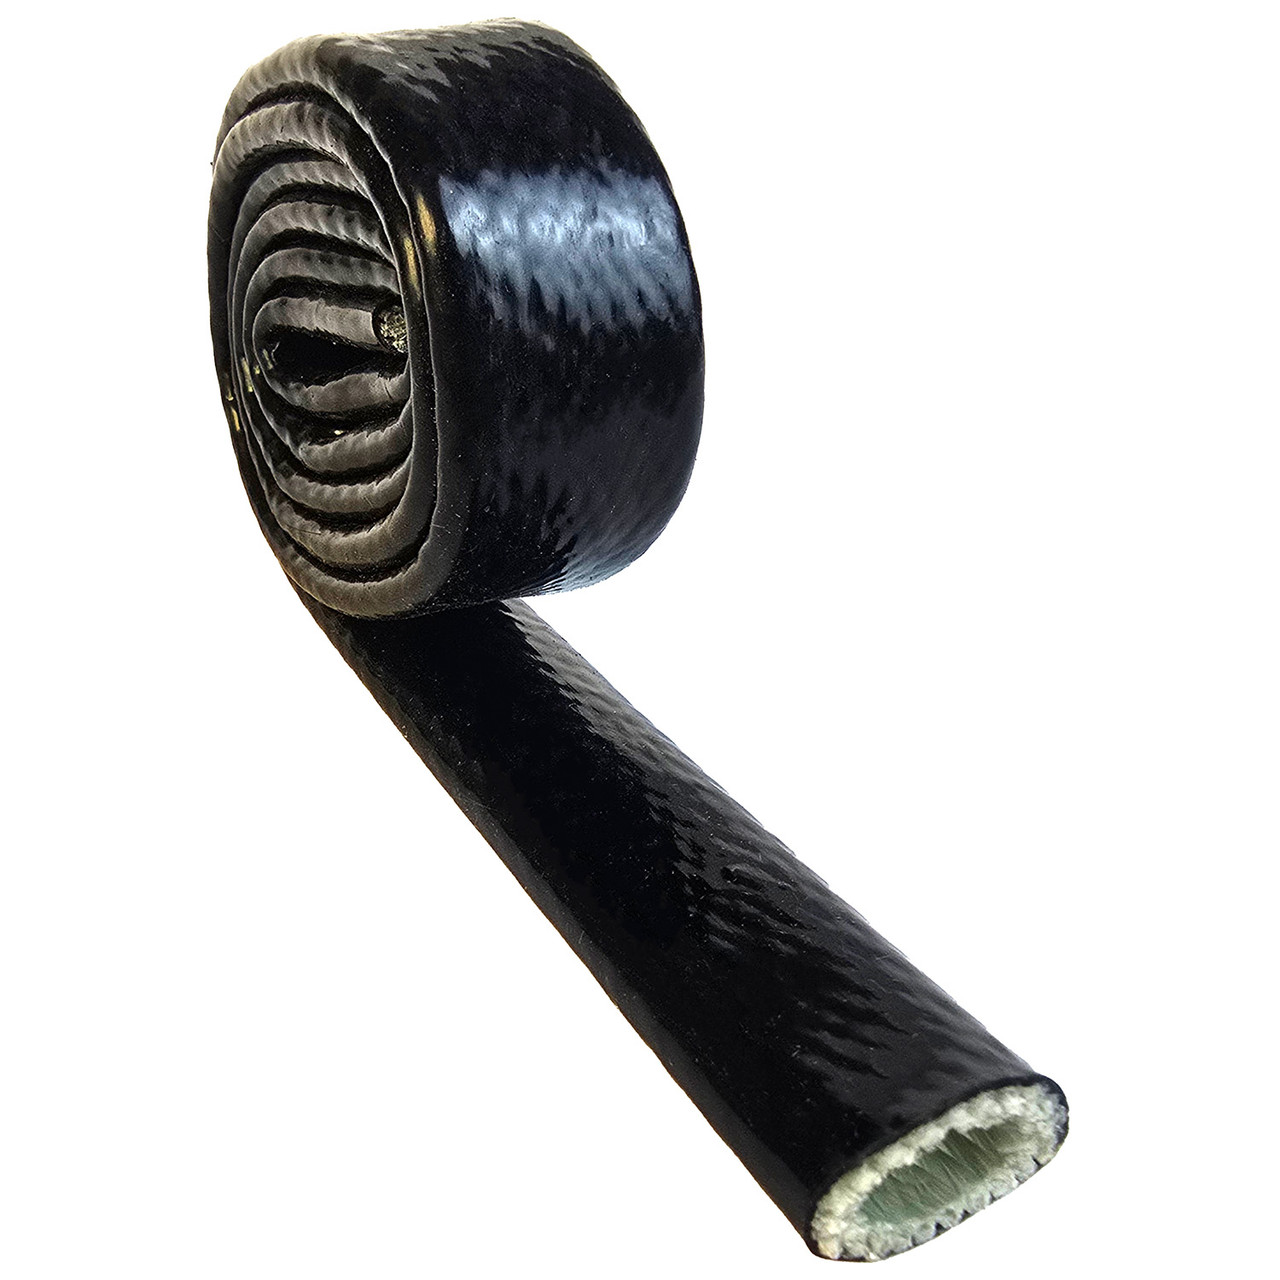 Exoracing Silicone Fibreglass High Temperature Heat Sleeve 0.5m
Protects fuel lines, brake lines, hoses and wiring where routing near heat cannot be avoided.
From £14.99
Common Swirl Pot Installation Mistakes
Using the wrong hose or fittings
PTFE hose must use PTFE fittings. Rubber braided hose must use the correct hose ends for that hose type. A fitting that almost fits is not good enough for fuel. If you are unsure, please contact us, as we wouldn't want you to have a major fuel leak.
Forgetting the overflow return
The swirl pot needs a way to return excess fuel to the main tank or cell. Blocking the overflow or plumbing it incorrectly can create pressure and safety issues. Make sure to follow our routing step by step and never skip a section. Even though it doesn't sound important, it could be imperative to stop problems in the future.
Mounting pumps loosely
Fuel pumps should not be dangling from the hose. Use proper brackets, support the lines and allow for service access. We always try to mount the fuel pumps in the tank if we can, so this never becomes an issue, but if you are externally mounting, always do this correctly.
Routing fuel lines near heat without protection
Move the line away from the heat source where possible. If the line still passes through a hot area, use the correct heat sleeve and recheck the area after heat cycles.
Rather than unnecessarily spending more money, with a bit of planning, you may be able to move the line far enough away to not need any heat sleeve to begin with.
Skipping leak checks under pressure
A dry fitting with the pumps off does not prove the system is sealed. Prime the system, check under pressure, fix every weep and check again after the first heat cycle.
Assuming the ECU map does not need checking
If you have changed pumps, regulator layout, line size or pressure behaviour, confirm the fuel system with proper testing and mapping support. A better fuel system still needs to be set up correctly.
When Not To Install A Swirl Pot First
A swirl pot is not always the first fix. If the car has old fuel lines, a weak pump, clogged filters, poor wiring, an incorrect regulator, injector issues or an ECU calibration problem, fix those faults before adding more parts.
You should also avoid using a swirl pot as a shortcut for unsafe routing. If the fuel line is touching a sharp edge, sitting against the exhaust tunnel or passing too close to a downpipe, improve the layout first. Heat sleeve and protective products are there to support a good installation, not hide a bad one.
For a mild road car that never suffers fuel surge, a swirl pot may add cost, noise and complexity without a real benefit. The upgrade makes the most sense when the car's use case genuinely challenges the standard pickup arrangement.
Fuel Swirl Pot FAQs
What does a fuel swirl pot do?
A fuel swirl pot acts as a small reserve tank that keeps the high-pressure fuel pump supplied when fuel moves away from the pickup in the main tank. It helps reduce fuel starvation during hard cornering, braking or acceleration.
Can I install a swirl pot myself?
You can install one yourself if you are competent with fuel systems, AN hose assembly, safe mounting, wiring and leak testing. If you are unsure, use a professional. A fuel system is not a good place to learn by trial and error.
Do I need a lift pump with a swirl pot?
Most external swirl pot systems use a lift pump to move fuel from the main tank or fuel cell into the swirl pot. The high-pressure pump then draws from the swirl pot and feeds the engine.
Should the fuel return go to the tank or the swirl pot?
On many EFI swirl pot systems, the regulator return goes back to the swirl pot, and the swirl pot overflow returns to the main tank. Always follow the layout required by your tank, regulator and surge tank design.
Is PTFE hose better for fuel lines?
PTFE hose is usually a strong choice for fuel systems because it resists fuel vapour permeation and is suitable for many ethanol and race fuel applications. It must be used with PTFE-compatible fittings.
Do fuel lines near the engine need a heat sleeve?
If the line runs near a turbo, manifold, downpipe, radiator or other heat source, a heat sleeve is sensible. Improve routing and clearance first, then protect the vulnerable line where heat exposure cannot be avoided.
Will a swirl pot fix the fuel pressure drop?
It can fix pressure drop caused by fuel pickup starvation, but it will not fix every fuel pressure problem. Weak pumps, blocked filters, poor wiring, incorrect regulator setup or undersized lines can still cause pressure issues.
Conclusion
A fuel swirl pot system is one of the best ways to reduce fuel starvation on a hard-driven EFI car, but the installation has to be planned properly. Secure mounting, correct hose and fittings, a safe overflow return, reliable pump wiring and careful leak testing are what make the system safe and dependable.
For an external setup, plan the full route before cutting the hose: tank to lift pump, lift pump to swirl pot, swirl pot to high-pressure pump, pump to rail, regulator return to swirl pot and overflow back to the tank. Once the car is running, recheck the system after heat cycles and use logs or pressure checks to confirm it is doing the job under load.
If you are building a fuel system with AN lines, we can supply surge tanks, PTFE hose, AN fittings, tools and heat management parts to help you build a safer and cleaner setup.
Shop Nuke Performance Surge TanksAbout the Author
Exoracing is a UK-based heat management and performance parts specialist helping enthusiasts and workshops build better modified cars since 2018.
Our guides are based on practical product knowledge, customer builds, workshop experience and the real installation problems we see when people upgrade fuel, oil, coolant and heat management systems.