
How To Install Exhaust Wrap: Overlap, Smoke & Mistakes
Posted by Matthew Marks on 2nd Aug 2024
Exhaust wrap is one of the simplest upgrades you can do to reduce engine bay heat, protect components, and improve performance consistency.
In this guide, we will walk you through exactly how to install exhaust wrap step by step, including the tools you need, the common mistakes to avoid, and the best techniques to get a tight, long-lasting finish.
Whether you are wrapping a turbo manifold, downpipe, or full exhaust system, the process is the same. This guide is based on real installs we have done on our own turbo builds, including our AWD Civic.
This guide is perfect for:
- Beginners installing exhaust wrap for the first time
- Turbo car owners dealing with high engine bay temperatures
- Anyone wanting to protect wiring, hoses, and components from heat
- Track and performance builds where heat control matters
Heat inside your engine bay is one of the biggest hidden problems, especially on turbocharged cars. Exhaust manifolds and downpipes can easily exceed hundreds of degrees, radiating heat into wiring, hoses, and intake components.
If you want to understand this deeper, read our guide on automotive heat management.
Over time, this heat can cause brittle wiring, cracked vacuum lines, heat soak, and reduced performance. Exhaust wrap helps contain that heat inside the pipe, improving efficiency while protecting everything around it.
If you would rather watch the installation video, I have added it underneath for you. Remember to subscribe to our YouTube channel to see more videos like this.
This is not a difficult job, but the quality of the install matters.
Loose wrap, poor overlap, or badly placed cable ties can make the finished result look messy and reduce how well the wrap performs.
Take your time here, especially if you are wrapping a turbo manifold or downpipe that sits close to wiring, coolant hoses, brake lines, or intake pipework.
- Exhaust wrap reduces engine bay temperatures and protects nearby components
- Always wet the wrap before installing for a tighter finish
- Use stainless steel cable ties for a secure hold
- Keep a consistent overlap of 10mm to 20mm
- Perfect for turbo manifolds, downpipes, and high heat areas
Exhaust Wrap Installation At A Glance
| Difficulty | Beginner friendly |
| Time needed | Around 30 to 90 minutes, depending on the part |
| Best used on | Manifolds, downpipes, front pipes and hot side pipework |
| Best overlap | 10mm to 20mm |
| Must have item | Stainless steel cable ties |
When Should You Use Exhaust Wrap?
Exhaust wrap is most useful when you are dealing with high-heat areas in your engine bay, especially on turbocharged setups.
You should consider using an exhaust wrap if:
- Your turbo manifold or downpipe sits close to wiring, hoses, or brake lines
- You are experiencing heat soak affecting intake temperatures
- You want to protect surrounding components from long-term heat damage
- You are building a performance or track-focused car
On a basic daily driver, exhaust wrap can still help, but it becomes far more important as power, boost, and engine bay temperatures increase.
Tools And Products Needed To Install Exhaust Wrap
To make your life much easier, you need a few things before installing your exhaust heat wrap. Some parts here are optional, but we always recommend going with everything to get it installed as fast and efficiently as possible.
To determine how much wrap you will need, visit our Exoracing exhaust wrap calculator. Enter your pipe or manifold dimensions to quickly and easily calculate the length you need.
Products Needed:
Tools Needed:
- Gloves
- Scissors
- A spray bottle or bowl filled with water
- Pliers
- Side cutting pliers
If you want a cleaner and more professional finish, you can also use a silicone heat sleeve on nearby wiring and hoses to protect them from radiant heat.
 Exoracing Titanium or Carbon Exhaust Wrap
Reduce engine bay heat and protect nearby wiring, hoses and components.
From £24.99
 10 x Exoracing Stainless Steel Cable Ties
Secure the exhaust wrap properly with high-temperature stainless steel ties.
From £9.99
1. Prepare And Cut The Exhaust Wrap
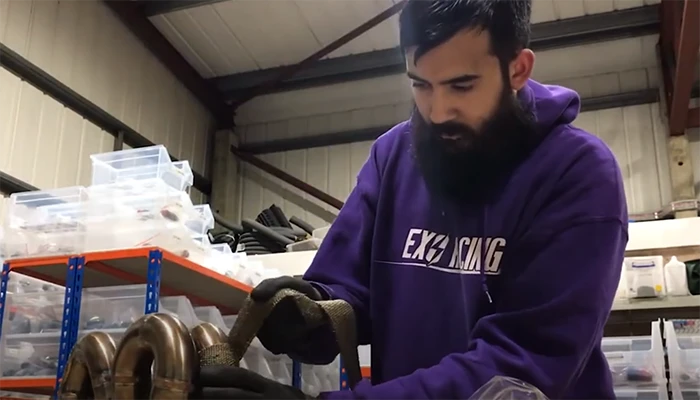
First, you should put on the gloves, remove the wrap from the packaging, and gather all the tools you will need for the installation.
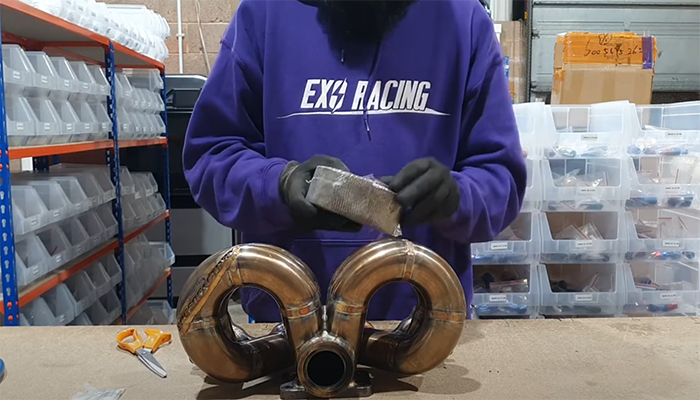
Gloves are a very important part of this process, as exhaust heat wrap's fibreglass base is known to cause skin irritation. Using gloves will save you from really annoying itching, trust me!
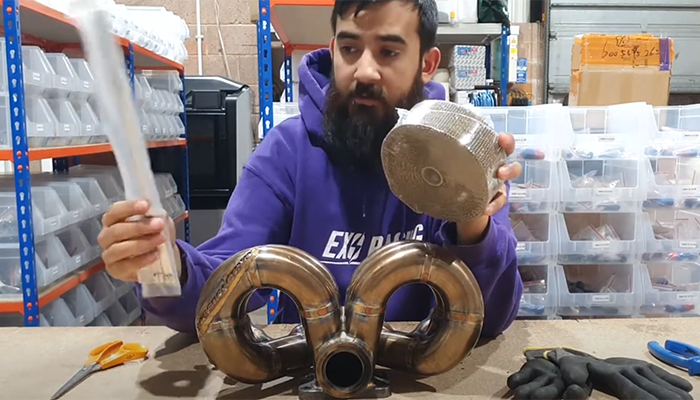
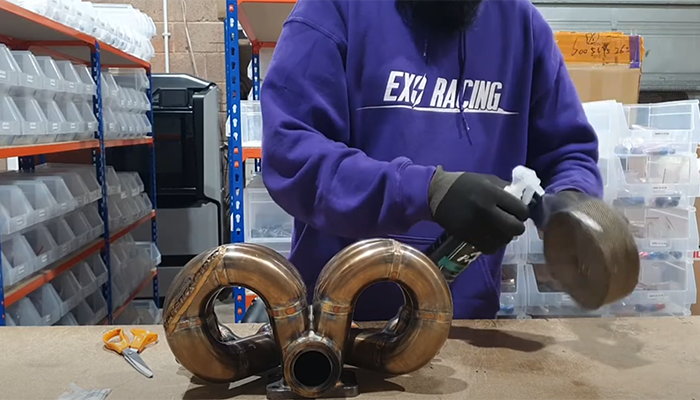
Spray or dunk the exhaust wrap using either the spray bottle or the bowl, then squeeze it in your hands to make it more pliable. Wetting the wrap makes it easier to pull tight, helps it sit flatter around bends, and gives a cleaner finish once it dries.
You do not need to soak it until it is dripping everywhere. The goal is to make the wrap flexible enough to pull tight without making the job messy.

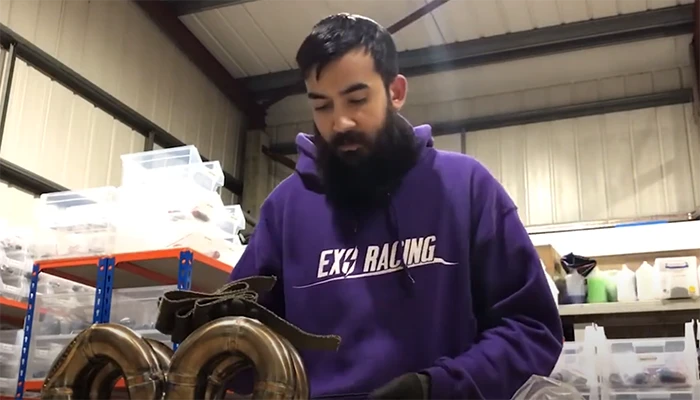
The ends of the wrap are often a little frayed, so before installation, cut them off with scissors for a neat edge.
Measure the correct amount of heat wrap you will need by either using our exhaust wrap calculator or wrapping it around the manifold or downpipe in a single loop, counting the number of loops you will need to reach the end of the pipe.
When measuring this, make sure to leave a half-inch or 10mm-20mm overlap to ensure full coverage of the wrap. This will also help the exhaust wrap stay in place while you are installing it.
A 10mm to 20mm overlap is the sweet spot for most installs. Too little overlap can leave small gaps where radiant heat can escape.
Too much overlap can make the wrap bulky, waste material, and increase the chance of moisture sitting inside the layers.
Cut the exhaust heat wrap to the correct length and repeat this for as many runners or pipes as possible. You can now move on to installing it.
Exoracing Titanium or Carbon Exhaust Wrap
Ideal for manifolds, downpipes and hot side pipework.
From £24.99
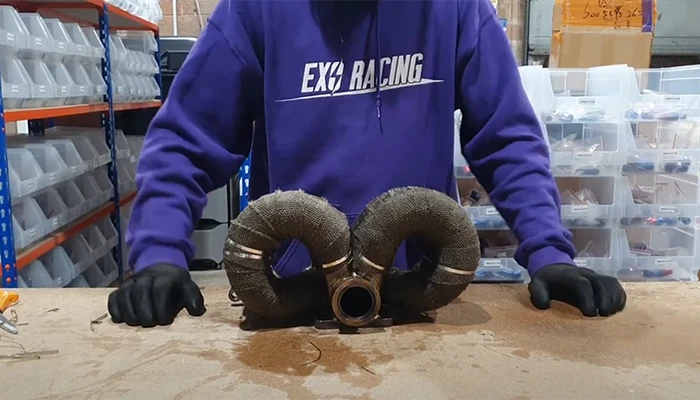
2. Installation
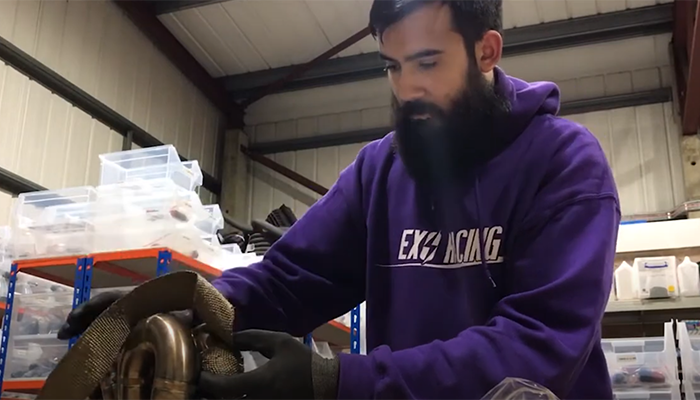
Now, let's install the wrap on the pipe or manifold. Start with a 45-degree fold on the end of the wrap. This gives the first layer more bite and helps stop the wrap from slipping as you pull it down the pipe.
Keep tension on the wrap at all times. The tighter and more even the wrap is, the better it will look and the better it will perform once the exhaust gets hot.

Pull tightly and wrap it around the manifold or downpipe until you reach the endpoint. If the wrap starts to dry out, spray it again using the bottle of water to ensure the tightest seal possible.
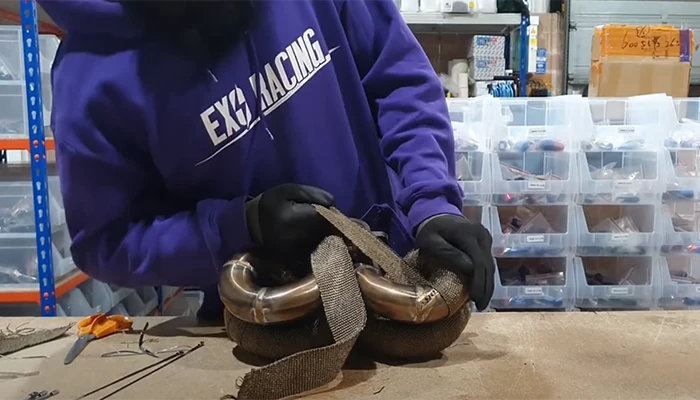
When you are happy the wrap is tight, take one of the stainless steel cable ties and loop it around the end of the wrap. Pull it tight with pliers so the wrap cannot move once the exhaust starts heating and cooling.
If you are installing this on an exhaust manifold, make sure the cable ties do not cover the exhaust stud ports, flange faces, lambda sensor bosses, or any mounting points. Check this before tightening everything fully.
10 x Exoracing Stainless Steel Cable Ties
Perfect for locking exhaust wrap in place under heat and vibration.
From £9.99
This happened to me on the first manifold I ever wrapped, and I had to cut the ties and redo it!
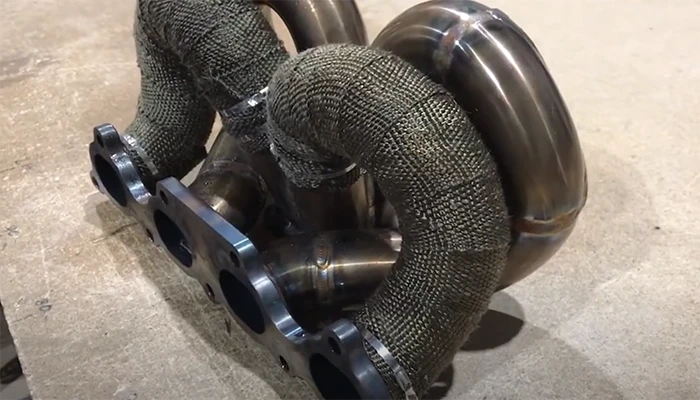
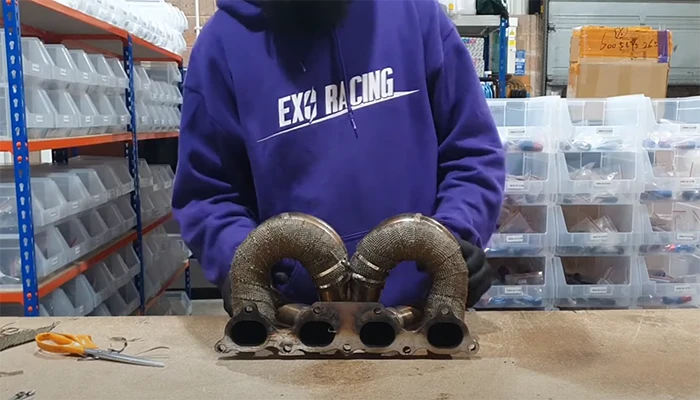
Once the stainless cable ties are tight, cut the excess off using the side cutters and repeat the same process for the other end. If you are wrapping a downpipe, you will be done at this point, but if you install it on an exhaust manifold, repeat the steps here until you have covered the entire manifold.
You are all done! You can now install the exhaust manifold or downpipe back onto the car and enjoy your lower engine bay temperatures.
Common Exhaust Wrap Mistakes To Avoid
- Not pulling the wrap tight enough – loose exhaust wrap looks bad and performs worse than a tightly wrapped seal
- Too much or too little overlap – stick to 10mm to 20mm overlay for the best performance
- Skipping stainless cable ties – normal ties will fail under heat and melt
- Wrapping over mounting points makes reinstallation difficult in the future
- Not checking after the first heat cycle – wrap can settle and loosen slightly, degrading the performance over time
A clean install is all about consistency. Take your time, and the result will last much longer.
3. First Heat Cycle After Installing Exhaust Wrap
Once the exhaust wrap is fitted and the part is back on the car, the first heat cycle is important. Start the car in a well-ventilated area and let the exhaust gradually warm up.
The wrap may smoke during the first few heat cycles. This is normal and is usually caused by moisture, binders, and manufacturing residue burning off. Do not panic if you see smoke at first.
After the exhaust has cooled down fully, check the wrap and cable ties again. If anything has moved, loosened, or settled, now is the time to correct it.
For even better heat control, many people combine a wrap with a turbo blanket setup.
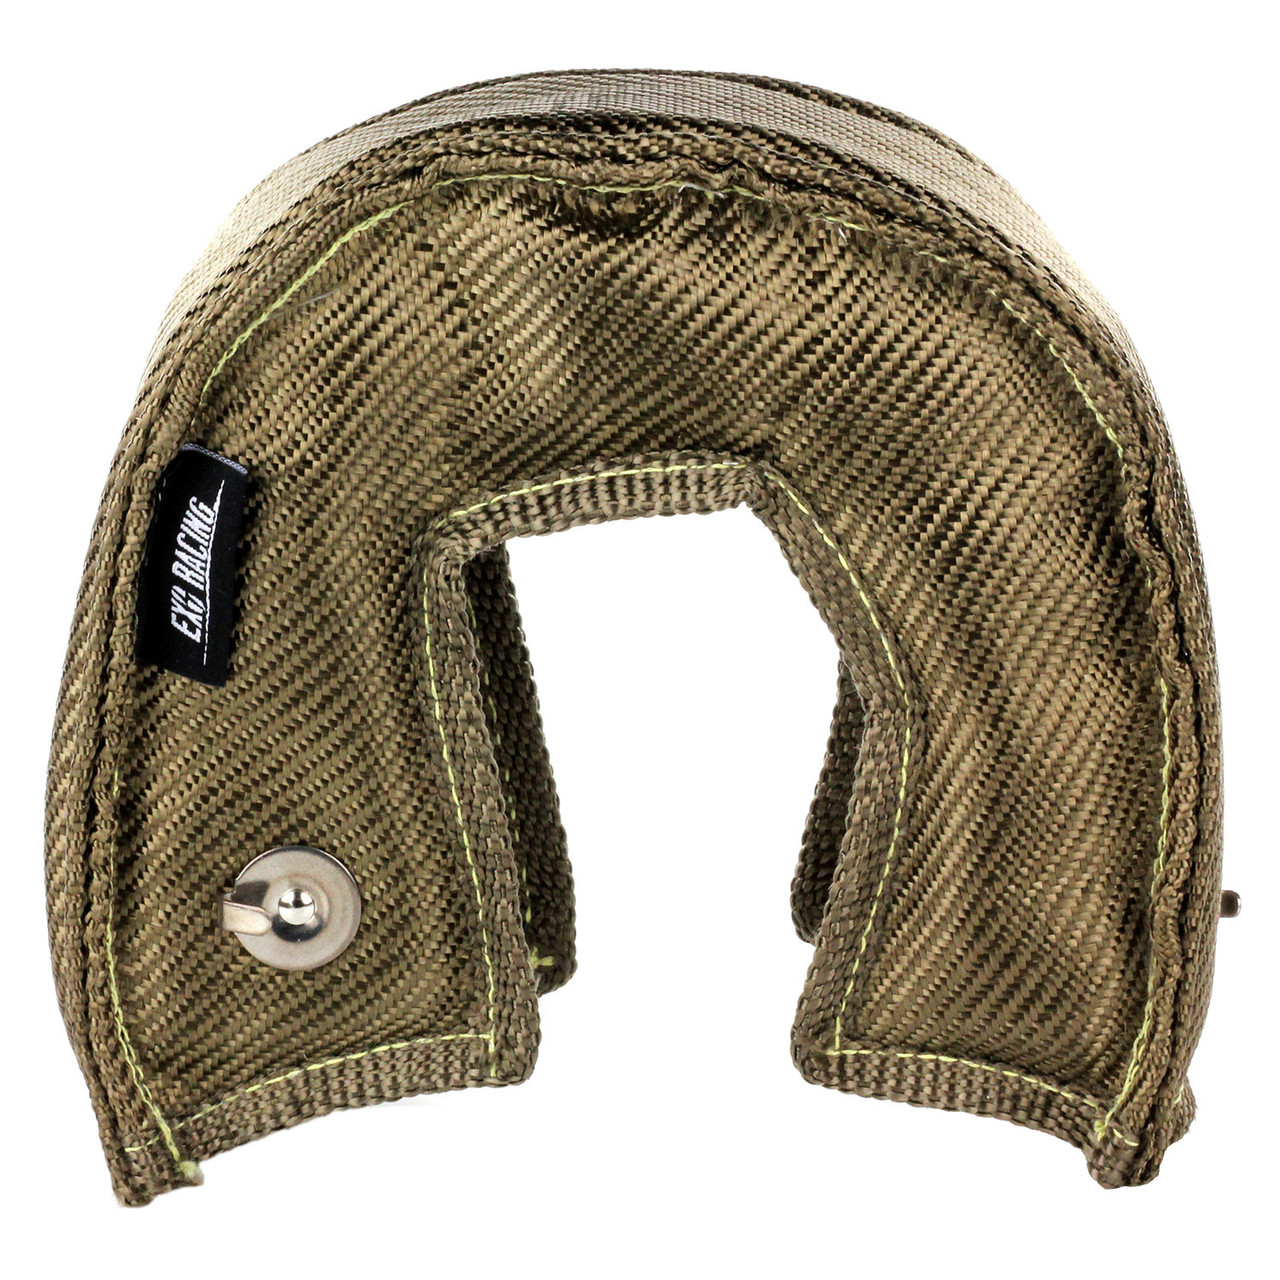 Exoracing Turbo Blanket V3
Contain turbo heat at the source and reduce engine bay temperatures further.
From £119.99
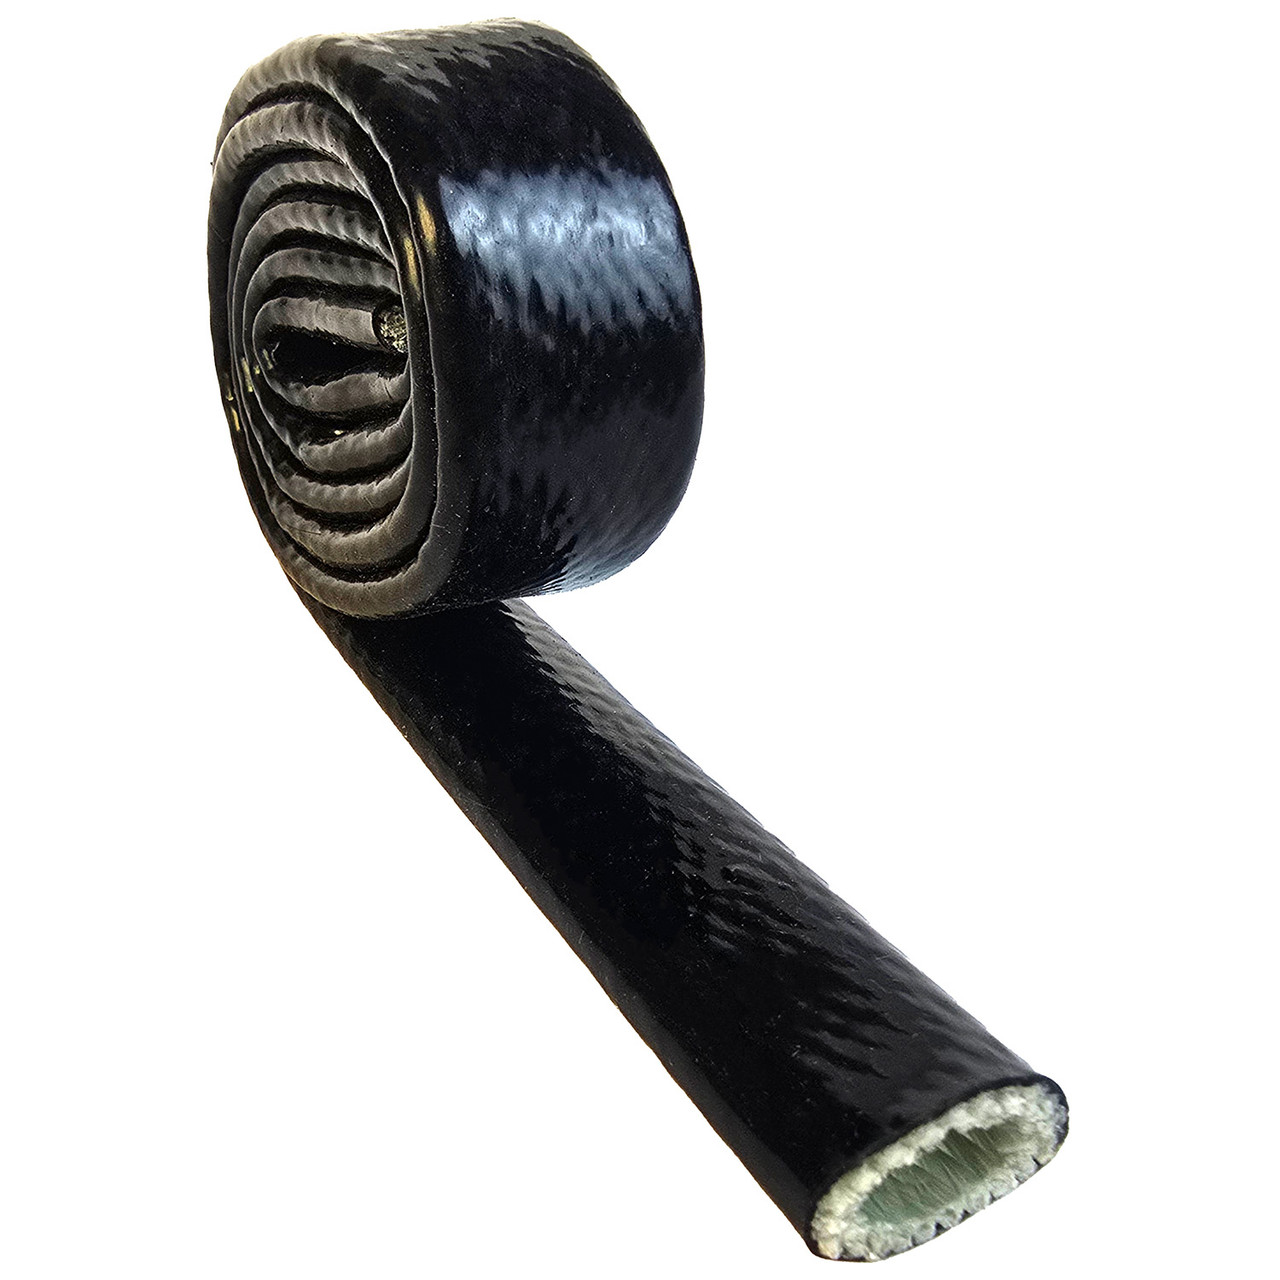 Exoracing Silicone Fibreglass Heat Sleeve
Protect wiring, hoses, brake lines and oil lines near hot exhaust parts.
From £14.99
Frequently Asked Questions
Q. Why is my exhaust wrap smoking?
A. The exhaust wrap will usually smoke during the first few heat cycles. This is normally moisture, factory residue, or binders burning off. It should reduce after the first few runs. Always do the first heat cycle in a well-ventilated area.
Q. Will exhaust wrap make my exhaust go rusty?
A. Exhaust wrap itself does not automatically make an exhaust rusty, but it can hold moisture if used in the wrong place. We generally recommend using wrap on hot areas such as manifolds, downpipes, and front sections rather than cooler rear boxes, where moisture may not burn away properly.
Q. Will exhaust wrap crack my exhaust?
A. Exhaust wrap increases heat retention inside the pipe or manifold. On good-quality stainless steel, this is usually not a problem. Issues are more likely on cheap, thin, poorly welded, or already damaged manifolds. If your manifold is cracked, heavily corroded, or of low quality, fix that first before wrapping it.
Q. Does exhaust wrap increase horsepower?
A. Exhaust wrap does not directly add horsepower like a turbo or remap. Its job is to keep heat inside the exhaust system and reduce radiant heat in the engine bay. This can help performance consistency by reducing heat soak, protecting nearby parts, and helping exhaust gases retain energy.
Q. How tight should the exhaust wrap be?
A. The exhaust wrap should be pulled tight enough that it sits firmly against the pipe without sagging, bunching, or moving. Do not pull so hard that you tear or distort the material. A tight, even wrap gives the best finish and usually lasts longer.
Q. How much should exhaust wrap overlap?
A. Around 10mm to 20mm overlap is ideal for most exhaust wrap installs. This gives good coverage without making the wrap too bulky or wasting material.
Q. Should I wet the exhaust wrap before installing it?
A. Yes, we recommend wetting the wrap before installation. It makes the material more flexible, easier to pull tight, and easier to shape around bends and runners.
Q. Can I install exhaust wrap while the exhaust is still on the car?
A. Sometimes, but it is usually much harder. For the cleanest result, remove the manifold, downpipe, or pipe section if possible. You will get better tension, better overlap, and a much neater finish.
Q. Is exhaust wrap worth it on a turbo car?
A. Yes, turbo cars benefit heavily from heat control. Exhaust wrap can help reduce radiant heat from manifolds and downpipes, while a turbo blanket can help contain heat from the turbo itself. Together, they are a strong setup for reducing engine bay temperatures.
Exhaust heat wrap also protects components close to the heat source and can prevent wiring, hoses, and other parts from heat damage. We cover this in more detail in our full exhaust wrap benefits guide.
Conclusion
Exhaust wrap is a simple upgrade, but it can make a big difference when it is installed properly. A tight, even wrap helps reduce radiant heat, protect nearby components, and improve heat control around the engine bay.
The most important things to remember are simple: wet the wrap first, keep steady tension, use a consistent 10mm to 20mm overlap, and secure the ends properly with stainless steel cable ties.
If you are building a turbo setup, wrapping a downpipe, or trying to protect wiring, hoses, and intake parts from heat, exhaust wrap is one of the easiest places to start.
Use code BLOG5 at checkout for 5% off your order.
Thank you for reading, and make sure to read some of our other related guides if they are useful for your build: